
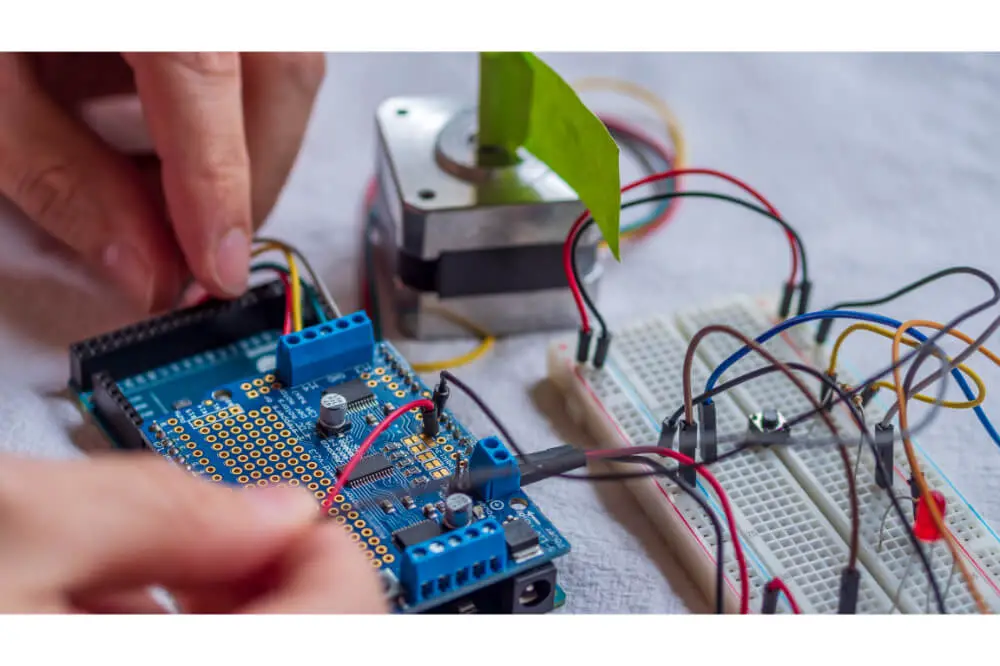
Nowadays, the Arduino simulators are designed to make it relatively easy for everyone; professional and beginner circuit designers to understand the program along with test ideas without having to waste their time and money.
There is no doubt that Arduino simulators are by far the best platforms for all designers and programmers who would like to learn basic circuit schematics along with design.
While using Arduino simulators, you will be able to have an avenue where you will learn without having to cause damage to your board along with your design equipment if you are a student who faces challenges when it comes to purchasing the right electrical equipment without understanding how they operate. It would be best if you considered using the Arduino simulator to help eliminate the trial and error mistakes; by doing so, you will save both money and time.
In addition to that, Arduino simulators have been designed to support line to line debugging, allowing the user to identify the exact spot where the problem occurred. With that said, in this article, we shall be discussing how to use the Arduino simulator.

Using the Arduino simulator
Before you start using the Arduino simulator, you will first have to choose one that will best suit your needs. There are several Arduino simulators available in the market including:
- Autodesk Eagle
- Proteus
- Autodesk Circuits
- Virtronics Simulator for Arduino
- Electronify
- Fritzing
- VBB4Arduino- the Virtual Breadboard for Arduino
Usually, the Autodesk Eagle is considered the most advanced simulator. It is often used in designing 2D and 3D projects of modular design, PCB, multi-sheet schematics as well as real-time synchronization, among others. However, in this article, we shall be discussing using the Proteus simulator.
Installing the Arduino library in the Proteus simulator
The Proteus simulator does not come equipped with a built-in Arduino library. This means that you will have to install it before using it. Installing the Arduino library is relatively easy; all that is required of you is to follow these simple steps:
- Go to the GitHub website and download the library-related files
- Navigate to-Proteus-master\Arduino\Library after extracting the zip file
- Follow this C:\Program Files\Labcenter Electronics\Proteus 8 Professional\Data\LIBRARYpath and copy paste the file.
- Open your Proteus and assess whether or not the libraries have been installed correctly.
- You will then go ahead and create a new project in the Proteus
- Select Next when you are through and choose the most appropriate page layout that will fit your needs.
- Once you are done, an empty workspace will appear.
Using Proteus Arduino simulator
You will first start by changing the simulator mode to com component mode by selecting the op-amp symbol. Once that is done, you will go ahead and click on P; by doing so, a list of components will appear. You will be able to find all components along with footprints that will help in your simulation.
In this component list, you will look for Arduino. You will see a display with all Arduino related boards as well as connector libraries. You might consider re-installing the library once again if none of these files will pop-up. Once you find the file, you will select it and then click OK. Afterward, you will click the spot on your empty workspace and then drop your Arduino board.
Best Arduino simulators for your PC
Some of the best Arduino simulator for your PC includes:
Autodesk Eagle
This is by far the most recommended Arduino simulator. The Autodesk Eagle has been designed to offer powerful and relatively easy to operate tools for all engineers irrespective of their skill level.
The Autodesk Eagle Arduino simulator is ideal for designing 2D and 3D models; this allows you, as an engineer, to bring to life your electronic inventions. The simulator is equipped with a complete set of schematic editing tools along with a PCB layout. In addition to that, it equipped community driven features along with library content.
Some of the main features equipped in this Arduino simulator include:
- Multi-sheet schematics
- Schematic editor
- Modular design block
- Editor for the PCB layout
- BGA fanout
- Real-time synchronization
- ULPs- the user language programs
- Complete components
- 3D models
- High-speed design
- Electrical-rule checking
Proteus
This is another excellent Arduino simulator; the Proteus combines simplicity with numerous features, making it one of the best simulators for your PC. Furthermore, it is relatively easy to operate, and it makes the Arduino simulator feel simple and straightforward.
Proteus Arduino simulator is used in various fields, including education, IoT, and automotive. In addition to that, it is fully compatible with Windows and Linux. This simulator is capable of interacting between software that is running in a microcontroller and analog or digital electronics that are connected to it. This is, by far, its prominent and most amazing feature.
Some of the key features incorporated in Proteus include:
- Diagnostics
- Debugging
- Co-simulating both high and low-level micro-controller codes
Autodesk Circuits
Just like Autodesk Eagle, the Autodesk Circuits allows you as an individual to bring your project to life. It features an online tool that is not only relatively easy to use but also free of charge. As a beginner, you should consider using this Arduino simulator. With the Autodesk Circuits, you will start with simple experiments in Electronic Lab or Circuit Scribe. However, if you are an individual with more experience, you might consider skipping and then go-ahead to the PCB Design.
The Autodesk Circuits Electronic Lab features:
- Real-time simulations
- Arduino Programming
- Collaborative editing
- Designing and simulating circuits
On the other hand, the Autodesk Circuit PCB Design features:
- Schematic design
- PCB layout
When you learn how to code, a programming project that operates becomes relatively easy. Since the Autodesk Circuits is free, you should consider checking it out and start training using it to sharpen your skills.
Final Word
When it comes to using the Arduino simulator, different simulators feature different processes. However, the fact remains that using the Arduino simulator is relatively easy irrespective of your level of skill. In this article, we had focused on how to use the Proteus Arduino simulator.
When you follow the tips discussed in this article, you find it relatively easy to operate a Proteus Arduino simulator. As we conclude, we hope that you find this article helpful.
