
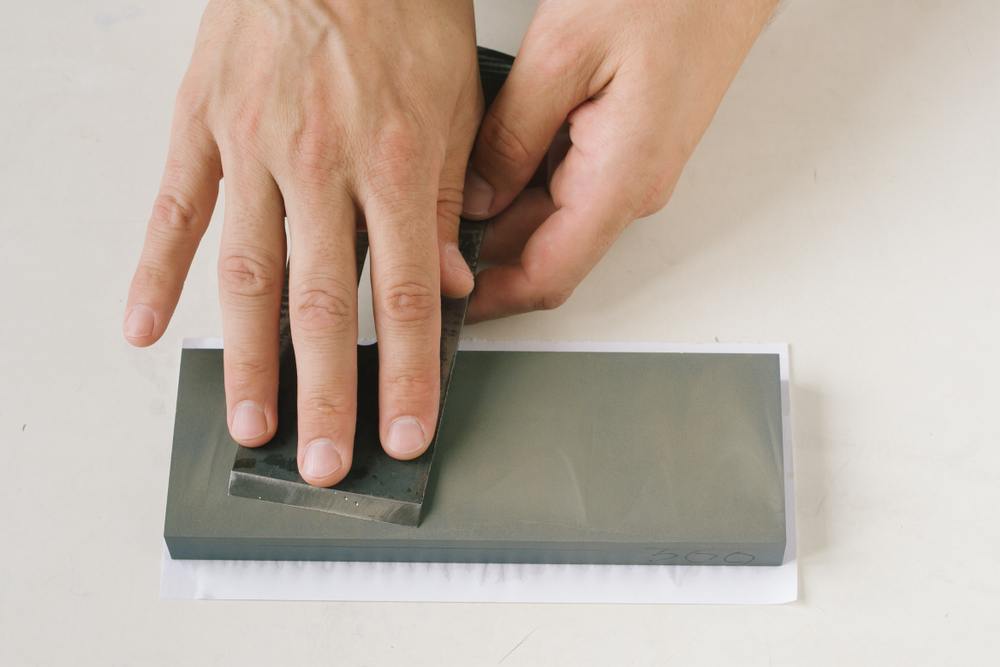
Do you own a hand plane that gets incorrect results owing to its blades? The frustration may bring a feeling of banging your head against a wall in despair! Don’t worry; there is a solution for you.
The condition of the blades will determine the quality and efficiency of the plane. A proper plane should smoothly shave the wood surface to give it an elegant finish. For the user to get good results, the blades must be in good condition.
A non-performing plane requires maximum attention to restore its worth. The information in this write-up focuses on blades to increase its functionality. Keep reading as we take you through the whole process of setting up the blades.
For starters, your ideal hand plane will perform well if it has razor-sharp blades. Of course, your task can be more complicated if the edges are blunt. You will find that working becomes easier if you adjust the blades accordingly.
Installing Blades
You should familiarize yourself with the parts of the blades to determine if they are in the proper position. First, there is a chip breaker, which is always at the top of the blade. Its primary role is to deflect shaving in an up and out manner.
So, you will begin your set up activity by securing this chip breaker to the blade. Next, connect the assembly on the frog by using the lever cap to secure it. Meanwhile, maintain the minimum tension on the lever cap to hold the body assembly tentatively. Then, continue adjusting the blades.
Setting the Mouth Opening
By using the small screws found on the mouth opening, make adjustments to allow both light and heavy cuts. Check out on this: Any finer cut will have a mouth gap of 1/64 inches to 1/23 while 1/16 favors a heavy cut.
When the plane is cutting, the mouth allows the shavings to pass through it. You can set a small mouth if you want lighter cuts, and a large mouth for heavier cuts.
The process of adjusting the mouth opening requires you to advance the blade. Later, shake the frog to get an optimal mouth gap. You can conveniently achieve the adjustments by loosening the two side screws found on the frog.
Take advantage of the central adjusting screw to enable the frog to either close or open the mouth. After that, you can now tighten these side screws to secure it in its position.
How to Adjust the Blades
Now consider it this way, use the mouth opening set, and rearrange the blade laterally. This design will help in fine-tuning the cut’s depth as the shavings pass through the mouth.
Retract and Rotate
By completely retracting the blade, with the help of a flat board, begin moving the plane on it. Meanwhile, use the knob to advance the blade slowly. Put on hold when the blade contacts touch the board.
At this stage, you can quickly determine the depth of the cut when you advance the blade. If you achieve the shave whose thickness ranges between 0.001 inches to 0.002 inches, the better.
You can determine if the cut is too heavy by observing the following points:
- If your plane will chatter or jump while working.
- If the uses spend a lot of energy when working.
- The presence of cracks on the surface.
Lateral Adjustments
At this stage, you should bring the shaving at the centre by moving the lever in the direction of the heavy side. You can prevent a heavy cut by the rotation of the adjustment knob. The action should be counterclockwise.
Now get this: remove the plane by performing proper settings on it. The quickest method is to rotate the knob clockwise. The secret is removing the slope cuts and remain stable as you plane.
Lastly, check the functionality of your setting by moving the plane forward. You should advance the blade until you get a gossamer-thin. If so, then you can proceed with the real work.
Wrapping Up
By doing a proper inspection of the blade, you will avoid many challenges that come with it. When you allocate more time to focus on setting your blades properly, you enjoy and become more productive in your wood tasks. Most importantly, you will maintain an efficient plane that meets your needs.