
Continuity is commonly tested using a digital multimeter. In this article, you will learn more about continuity and how to use the digital multimeter. Meanwhile, let us know first what continuity is.
Continuity Explained
Continuity is defined as 2 things which are connected electrically. If a wire connects 2 electronic parts, it suggests that they are continuous. On the other hand, if the 2 parts are connected using cotton string, they’re not continuous since it is not a conductive material. The continuity can be tested with a digital multimeter. Now that you understand what continuity is, let’s proceed to the importance of the continuity test.
The Importance of Continuity
Continuity is among the essential tests. It is beneficial for repairing electronics. It is important for the following reasons.
- Identifying if there is a good soldering. If you have a cold solder connection with a solder joint, it can look connected even if it’s not. With continuity testing, you can make sure if you have a good soldering.
- It determines whether something is not connected. There are some circumstances when the solder joint comes short 2 connections. You will know if there is a mistake in your PCB and trace if it is shorted by accident.
- Through continuity testing, you’ll find out whether a wire is broken in the middle. Headphone cables and power cords can be notorious for damaging the inside of the shielding. The cable can look fine outside, but the inside of the wires can be broken.
- Continuity is also used for verifying a design or reverse engineering.
Important Reminders for Continuity Testing
To test continuity, you must make sure that the device is unpowered. This type of test is non-directional, so you can shift probes. You can hear a fast beep and then quiet when testing 2 points in a circuit. A big capacitor is present between the points. It is due to the voltage used by the meter on the circuit is charging up the capacitor. In this case, the meter determines that it’s continuous.
Before conducting the test, make sure if your meter is functioning well. You can do this by brushing its 2 tips together and hear the beep. You can also check whether it is not in the proper mode or the battery is low. Keep in mind that short circuits can occur since inductors and small resistors on the multimeters are like wires. Continuity doesn’t suggest short, instead, it can have a very low resistance.
Using the digital multimeter
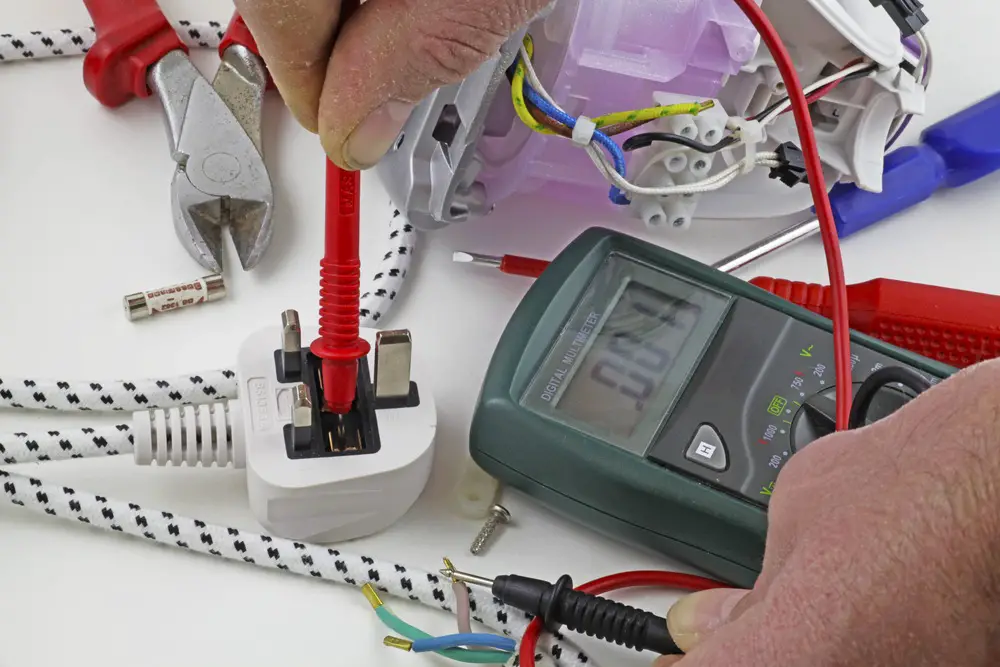
Continuity testing is done using a digital multimeter. A multimeter is also called VOM (volt-ohm-milliammeter) or multitester. A multimeter is an electronic measuring tool that combines various measurement functions in a single unit.
Types of multimeters
Multimeters come in different types. The standard multimeter can be used for current, voltage, and resistance measurements. On the other hand, the analog multimeters come with a microammeter that features a moving pointer to show readings. Lastly, the digital multimeter (DVOM, DMM) comes with a numeric display. A graphical bar is used to display the measured value.
Conducting Tests
In using your multimeter for continuity testing, make sure that there is no current running through the component or circuit you’re going to test. Remove the batteries, unplug from the wall, and switch it off for your safety. Then, you can now plug the black probe on the multimeter’s COM port. Plug the red probe on the VΩ mA port.
Switch on the digital multimeter and set it to the continuity mode. This mode is specified by the sound wave icon. Your multimeter can test continuity by sending little current by one probe and determine if it was received by the other probe. If a connection is present between the probes through directly touching each other or continuous circuit, the test current flows through. The screen of your multimeter will show a value of zero and beeps. It shows that there is continuity.
On the contrary, if there’s no detected test current meaning, it lacks continuity. The screen will show 1 or OL (open loop). To continue the continuity testing, put one probe on the end of the component or circuit, you’ll be going to test.
In case that your multimeter doesn’t come with continuity test mode, don’t worry because you can still conduct continuity testing. Turn on the lowest setting on your multimeter’s resistance mode. The multimeter sends little current on one probe and measures what can be received by the other probe When the probes are connected by directly touching each other or continuous circuit, there is a current flow. The screen will show a value of zero, like 0.8. If there is a low resistance, continuity is present. If there’s no detected current, it suggests that there’s no continuity. The screen will show 1 or OL (open loop).
By following the steps mentioned above, you can now use your digital multimeter for continuity testing. This test is useful for different applications like electrical repair, continuity of circuit path or wire, connectors, transformers that have multi windings, house fuses, and car fuses. Continuity testing is also helpful to check if your bulb is working or not.
The continuity test of your digital multimeter is useful for conductors, electrical connections, testing switches as well as other elements. The tool will beep to warn the technicians to concentrate on the process of testing without looking at the display of the multimeter.
To wrap up…
Do you want to ensure if two points are properly connected? Then, continuity testing using your digital multimeter is the best solution. A digital multimeter is an effective tool for technicians and electricians for different applications.
The continuity testing tool is important to ensure safety with your electrical system. Moreover, make sure that the power is off when you perform continuity testing. With this test, you can discover if there is internal damage in your outlet or switch. As you use your multimeter, set it in Continuity function.
What are you waiting for? Secure your electrical connections with continuity testing using your digital multitester now!
