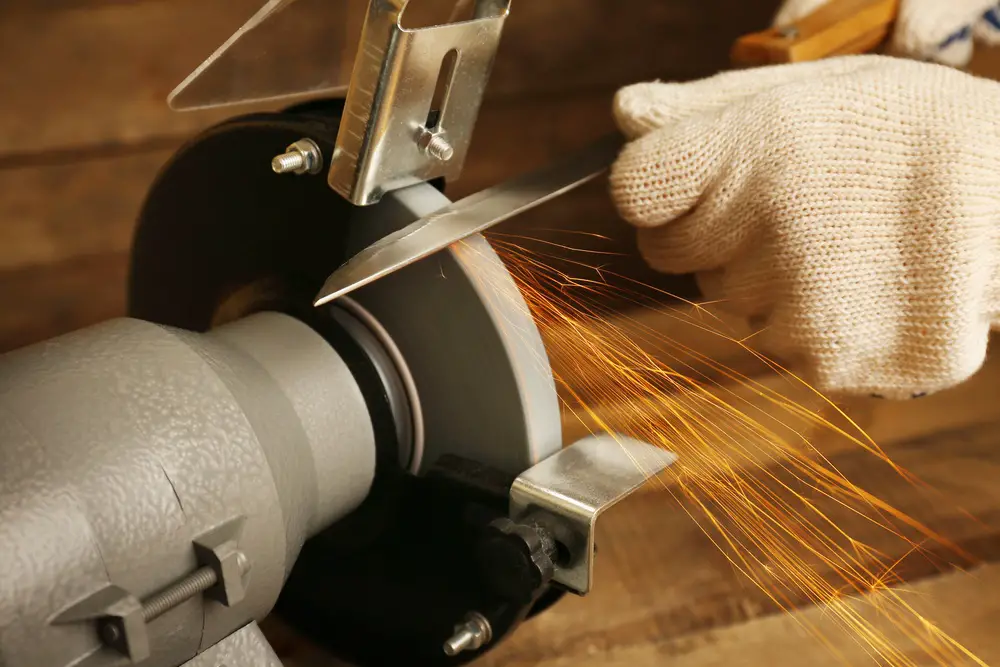
A bench grinder performs a range of woodworking tasks, including knife repair. Garden knives often get blunt, especially after a hectic season. Working with a blunt knife means you need to exert additional pressure, and you might not achieve a clean cut. A dull knife also puts more strain on your arms, hands, and back.
Most gardeners use whetstones to sharpen them, which may not be useful if the knife is extremely dull. A whetstone only hones the blade keeping it sharp in between the actual sharpening. A bench grinder, on the other hand, sharpens removes a small amount of the knife material to produce the sharp edge.
It also comes in handy when sharpening large gardening, grafting or pruning knives, then a bench grinder should come in handy. This is because grafting and propagation knives should be razor-sharp for the best results.
Also, bench grinder wheels spin at an incredibly high speed that trims off any dings and nicks, leaving the knife sharp. Also, the device provides a more affordable solution compared to buying a new garden knife.
How to sharpen a garden knife using a bench grinder:
Tools Required
- Blunt knife
- Bench grinder
- Clamp
- Sandpaper
Procedure
Clean the Knife
Clean the blade using a wire brush and wipe the surface using an oily rag to remove rust and dirt. Be sure to apply some general-purpose oil, too, as garden tools are prone to rust if not treated regularly.
Inspect the Number of Blades
Inspect the knife to find out the number of blades it has. Pruning knives, for example, have two sharpened sides while pocket knives have one flat and one bladed side.
Sharpening the Knife
Turn the bench grinder on and place the blade on the tool rest to start grinding. Then, apply light downward pressure while pushing the edge forward to sharpen a knife with a straight blade.Turn the knife over, holding the blade flat against the wheel, brushing it across the surface to remove rough edges.
The same process applies to knives with double-sided blades to keep the blade balanced. For single-sided blades, check the flat side for sharp burrs. You can remove them by running the flat side of the edge across the coarse-grit wheel several times. Avoid sharpening this side of the blade as it affects the cutting impact.
Test for Sharpness
Hold the sheet of paper and rest the blade at the top edge. If the knife cuts through with minimal effort, then it is sharp; if not, repeat the process. Then wipe the blade and store it in a dry place.
Useful Tips
- Avoid using a vice: A vice keeps the knife in one position during the grinding process. This position is known as a gut reaction and should be avoided because sharpening a knife is not a linear process. Instead, the blade should move naturally against the grinding wheel to get the proper edge
- Allow the natural movement of the knife: Follow the natural curve of the blade when sharpening the knife. The bench grinder pulls the blade into line as you sharpen, and it is essential to follow it. This movement keeps you from grinding one position of the knife. It also helps move the blade on time
- Maintain the correct angle: you should avoid sharpening the blade with the side sitting flush against the bench grinder. This position only causes the blade to become shiny, but it does not mean the knife is sharp. Experts recommend maintaining a 45-degree angle when sharpening a knife
- Apply moderate pressure: Beginners often apply a lot of pressure on the knife when grinding. The excessive force may cause the blade to chip, and you may lose control of the Yblade. Keep in mind; the wheel is already spinning fast; hence, it does not need additional pressure to help it sharpen the knife. You only need to set it at the right angle and leave it to do the work following the natural curvature of the grinder
- Regulate the speed: Bench grinders rotate at high speed, which makes it difficult to sharpen knives. You need to reduce the speed of the bench grinder and ensure it is still sufficient to sharpen the tool

