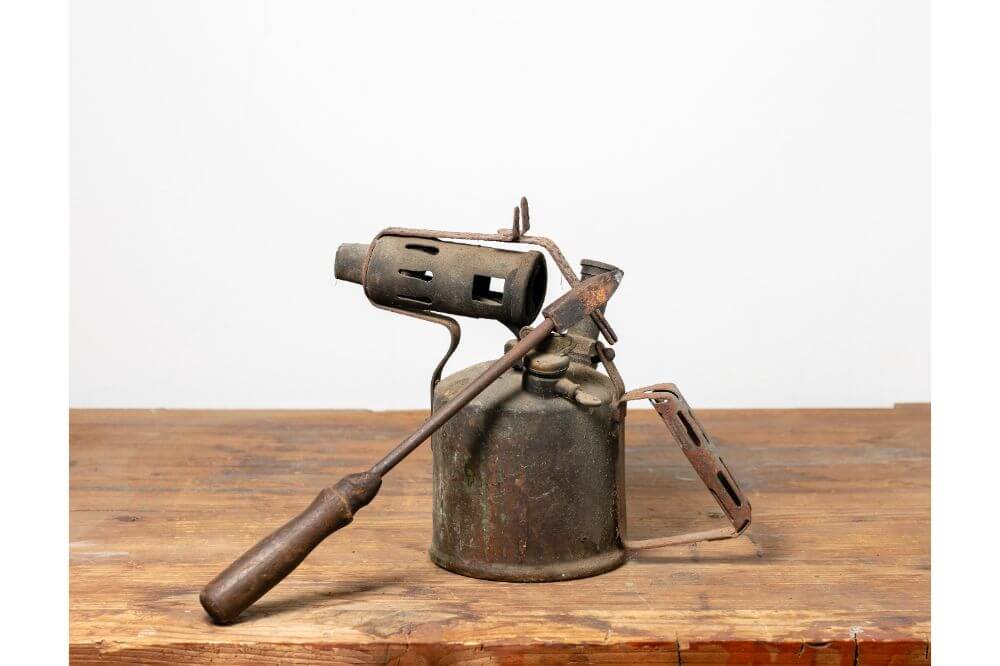
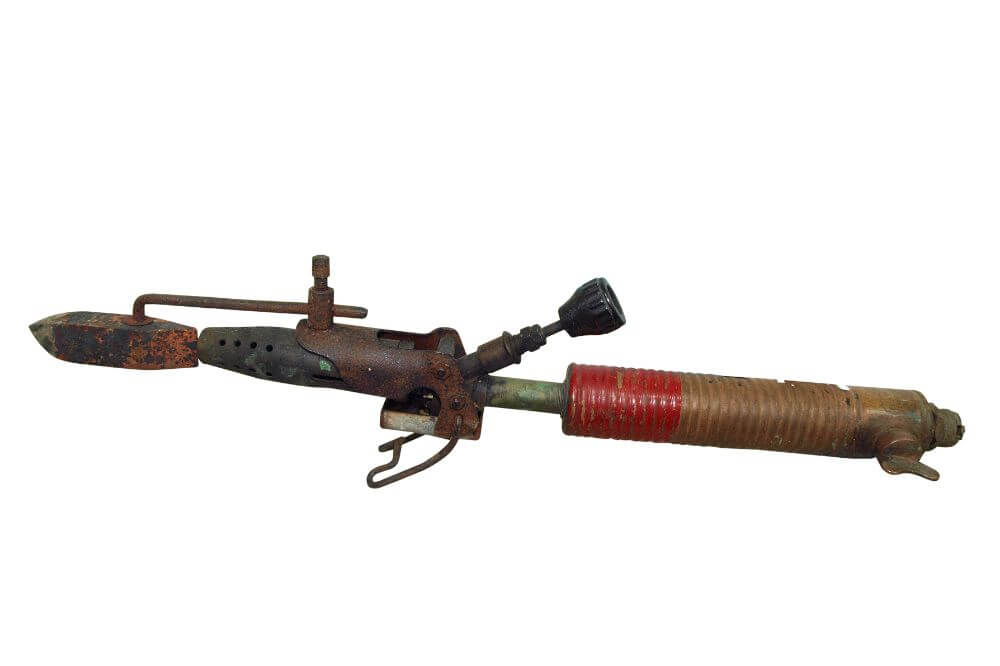
Soldering is an essential skill that has been used for ages, and before the invention of the electric soldering iron, the antique soldering iron was the go-to choice.
The working functionalities of this soldering iron aren’t any different from the conventional models used nowadays. However, because you still might not be well-versed with the steps to follow, we’ve decided to write an in-depth article on how to use this tool.
Consequently, you will not only be knowledgeable on how to use the antique soldering iron but also how to make sure your project looks great once you’re done. Therefore, let’s dive in on the steps you should follow when using an old-fashioned soldering iron.

Step 1: Prepare Your Tools And Working Area
Before you can even start using your antique soldering iron, it’s crucial to ensure your workstation is set correctly. Here are the things you need to do right before you can start soldering;
- Prepare your work area: Making sure your workplace is appropriately set is vital before you can start using the antique soldering iron. Ideally, this area should be adequately lit with an angle light to focus enough light on the items being soldered. You also need to make sure your working room is well-ventilated to safeguard yourself from any toxic fumes produced by the solder flux while soldering. Moreover, you can get a small fan to run in your workplace to further remove these harmful fumes.
- Assemble all the useful tools: In addition to your antique soldering iron, you also need to assemble other useful tools, including a pair of tiny wire cutters, a pair of small round nosed pliers, small pair of pliers, and several other vital tools. When deciding the size of these tools, you need to assess the size of the project that’s about to be undertaken.
Step 2: Carry Out Soldering Preparations
The few soldering preparations you need to carry out before using your antique soldering iron include;
- Remove surface oxidation: The conventional components on wires oxidize over time, so removing these oxides from the surface is necessary. You can do this by holding the lead gently using a pair of pliers and then pulling the component lightly. By doing this, the surface gets rubbed against the pliers, thereby removing the oxide layer. As you do this, you need to be very cautious to avoid destroying the component.
- Ensure all the surfaces are clean: Maintaining cleanliness is critical when perfuming soldering tasks. Ensuring the proper levels of hygiene, wires, component connections, or printed circuit boards won’t have any grease or dirt that might inhibit the soldering process. Furthermore, it might also prevent the creation of a solid joint. You also need to be wary of oxide layers, which might deter the soldering process as wetting properly becomes hard.
- Clean the soldering iron: It’s vital to make sure your soldering iron is clean before you can start using it. This is because its bits quickly get dirty after using your antique soldering iron after a while due to the flux residue, which must be removed. You should use a wet sponge when cleaning the soldering rod, which does an excellent job ensuring it’s all clean.
- Clean the parts that need to be connected: Before soldering two objects that need to be attached, make sure to eliminate the wax and any contaminant or surface oxide on the surface. You can do this by simply scrubbing the surface.
Step 3: Tin Before You Can Start Soldering
Another often overlooked step you need to observe when using your antique soldering iron to solder a joint is tinning. This step is crucial as it ensures the soldered joint is firm and robust because it allows the solder to flow easily on both the joint and iron. Here are the steps you need to follow when tinning;
- Ensure the soldering iron bit is adequately tinned: You need first to make sure the soldering iron joint is wetted or tinned properly. After doing this, apply a tiny quantity of solder on the soldering iron before making the solder joint. As you do this, confirm the solder is flowing smoothly over the soldering iron’s surface. If this doesn’t happen, use the wet sponge to wipe away the thin solder layer on your soldering iron bit. While adding solder is crucial, please don’t add too much as this creates poor joints since it will start oxidizing on the iron in huge quantities, leading to dry joints.
- Tin places that need soldering: After making the soldering iron joint, solder must flow uniformly and evenly over it. This usually best happens when the wires have been tinned, that is, added a thin solder layer over them. Once all the components are correctly tinned, you can now start the soldering duties.
Step 4: Make The Soldered Joints
The steps to follow when making a soldered joint are simple and straightforward. All that’s needed from you is continued practice and, over time, be able to make well-made soldered joints. The steps to follow when doing this are;
- Attach the wires and components that need soldering together: The first to take is to make sure the components are either in position or moved quickly into position. You can do this by either positioning the leads around the post or through the holes in the printed circuit board. Nonetheless, don’t attach them very firmly, or else taking them out in the future might be a challenge.
- Clean the soldering iron: Your next steps should be cleaning the soldering iron using a wet sponge. As you do this, it’s best to let there be a little solder to ensure the bit is tinned properly. Doing this promotes the easy flow of heat from your antique soldering iron to the solder joint.
- Solder the joint: You now need to apply the solder and soldering iron to the joint simultaneously, while letting the solder flow over it while giving the flux time to work. As you do this, don’t use too much solder when making the joint to avoid blobs forming around the solder. This entire process should take a few seconds to be completed or risk the solder getting oxidized, leading to a dry joint if you hold the iron on the solder for too long.
- Remove your soldering iron: After making the joint, you should remove both the solder and soldering iron. Give the solder enough time to cool down and don’t try to touch it.
Conclusion
If you didn’t know where to start when using your antique soldering iron, reading this detailed guide has offered you valuable insights. Now that you know this, it’ll be much easier to use your antique soldering iron and achieve the results you had hoped to make firm solder joints.

