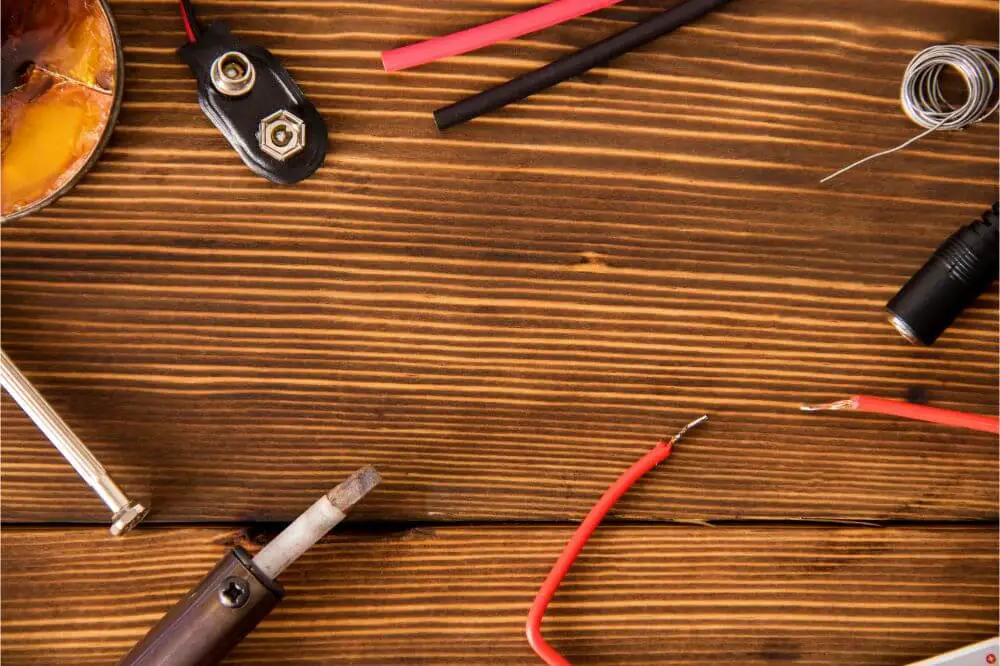
Heat shrink tubing, also referred to as heat shrink sleeves, is encasing or covering cables or wires inside an insulating tube to help in protecting it against external disturbances. There is no doubt that the heat shrink tubing process is relatively easy and can be achieved by any individual irrespective of their skill level.
Heat shrink tubing is available in the market in different colors and sizes. You can always get them from the market and use it to insulate your wires. In this article, we shall be discussing how to use heat shrink tubing with a soldering iron.
Using Heat Shrink Tubing With A Soldering Iron
Soldering, on the other hand, is a bit different from heat shrink tubing. Therefore, when using heat shrinks tubing with a soldering iron, you should consider keeping in mind the following tips:
- The first thing you need to do is ensuring that you install the heat shrink tubing before you start the soldering process. This is essential; if you happen to miss this step, using heat shrink tubing with a soldering iron will become a big pain.
- You should consider looking for a reliable heat source. You might consider using a hairdryer; however, Bunsen burner is often considered the best.
- Once you have that in place, you should go ahead and install your heat shrink tubing exactly where you would like it to be when it shrinks.
- With that in place, you will proceed to the next step, where you will hold your wire under the heat. While doing so, you should consider moving your hand back and forth as you pull your wire through your source of heat without hurting yourself. As you do this, you will be able to observe as the tube starts shrinking.
- As your tube starts shrinking, you will know when you are done. However, if you are not sure about this, you might consider tugging on your tubing gently in order to find out if it is secure. If it is well secured, then you will be through with the whole process.
As you can see, using a heat shrink tubing with soldering iron is relatively easy; all that is required of you is to adhere to these steps, and you will achieve your desired goal with the utmost ease. When it comes to soldering iron, you should consider following these steps:
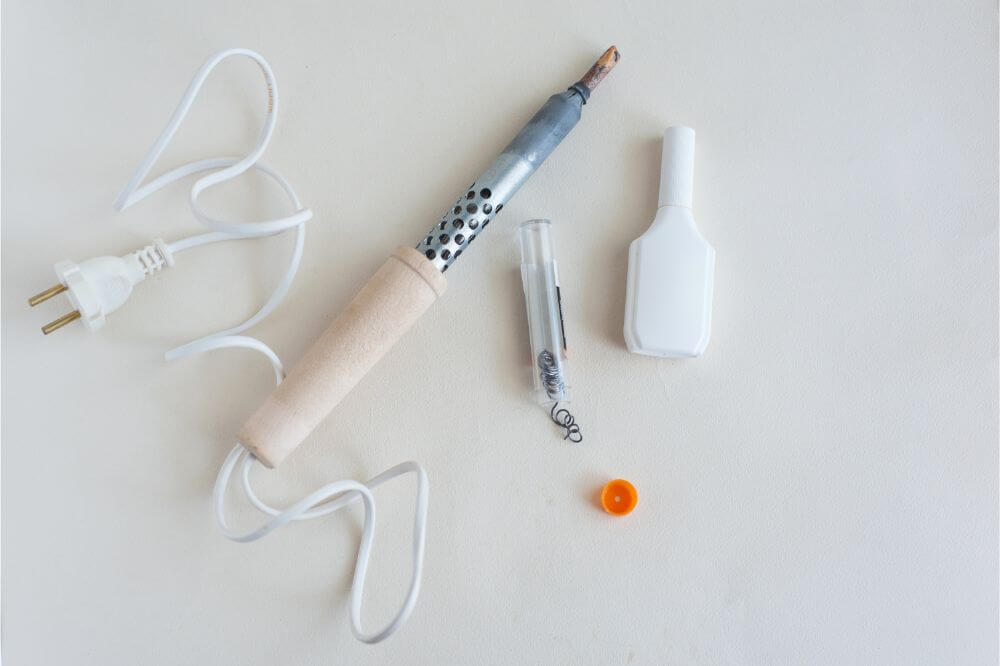
- Before you start the soldering process, you will need to have; a soldering iron, wire stripper, tweezers, soldering wire, and wire cutter.
- With all these in place, you will go ahead and plug your soldering iron and look for a place where you will rest it preventing the tip from touching anything. It would be best if you were cautious since it gets very hot.
- Go ahead and mount or clamp the wire you will be working on so that you don’t have to touch while soldering.
- You should then hold your soldering iron on the one hand and a soldering wire on the other hand. Always remember that soldering wire melts pretty fast; therefore, you shouldn’t be skimpy on a lead you have to yourself.
- To prepare the iron, you will touch your soldering wire to iron. The soldering iron tip will then have a few drips of the solder.
- Simultaneously, touch your soldering wire and the place you would like to solder. By doing so, your soldering iron will make that particular area hot. This method is considered better than melting your soldering iron on the iron.
- Your solder will melt pretty fast, and it will only take seconds for it to get into place. When you form a round bead of solder after the soldering process, it is considered a great soldering iron job. Ensure that the bead doesn’t form any pointy edges. If you require a touch-up job, go ahead and touch the soldered spot and avoid using a soldering wire this time.
- Once you are through, you should put your soldering iron in a safe place.
- This method is relatively easy before going ahead using a heat shrinking tube. However, you might consider choosing a strategy that will best suit your needs.
As a newbie, you should consider trying since this method requires patience and practice. It would be best if you never gave up; despite requiring practice and patience, the whole process is relatively easy.

Things To Consider When Using A Heat Shrink Tubing
When using a heat shrink tubing, you should consider measuring your wire’s diameter and then go ahead and choose a heat shrink tubing with the right size that will perfectly fit your wire. It would be best if you then slid it into your wire before you start heating it.
With the diameter reduced in size, your heat shrink tubing will fit tightly in your wire. Usually, a heat shrink tubing features a shrink ratio, which shows how much your tubing will shrink when heated. This means that you should always consider choosing the right size for your project.
In addition to the diameter, the length of your heat shrink tubing should be slightly longer than your wire. Furthermore, most of the heat shrink tubing tends to shrink longitudinally; as a result, choosing the right length will be great for your project.
Always use scissors to cut your heat shrink tubing to the right size before sliding it onto your wire. By doing so, you will allow it to cover the exposed section or the soldered area of your wire. To shrink your heat shrink tubing, you should use a reliable heat source and ensure that you move your hand back and forth to allow your tubing to shrink appropriately.
Final Thoughts
Heat shrink tubing helps in offering maximum protection to the exposed wire from any external element. On the other hand, soldering iron is ideal for connecting two wires. Once you are through with the soldering process, you should consider covering your soldered wires using a heat shrink tubing.
The whole process is relatively easy. To achieve it with utmost ease, you can always consider adhering to the tips discussed in this article. As we conclude, we hope that you have found this article helpful as you learn how to use heat shrinking tubing with soldering iron.

