mastering the use of the SharkBite crimp tool is time well spent for home DIYers and hobbyists alike, poised to delve into plumbing repairs and installations.
By engaging with this hands-on guide, you will be armed with the knowledge to execute precise and secure connections—transforming pipes and fittings into a cohesive system.
The pillars of successful crimping—preparation, technique, and testing—will serve as the cornerstone of your learning experience.
Prepare to equip yourself with the details of selecting the appropriate materials and tools, dressing in the necessary safety gear, and organizing your workspace to enhance the precision and efficiency of your craft.
Preparation & Safety
Safe and Sound: Mastering the SharkBite Crimp Tool
When it comes to DIY plumbing, there’s a little gadget that’s earned its stripes time and time again – the SharkBite crimp tool.
It’s a game-changer for anyone dabbling in pipe work, allowing for quick, reliable connections without the mess or fuss.
But, like with any tool, the key to success lies in not just how you use it, but also how safely you handle it. So let’s dive right in!
First up, always read that manual. It’s not just extra paper. That little booklet is packed with crucial tips directly from the makers themselves!
It doesn’t matter if you’ve crimped enough pipes to run a maze for your pet mice; each crimp tool might have its own quirks.
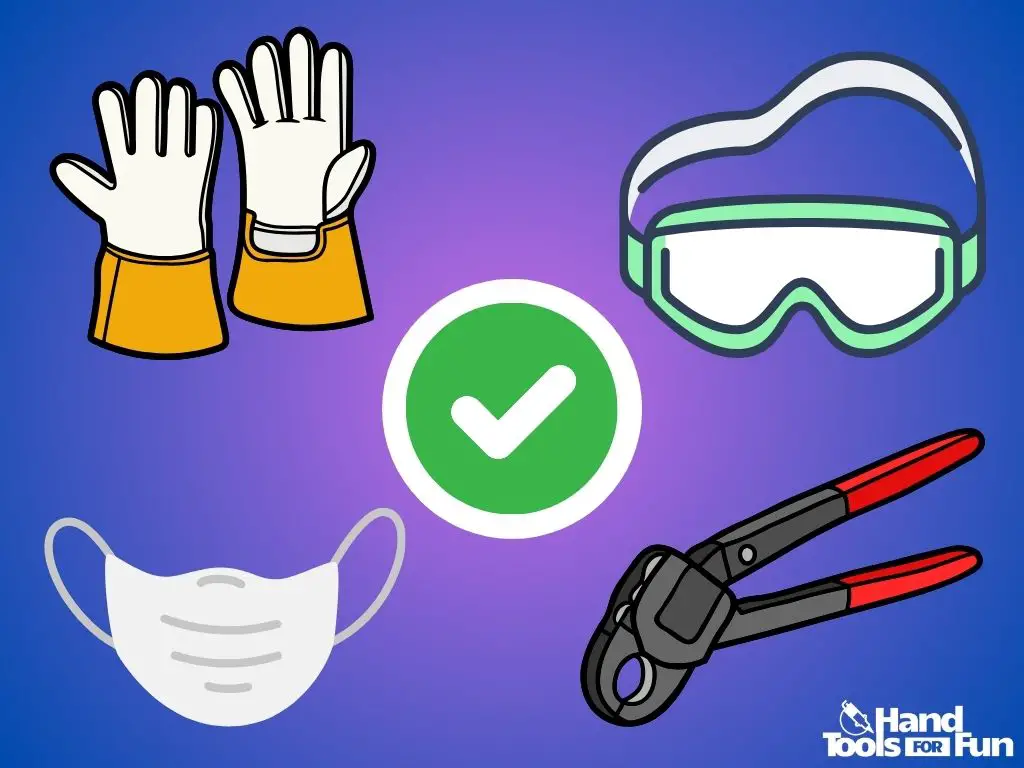
Now, gear up! PPE, or personal protective equipment, is not just for those industrial scenes. Pop on some safety goggles because those tiny fragments and any unexpected sprays don’t care about your weekend plans.
And those gloves? They’re your pals, helping you grip the tool firmly and protect your hands from any sharp edges.
Before you size it up, make sure the pipe and fitting are as compatible as spaghetti and meatballs.
The right fit means a secure connection; the wrong fit means you’re one step closer to calling in a pro. A snug union of pipe and fitting is what we’re after.
Okay, once everything is aligned, it’s time to mark your territory, literally. Mark the insertion depth on your pipe to ensure it goes in all the way.
It’s like a little high-five to yourself for making the perfect crimp.
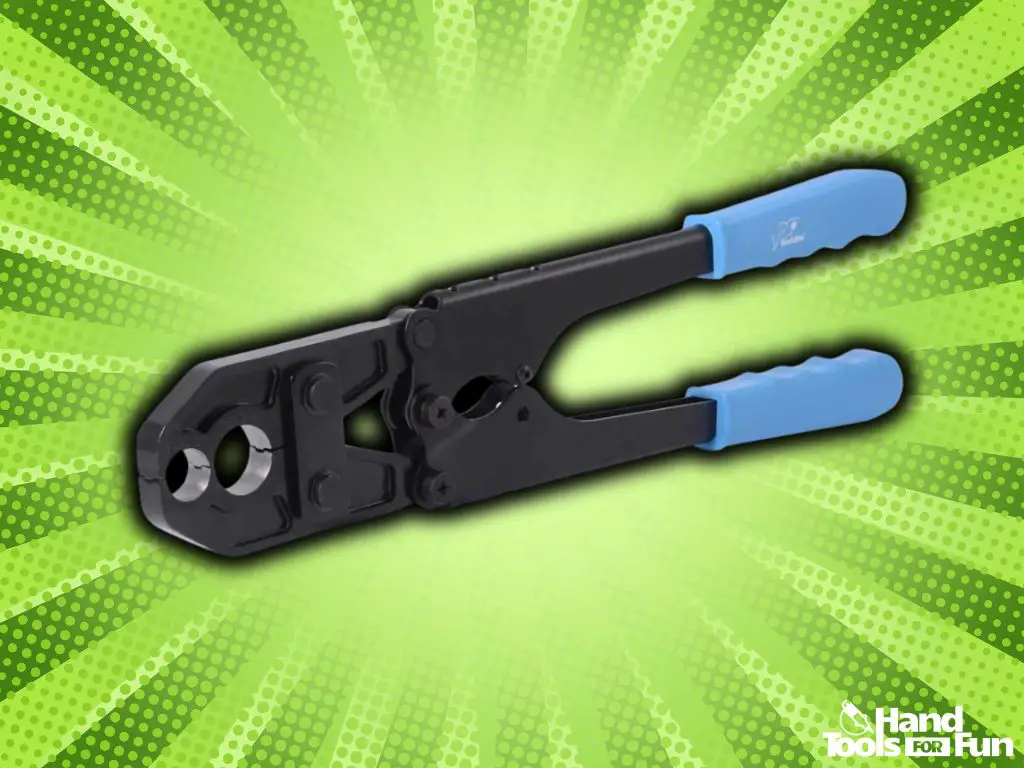
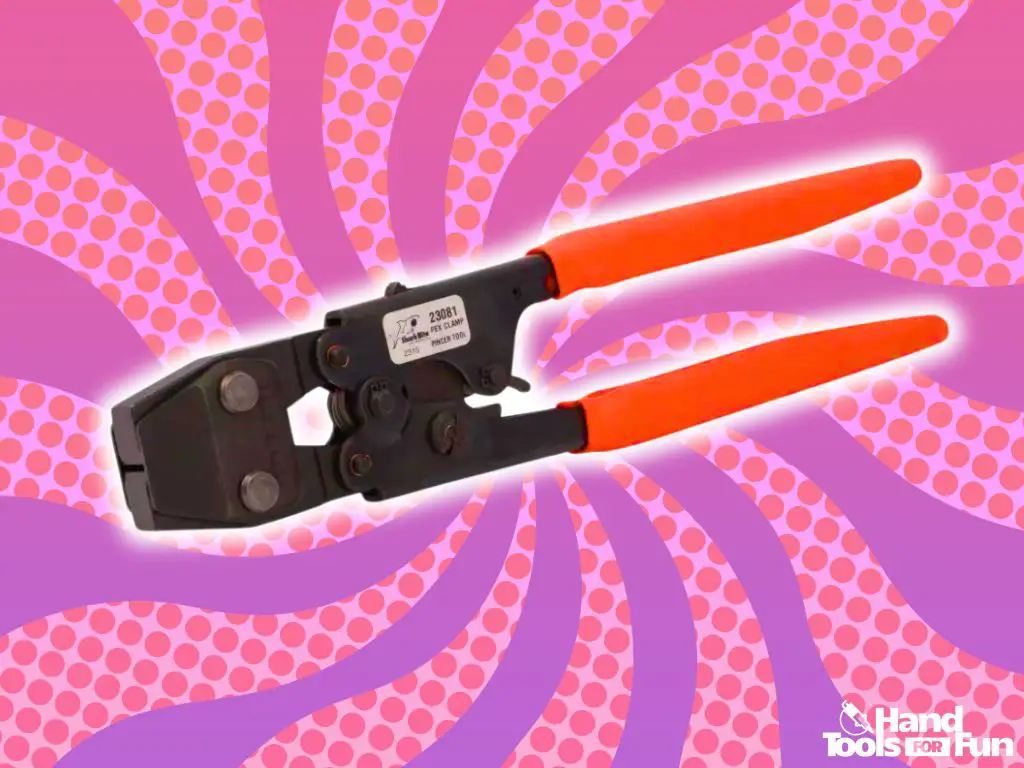
When you’re ready to crimp, position the SharkBite crimp tool squarely over the fitting’s crimp ring.
We’re not looking for abstract angles here. A straight-on approach will mean it’s evenly crimped all around.
Now, here’s where you need to channel your inner strength – squeeze that handle with even pressure until the tool does its full cycle.
Don’t Hulk out on it, but show it who’s boss. If your tool doesn’t complete the cycle, release and try again. Halfway doesn’t make it in plumbing.
After you’ve crimped, it’s not the end! Give that joint a good look and use a go/no-go gauge if you have one. The gauge will tell you if you nailed it or failed it. It’s your little reassurance buddy.
Lastly, and this is non-negotiable – keep your tool clean and dry. A well-oiled crimp tool will last longer than any reality TV show fame. Dirt or moisture could compromise its crimping prowess, and nobody wants a weak crimp.
And there you have it! By following these safety measures, you ensure that your plumbing projects will be just like riding a bike – smooth and less likely to land you in hot water (unless that’s what you’re plumbing for, of course).
Crimping Technique
Mastering the Art of PEX Crimping with the SharkBite Tool
When tackling plumbing projects, whether it’s for a home renovation or a quick fix, one of the most critical tasks is to create watertight seals on pipes.
Enter the SharkBite crimping tool—a game-changer for anyone enthusiastic about DIY plumbing.
With its user-friendly design and reliable performance, this tool has revolutionized the way hobbyists approach pipe installations.
Here’s the straight scoop on how to properly crimp a pipe using the trusty SharkBite tool!
Once you’ve diligently followed the initial steps of preparation, including checking the compatibility of your pipes and fittings, marking the insertion depth, and ensuring you’re donning the appropriate personal protective gear, it’s time to dive into the actual crimping process.
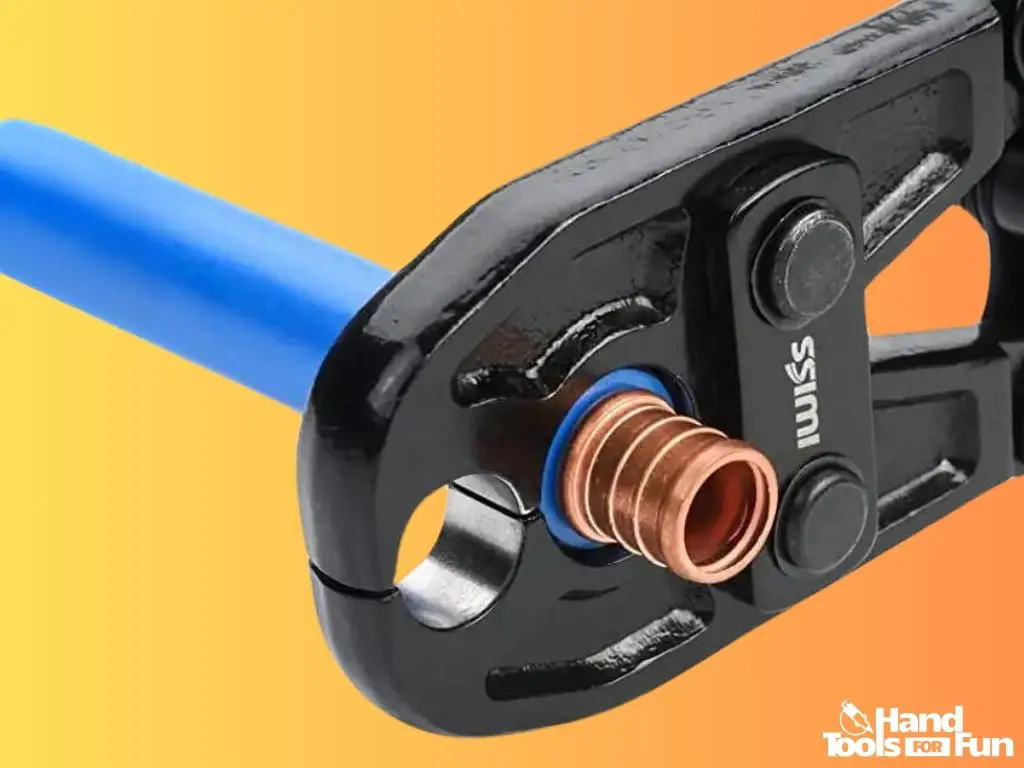
First up, slip the crimp ring over the end of the PEX pipe. It’s important to remember that the ring should be about a ¼ inch away from the end of the pipe to provide sufficient space for the fitting.
Then, insert the SharkBite fitting into the pipe until it meets the depth mark you’ve made earlier. Ensuring the fitting is perfectly aligned is paramount, as this guarantees a secure and even crimp.
Next, you’ll need to position the crimp tool accurately. Open the jaws of the SharkBite tool and position them squarely over the crimp ring.
Confirm that the tool is at a right angle to the pipe to avoid any wonky angles which could lead to leaks.
Close the handles of the tool slightly until the ring is held in place, but do not crimp yet. This is your chance to make any last-minute adjustments to the position ensuring perfection.
Now for the main event: crimping. With a firm grip on the tool handles, apply a solid, steady pressure to ensure that the crimp ring compresses evenly around the pipe and fitting.
This isn’t a time for timid efforts—confident pressure is required—but brute force isn’t needed either. Strike the balance.
Upon completion of the crimp, it’s time for quality control. Use the go/no-go gauge to check the accuracy of your crimp.
Properly crimped connections will fit snugly within the go/no-go gauge without any wiggle room.
If the crimp doesn’t pass the test, it’s vital to address the issue immediately to prevent future plumbing complications.
Remember the importance of tool maintenance which has been stressed earlier. Keep your SharkBite crimp tool clean and store it in a dry place to protect its functionality. After all, a well-maintained tool is a reliable one.
With these steps covered, you’re well on your way to becoming a SharkBite crimping maestro. As you grow more familiar with the process, you’ll find your efficiency and precision improving with each project.
Inspection & Testing
Ensuring a Secure and Leak-Free Crimp Connection: Advanced Tips
After meticulously following preparation and crimping steps, it’s crucial to verify the integrity of your connection. Here’s how to be confident that your crimp connection won’t give you the slip (or the drip!).
Conduct a Pull Test
Grip the fitting and the pipe and give them a firm tug. If there’s any movement or give, that’s your first sign that your connection might not be fighting fit. A secure crimp should be immovable and feel as one unified piece.
Visual Inspection
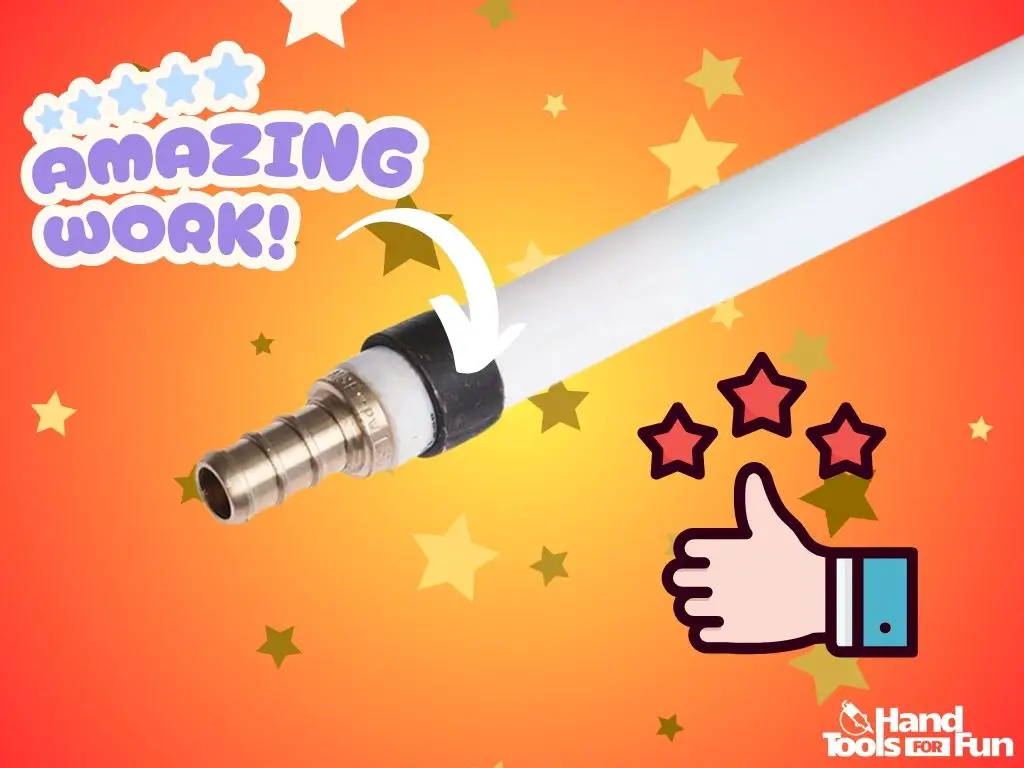
Take a close look at the crimped ring. It should appear uniformly compressed around the pipe and fitting.
Any gaps or unevenness can indicate improper crimping, and you’ll want to rectify that pronto to avoid potential leaks.
Pressure Test
For the supremely cautious hobbyist, a pressure test is the gold standard. Cap off the ends and subject the system to working pressure (using water, in most cases).
Any drops in pressure could signify a leak that may not be visible. A stable reading means you’ve nailed it!
Temperature Cycle Test
This one’s for the long-haulers. After a pressure test, allow the system to stand for some time, preferably through a few temperature cycles.
Temperature changes can cause expansion and contraction, which might unveil weaknesses in your joint that weren’t apparent initially.
Listen and Feel
Sometimes, the most sophisticated tool is your own senses. During a pressure test, put your ear close to the joint and listen for any hissing or gurgling sounds.
Run your fingers around the joint – any moisture or changes in temperature could betray the presence of a leak.
After confirming a secure and leak-free connection, your work is all but done. Remember, this level of thoroughness ensures the longevity and reliability of your crimps, keeping your systems running without a hitch.
With these advanced tips up your sleeve, crimping is not just a task; it’s an art and a testament to your dedication to quality craftsmanship. Happy crimping, and may your connections be ever secure!
With the acquired skills and confidence in using the SharkBite crimp tool, your transformation from an eager novice to a proficient user symbolizes more than just the completion of a task; it represents a personal triumph in the realm of DIY plumbing.
The journey doesn’t end here, as every successfully crimped connection lays the groundwork for continued learning and improvement.
Embrace the process, welcome the challenges, and take pride in the knowledge that each correctly executed crimp is a testament to your dedication to mastering a new skill that marries precision with practical application.


