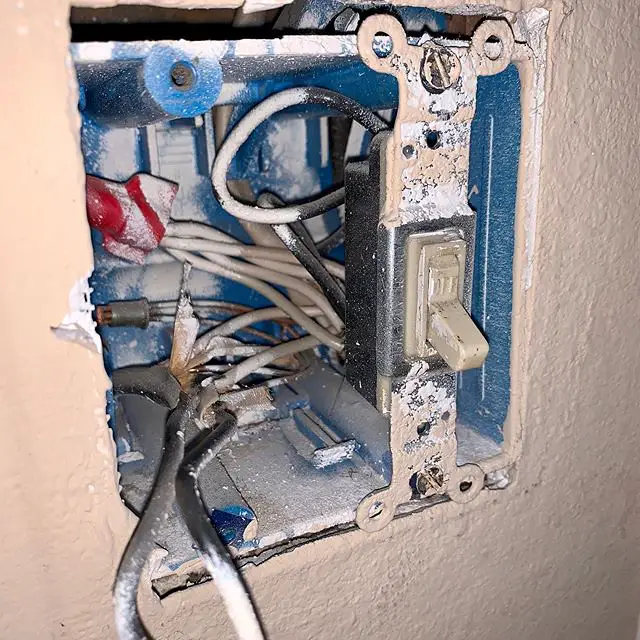
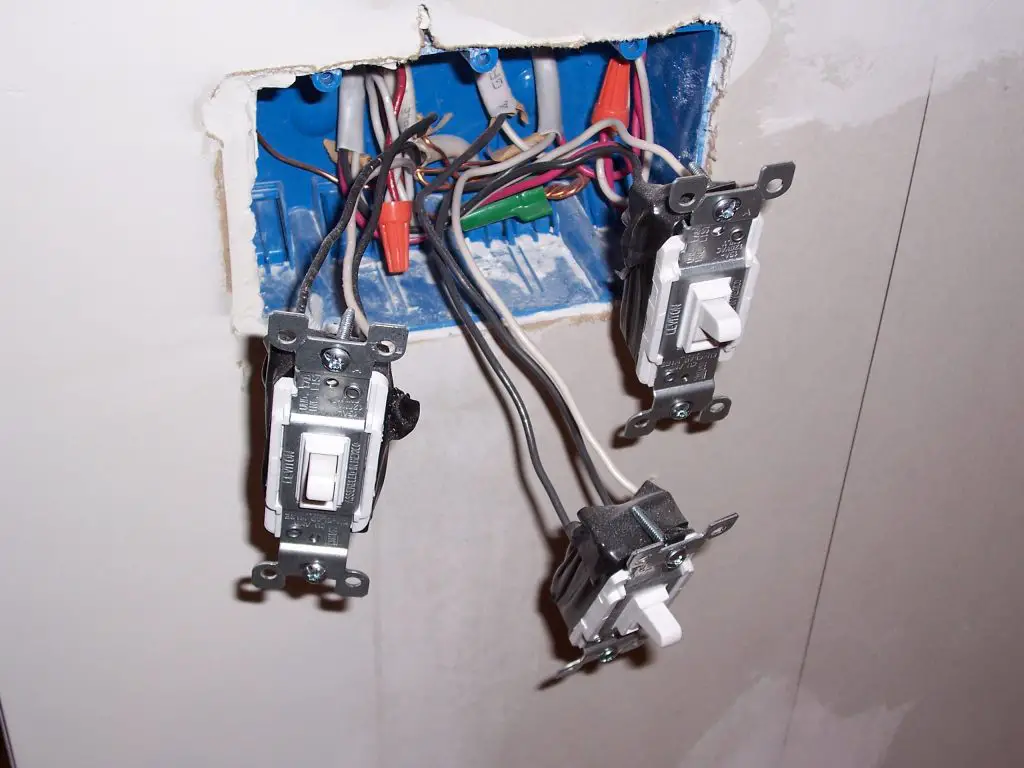
Equipping yourself with the right knowledge, from safety precautions to understanding the fundamental components, is imperative before delving into a task as intricate as the installation of a light switch. Since installation of a light switch is a task that involves dealing with electricity, it’s important to prioritize safety above all else.
This means learning how to properly cut off the power supply at the circuit breaker, as well as handling only insulated tools throughout the process. Beyond safety measures, it is equally essential to grasp an understanding of the key components of a light switch, namely the switch plate, switch box, and wiring – all of which play significant roles in its function.
Once equipped with a comprehensive knowledge of these aspects and safety measures, you’ll be ready to embark on the journey of skillfully installing a light switch.
Safety Precautions
“Safety Power Play: The Essential Guide To Safely Installing A Light Switch”
When the world of electrical DIYs calls, every enthusiast understands the adrenaline rush that precedes the wiring and the switch installations, and the final flick that ignites your space into brightness. There’s no denying it’s a rewarding hobby.
Yet, no light switch installation is successful without an insistent emphasis on safety measures. Let’s navigate through these essential safety tips to ensure a secure and satisfying DIY experience.
First and foremost, never underestimate the power of good preparation. Don the right gear before beginning the installation. Safeguard your hands with insulated gloves, wear non-conductive shoes, and protect your eyes with safety goggles. Wearing the right attire can significantly reduce the risk of electrical accidents.
Always remember, safety begins with powering down. Locate the corresponding circuit breaker in your electric service panel and flip it to the “off” position. If you are unsure which breaker connects to your light switch, it’s a good idea to shut off the main breaker.
Next, double-check that the power is indeed off. Use a non-contact voltage tester for this. Simply place the tester near the wires you’ll be working with— if it lights up or beeps, you know there’s residual electricity and it’s not safe to proceed. Continue testing until no sign of electricity is detected.
While handling wires, stick to an important rule of thumb – treat every wire as if it is live. Always manipulate wires using insulated tools and never touch more than one bare wire at a time. Accidental contact can result in an electrifying experience you’d wish to avoid.
Color coding is an essential part of electrical systems. Understanding wire color codes can prevent mishaps during installation. In the United States, black denotes live wires, while a white wire signifies neutral. Meanwhile, green or bare wire symbolizes the earth or ground wire.
Utilizing wire connectors or wire nuts is the safe route to go when joining wires rather than electrical tape alone. Not only do they provide better electrical continuity and prevent shorts, but they also secure wires from accidental separation.
For switches located near water sources, installation of a Ground Fault Circuit Interrupter (GFCI) outlet is pivotal. A GFCI can detect the current flow’s imbalance and disconnect power rapidly, preventing a potential lethal shock.
Last of all, should anything appear suspicious or if you feel uncomfortable at any point during the process, don’t hesitate to contact a professional electrician. An expert would rather you call for advice or assistance than risk safety.
With these tips, venturing into the world of light switch installations can be both exhilarating and secure. Challenge yourself, enjoy the journey, but always prioritize safety. After all, the thrill of the hobby doesn’t dim the importance of staying safe. Happy DIYing!

Photo by juniorferreir_ on Unsplash
Parts of a Light Switch
The Anatomy of a Light Switch: Know What’s Behind Your Wall
So, you’ve got your setup ready, your safety gear on itching to dig into the world of light switches, huh? Excellent! By now, you know your wire color codes and the importance of using insulated tools.
But what makes a light switch tick? What components lie behind the seemingly simple act of illuminating a room? Let’s explore the intricate world that lies just beneath the commonplace light switch.
First up is the “Switch Housing.” It’s the exterior cover that you interact with daily, protecting the interior mechanics and providing an aesthetically pleasing interface. Just a flick, and its job is done – or is it?
Then we have the “Toggle” – that simple lever we flip up or down, completing or interrupting the electrical circuit. The toggle sets off a chain reaction inside the switch with each manual interference.
Now, let’s dive deeper. Nestled within the switch is the “Contact Terminal.” These essential metal parts connect to the electrical wiring within the house. Upon toggle manipulation, the terminals make or break their connection, thus controlling the flow of electricity.
Electricity is brought to the terminals via the “Hot Wire.” This color-coded wire (usually black or red) carries the electrical current from breaker box to light switch. It’s called hot for a reason – respect it!
Culminating this electric tango is the “Neutral Wire.” Color-coded, typically white, this wire completes an electrical circuit by returning the current back to the electrical panel.
Ensuring this entire process remains grounded (quite literally!) is the “Ground Wire,” traditionally green or bare copper. This safety feature lowers the risk of electric shock by redirecting any unintentional current directly into the earth, bypassing you.
Practical advice? Never forget the importance of a “Switch Box.” It helps contain the inner workings of your switch by providing insulation against potential fire hazards.
Lastly, remember the “Mounting Screws.” These humble heroes securely hold the switch in place inside the box. Oftentimes overlooked, screws keep the delicate dance within the system secure and steady.
Now that we’ve assembled the squad that constitutes a light switch, remember these components function in harmony to provide safe and accessible lighting solutions. They’re interconnected to provide an intricate yet elegant tool for our daily use – the unsung heroes of our illuminated days and nights!
While it may seem intricate, understanding the inner workings of a light switch builds your knowledge on this ever-imaginative hobby. It’s a testament to human ingenuity, demonstrating the detailed thought process behind everyday functionality! So next time you flip a switch, recall the dance of the components inside, working tirelessly, illuminatively, just for you.

Installation Process
Sparking a Love Affair with Electrical Wiring and Light Switch Installation
Having already discussed safety, preparation, and the basics of electrical wiring, it’s time to shine a light on the actual process of installing a light switch.
Swapping out old switches or installing new ones can be intimidating, but understanding the process demystifies the task. Today, we’ll run through a few critical steps.
Dismantling Old Fittings
In case of replacing an old light switch, the first challenge is to carefully remove the existing switch. Untightening the screws on the switch housing cover, which is the outside covering of the switch box, lets us easily remove the cover. This slides off to reveal the switch itself, known as the toggle.
Understanding Switch Components and Light Switch Installation
The toggle is the visible part of the light switch which we flick on and off daily. But, behind it, hidden inside the switch housing, are the contact terminals where the hot wires connect. These are typically brass and silver screws on the side of the light switch.
The hot wire is responsible for carrying the electrical current from the electrical panel to the light fixture. This hot wire connects to the contact terminal, often gold or copper-colored.
There’s a neutral wire too, generally colored white, that completes the connection and allows the power to flow. And let’s not forget the green or bare copper wire – the ground wire, a vital safety feature.
Installing the New Switch
Commencing our installation, the hot wire attaches to the contact terminal on the side of the switch. Then, in the switch box, which is the rectangular, metallic or plastic box housing the entire setup, the neutral wiring and ground wire connect to their respective terminals or grounds.
After securing the wires, the new switch aligns into the switch box. We anchor it sturdily using the mounting screws. It’s important to make sure that no wires are loose or exposed. Everything should fit neatly within the switch housing. Finally, the switch cover top slides back on, safely enclosing all the wiring.
The Final Test
Now for the moment of truth! After restoring power visually check the switch for operation. If the light comes on, congratulations are in order – you’ve installed a light switch correctly! However, if it’s a no-go, it’s back to the drawing board to check connections.
In a world where everything seems to be smart, knowing how to install a light switch is a skill that retains its relevance. Even if smart and voice-activated lighting gains more popularity, having a basic understanding of household wiring and being able to install a light switch is a genuinely empowering skill set that every hobbyist should aim to have in their toolkit.
Remember, understanding the basics, and knowing the wiring and setup inside out, makes the task easier. And if things get too tough, there’s no harm in calling a professional. After all, electrical work isn’t to be taken lightly.

Photo by juniorferreir_ on Unsplash
Indeed, installing a light switch isn’t a task to be taken lightly. However, with adequate preparation and understanding, it can become a manageable and even enjoyable project.
It involves taking note of and following crucial steps such as removing the existing switch, connecting the new one, coupling it to the wiring, and finally, testing the new installation.
The sophistication this brings to your space is definitely rewarding and offers a sense of accomplishment. With the acquired knowledge and skills, one is empowered to efficiently handle light switch installations while ensuring safety and appropriateness, truly mastering what initially may seem like a complex process.


