
Developing the ability to handle electrical work around your home can be an empowering journey. Understanding electrical wiring basics from wire types, their colors, and their roles gives you the necessary foundation to take on any electrical job.
In this comprehensive guide, we set out to provide you with the requisite knowledge to safely and effectively carry out your electrical wiring needs. All is clearly delineated from learning basic electrical symbols, reading wiring diagrams, to effectively navigating safety practices when working with electricity. To cap it all, a detailed step-by-step walkthrough on how to wire a light switch and outlet is designed to give you practical, hands-on experience.
Understanding Electrical Wiring Basics
Decoding the Basics: Essential Electrical Wiring Principles for a Light Switch and Outlet
Ever stood entranced as a wall light comes to life at the flick of a switch or marveled at how a simple outlet powers up your devices? Then, dear enthusiast, it’s time to ignite your curiosity and venture into the world of electrical wiring! This compelling hobby not only allows us to explore our intricate world but also hands us the controls of two of life’s essentials: light and power.
Before launching into the world of wires, switches, and outlets, grasp some fundamental electrical concepts.
- Understand Your Electricity 101: Essentially, electricity travels in a circuit – a continuous path. Power will move from the source, say a light bulb, and return. If this circuit breaks, the electricity stops. Understand that electrical current always desires to return to its source after completing its task.
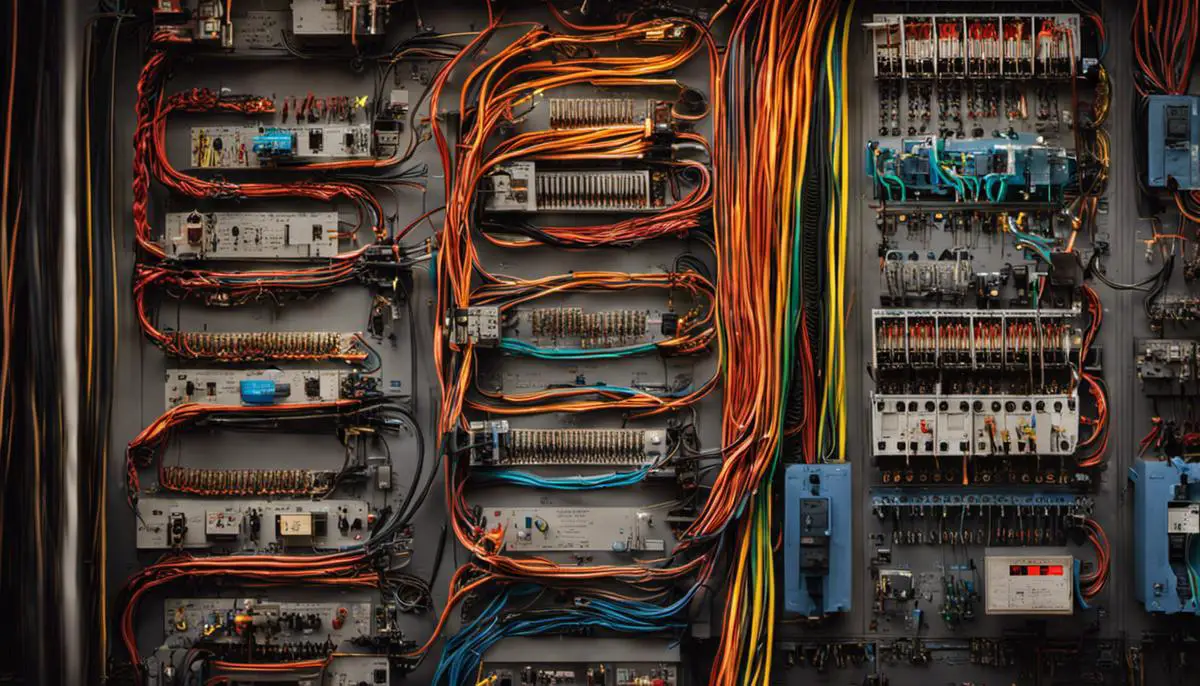
- Recognize Wiring Colors: Wire colors ease identification. Usually, black or red wires indicate “hot” wires carrying current from the power source. White wires, known as “neutral,” complete the circuit back to the source. Green or bare copper wires are “ground” wires, offering a safe path for electricity if something goes awry.
- Grasp the Role of the Switch: A switch, by definition, interrupts the electric circuit, stopping the flow of electricity until switched back on. When you ‘switch on’ a light, you’re just closing (completing) the circuit.
Diving now into wiring a light switch and power outlet, follow these steps:
Step 1: Turn Off Power:
For any electrical work, safety is paramount. Always start by switching off the circuit breaker connected to your workspace area.
Step 2: Wire the Light Switch:
Connect the “hot” wire (black/red) from the power source to one terminal of the switch and the “hot” wire leading to the light fixture to the other terminal. It creates a path for the electricity to flow from the source, through the switch, and to the light.
Step 3: Connect the Neutral and Ground Wires:
With the light switch wired, connect the “neutral” wire (white) directly from the source to the light fixture. It completes the circuit back. Likewise, connect the “ground” wire (green/bare copper) from the switch box to the light fixture.
Step 4: Wire the Outlet:
Similar to the switch, attach the “hot”, “neutral” and “ground” wires to the respective terminals of your power outlet.
Step 5: Confirm Your Connections:
Double-check that your wires are secure to their corresponding terminals and that no wire strands are exposed.
Eventually, test your wiring by restoring the power at the circuit breaker. Voilà! The satisfaction of illuminating a room with a click, or powering up a device from your personally wired outlet, is indeed immeasurable!
Ready to take on a rewarding hobby such as this? Maintaining respect for safety guidelines and harnessing understanding of the principles, anyone can explore the transformative world of electrical wiring with patience, dedication, and most importantly, a spark of enthusiasm!

Safety Measures When Working With Electricity
Unveiling the Critical Safety Measures for Wiring Light Switches and Outlets
For the devoted DIY electrical enthusiast, it’s indispensable to commit uncompromising attention to safety measures when wiring light switches and outlets. We must remember that while electricity can complement the functionality of our homes, it can also be lethal if mishandled. Below are comprehensive safety measures you cannot afford to ignore.
- The first crucial safety precaution – never embark on electrical tasks without turning off the power at the circuit breaker or fuse. This action ensures that no electricity is flowing through the circuits you’re working on. Use a non-contact voltage tester to confirm that the power is indeed off.
- Protective equipment should not be overlooked. Proper gear such as insulated gloves and boots, safety glasses, and a flame-resistant apron protects the handler from possible severe injuries. It’s not an option – it’s a necessity for unhindered and safe work.
- When removing an old switch or outlet, label the wires carefully to avoid mixing up the wiring configuration. It might seem like a small step, but miswired switches and outlets can lead to electrical fires or injuries.
- All wiring endeavors should be accompanied by a wire stripper suitable for the wire size you’re working with. Incorrectly stripping wires can lead to exposed or damaged wires, increasing the risk of short circuits or electrical shocks.
- Another critical measure is adherence to locally approved codes and regulations. These color codes and rules ensure that even in your absence, any electrician can understand the wiring system and offer assistance without risking their safety.
- Electrical outlets must be appropriately grounded. It’s not just a fundamental safety requirement but also a crucial aspect in preventing electrical shocks. Consult NEC (National Electrical Code) guidelines to ascertain proper grounding procedures.
- In any DIY electrical project, using the right equipment is as essential as the work itself. For switches and outlets, always insist on UL-listed components. These have undergone rigorous safety testing and are compliant with the highest safety standards.
- Perhaps the most worthwhile advice is this: always take your time. Hurrying through electrical work not only leads to mistakes but also increases the risk of accidents. Paying keen attention to detail could very well save your life.
- Last but not least, if in any doubt about your wiring project, don’t hesitate to consult a licensed electrician. Nothing surpasses professional advice in guaranteeing the safety of your home and its inhabitants.
The electricity-laced tightrope walk that is DIY electrical work can be safely traversed by empowering yourself with the right knowledge and taking appropriate precautions. Happy wiring and remember, safety first!

The Process of Wiring a Light Switch and Outlet
Diving even deeper into the captivating domain of wiring switches and outlets, let’s acquaint you with a detailed sequence for achieving the desired output. We all are familiar with the importance of turning off power at the circuit breaker, using the right protective gear, and adhering to local codes and regulations. Let’s go ahead and explore some further insights.
Once the power supply has been disconnected, remove the old switch or outlet from its place. When doing so, it’s imperative to take note of wire placements and label them to avoid confusion later on. This habit is invaluable — even for seasoned veterans — in ensuring a smooth reinstallation process for the new switch or outlet.
Attentiveness while dealing with stripped wires cannot be overstressed. Using an appropriate wire stripper is key to maintaining the integrity of the replaced electrical device. One should also ensure the wire stripper matches the wire size. Too large, and it won’t make contact; too small, and it might damage the wire.
Next comes ground wire installation for an outlet, ensuring safe and smooth operation of electrical gadgets. This step is crucial and cannot be bypassed. Make sure the wire is tightly secured on the green ground screw which is generally located at the bottom.
Remember to use UL-Listed switches and outlets. This is not only a safety measure but also a way to be certain that your work is up to par with industry standards. It’s an underrated part of the process that needs more recognition among hobbyists.
And of course, since wiring isn’t just a job but an art, it demands time, patience, and undivided attention. The electrical work involves dealing with intricate circuits that cannot function properly if not handled with care. So, take a moment, breathe, then proceed with attention to detail.
When in doubt, never hesitate to consult a licensed electrician. Don’t be discouraged; even professionals seek second opinions. Engaging in these complex projects is all about enhancing skills, learning from mistakes, and most importantly, creating something functional and useful with your own hands.
In closing, remember that this journey in the fascinating world of electrical wiring is packed with practical knowledge, application, and a rewarding sense of accomplishment. Happy wiring!

Mastering the art of electrical work not only equips you with skills to undertake home improvement projects but also enhances your understanding of how your home functions. Paying due regard to safety measures can prevent accidents and ensure your comfort as you navigate your electrical projects. The process of wiring a light switch and outlet, while it may seem complex at first, is made simpler when broken down into manageable steps. By diligently following these guidelines, you’ll end up with a properly functioning light switch and a feeling of accomplishment. Remember, each learning experience brings you a step closer to becoming proficient at home electrical work.
