
The world of beadwork holds an enchanting palette of colors, textures, and design possibilities. But to transform your unique vision into a tangible piece of jewelry, you need a firm grasp on your essential tools.
A bead crimping tool is one such vital piece of kit, the mastering of which forms the backbone of this guide.
You’ll be guided through the anatomy of this tool, comprehending its various components and their specific functions.
Following this, we will demystify the process of bead crimping, presenting a clear, step-by-step guide on executing it correctly.
Lastly, to ensure your beadwork journey is as smooth as possible, the common mistakes and their solutions regarding the bead crimping process will be discussed.
Understanding the Bead Crimping Tool
Unraveling the Intricacies of Your Bead Crimping Tool: Parts and Functions Explained
Immersing oneself in the captivating art of beading is indeed a rewarding endeavor. Whether it’s making intricate jewelry pieces or embellishing everyday items, beading offers unlimited opportunities for self-expression.
One essential tool in every beader’s arsenal is the bead crimping tool. Understanding its parts and their functions is key to mastering this craft. So, let’s delve right into it!
A bead crimping tool, also known as a bead crimping plier, is the unsung hero in making beaded masterpieces.
While they may look similar to regular pliers, crimping tools have specialized characteristics perfect for the art of beadwork.
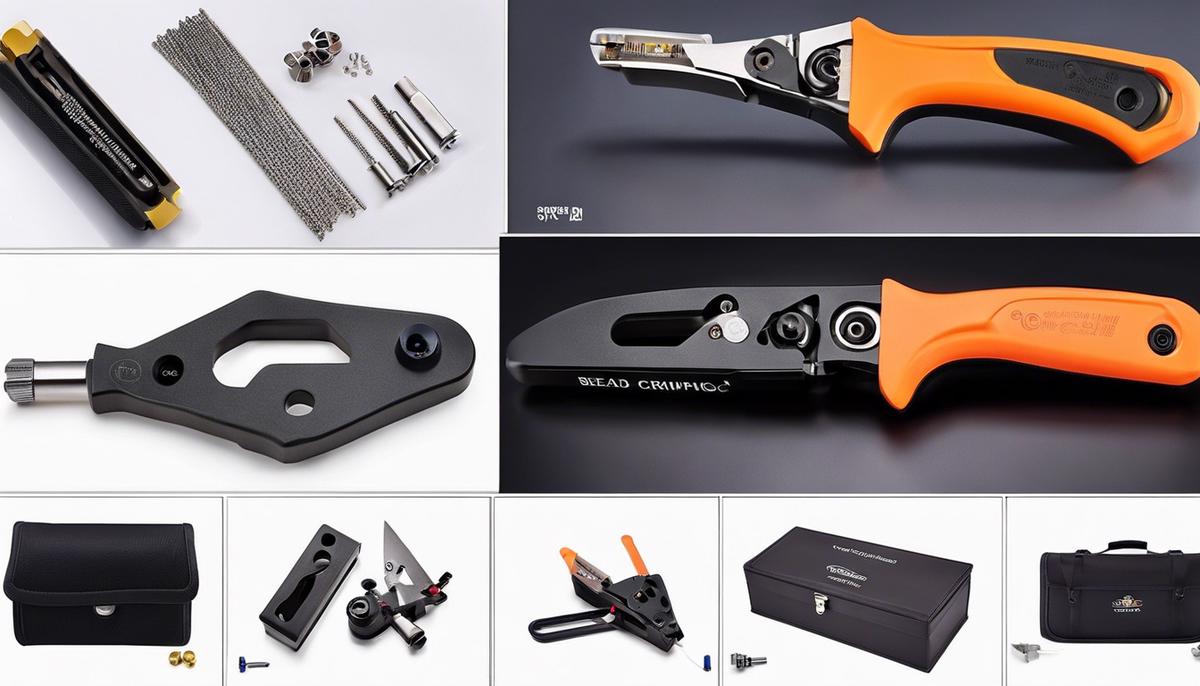
There are three main parts to every bead crimping tool: the handles, jaws, and pivot.
- Handles: These are the long, often padded sections used to grip the tool. They usually have a spring mechanism which aids in maintaining an open position, ready for use. The handles allow for controlled pinching, vital when manipulating tiny beads. It’s essential to consider the comfort level and grip of the handles as they directly influence the user’s crafting experience.
- Jaws: The business end of a bead crimping tool lies in its jaws. Contrary to the flat jaws found in everyday pliers, crimping tools feature two distinct rounded notches, often referred to as the ‘crimping’ and the ’rounding’ areas.
- The first notch closest to the handle, aka the ‘crimping area,’ is oval-shaped and creates a crimp that securely fastens the bead onto the stringing wire. The ability to do this provides the cornerstone of most beading projects.
- The second notch, or the ’rounding area,’ reshapes the freshly crimped bead into a neat round form. This adds an aesthetic finishing touch to the beadwork and helps conceal the functional crimp underneath.
- Pivot: Situated between the handles and the jaws, the pivot is a hinge that controls the movement and alignment of the jaws. This often-overlooked component is integral to the tool; without it, the crimping and rounding actions wouldn’t be possible.
By understanding these individual components and their roles, one can truly appreciate the function and mechanics of a bead crimping tool.
By operating the handles, the notches in the jaws work in harmony to secure and shape the crimp beads, ultimately holding your beadwork together.
So, the next time you pick up your bead crimping tool, take a moment to appreciate its ingenious design and the discrete mechanics at work while you create your everyday masterpieces.
Not just a mere accessory, your bead crimping tool is a partner in your journey of creating exquisite bead art.

Bead Crimping Process
Diving into the heart of the work, the first step that enthused bead artists take to properly secure a bead using a crimping tool is the strategically positioned placement of the crimp bead.
This should be threaded onto the bead wire at an appropriate location, depending on the design’s exact specifications.
This careful placement allows for a good foundation that prevents the beads from slipping off the wire.
The next step is to insert the bead wire through the clasp, loop it back through the crimp bead, and pull the wire to tighten it.
It is a very crucial step for those aiming for snugly fitted beadwork. Perhaps a small tip worth remembering might be to leave a tiny bit of slack for the following manipulation of the bead.
Now comes the magic of mastering skilled leverage of the crimping tool. By position the crimp bead in the crimping area of the jaws, apply gentle pressure while maintaining a vigilant eye on the bead shape.
The objective here is to mold this bead into a nicely rounded shape, not squashing or misshaping it.
A real display of sophistication is achieved by the bead artist’s ability to get just the right amount of pressure on the tool.
Swiftly moving on, the slightly flattened crimp bead should be rotated 90 degrees so that it can be inserted into the rounding area of the jaws.
With firm confidence, secure the crimp bead in place. However, caution is needed to avoid over crimping as strike the perfect balance here is vital to avoiding damage to the bead and wire.
Finally, by this stage, the work is on the homestretch. Thread the loose end of the bead wire back through the nearby beads, and trim the excess, creating a neat and tidy finish.
This is an important aspect of the overall aesthetic appeal of your beadwork. It’s all about those final touches making all the difference!
The spectacular adventure of mastering your use of a bead crimping tool is one of the astonishing journeys observed.
The ability to gear all these different components in perfect synchronization, all to secure a single tiny bead holds an undeniable charm.
And in the end, it’s not just about the destination but also about the journey – the learning, the trial and error, the joy of ultimately seeing your beautiful handiwork come alive.
It’s quite the thrilling ride. Once you catch the get the hang of it, there’s no looking back! Happy crimping!
Troubleshooting Common Mistakes
Now, where the creativity truly unfolds is in the nifty usage of this tool. Despite having wrapped our heads around the mechanics and steps involved, pitfalls can occur, especially for beginners.
Recognizing these missteps can make the difference between an amateur and a pro. Let’s sift through several errors that tend to pop up when using the bead crimping tool for the first time.
Pitfall one is the all-too-common “Bad Bead Position.” The crimp bead position on a wire is critical. Place it too loosely, and you risk losing your beads.
Keep it too tightly, and it affects the fluid movement of the piece, particularly in bracelets or necklaces.
Hover around goldilocks territory – not too far, not too close to the clasp, leaving about a 1 cm gap for seamless articulation.
Secondly, we delve into the snafu of “Inadequate Thread Security.” It’s challenging yet paramount to the success of bead projects.
The bead wire should loop through the crimp bead and clasp, then back through the crimp bead again smoothly.
Skipping this step or performing it improperly may cause parts to come apart.
Third on our hit parade is the “Over-Zealous Crimping.” Be careful not to apply too much force when using the bead crimping tool.
Squeezing too hard during the crimping process may weaken or even break the crimp bead. Be gentle, it’s not a battle, it’s a dance!
Our fourth culprit is the often overlooked “Mid-air Rotation.” The crimp bead must be snuggly nested within the jaws before turning it – avoid turnings in mid-air!
This simple technique guarantees perfectly rounded beads every time, offering a professional look and durability.
The fifth common mistake is neglecting the loose end wire. After crimping, don’t leave it hanging; that’s a faux pas in beadwork.
Threading it back through the nearest beads and trimming the excess provides a clean and professional look, not to mention, stability.
And finally, there’s something true artisans never neglect – the finishing touches. Achieving neat, precise, and tidy formation can’t be overemphasized.
Deviating from these seems petty but often leads to lack-luster results. Remember, every small step is an essential brick in the final masterpiece.
Every craft is a journey laced with constant learning. The road to mastering bead crimping tool usage is no different.
Every practice piece gets you closer to the impeccable beadwork piece that mirrors your vision. Plus, nothing beats that surge of satisfaction seeing your finished bead-art, visual proof of your improved skills.
You’ll find that the joy packed in this fulfilling endeavor makes every misstep and triumph all worth it.
Enjoy your bead journey; it’s sure to be as dynamic and colorful as the creations you craft!
Armed with the understanding of the bead crimping tool, its operation process, and how to approach troubleshooting, you are well prepared to navigate your beadwork journey with enhanced skill and confidence.
This voyage will be filled with trials and errors, but by knowing how to prevent and fix common mistakes, each misstep can be turned into a learning opportunity.
Above all, remember that every beautiful piece of artwork started as raw materials in the hands of an artisan willing to learn, make mistakes, and grow.
Now, with the knowledge imbued in this essay, the world of beadwork awaits your touch. Happy beading!
