
When it comes to electrical connections and wire work, the use of a DuPont crimping tool is indispensable. Whether you are a hobbyist or a professional, these tools play a crucial role in ensuring secure and perfect connections.
This piece delves into understanding the ins and outs of the DuPont crimping tool. Our journey will begin by decoding essential features and benefits of this tool while stressing upon its vitality for effective electrical connections.
Following this, we will guide you through the paramount steps of preparing the wire and setting up the crimp connectors on the tool.
Finally, we will walk you through the correct crimping process and offer insights on managing pressure based on varying wire sizes to assure an accurate crimp connection.
Understanding DuPont Crimping Tool
Welcome, fellow enthusiasts, to another fascinating exploration of a vital component in the world of hobby electronics: The DuPont Crimping Tool.
This remarkable tool, while often overlooked, is indispensable and can elevate a hobbyist’s projects to a professional level.
The name ‘DuPont’, although synonymous with scientific innovation and progress, in the electronics context refers to the type of connector.
The DuPont connector series involves 0.1” (2.54mm) pitch single row connector family commonly used to create custom jumper wires.
The connectors get their name from the company that first created them, and these have become a standard in hobby electronics.
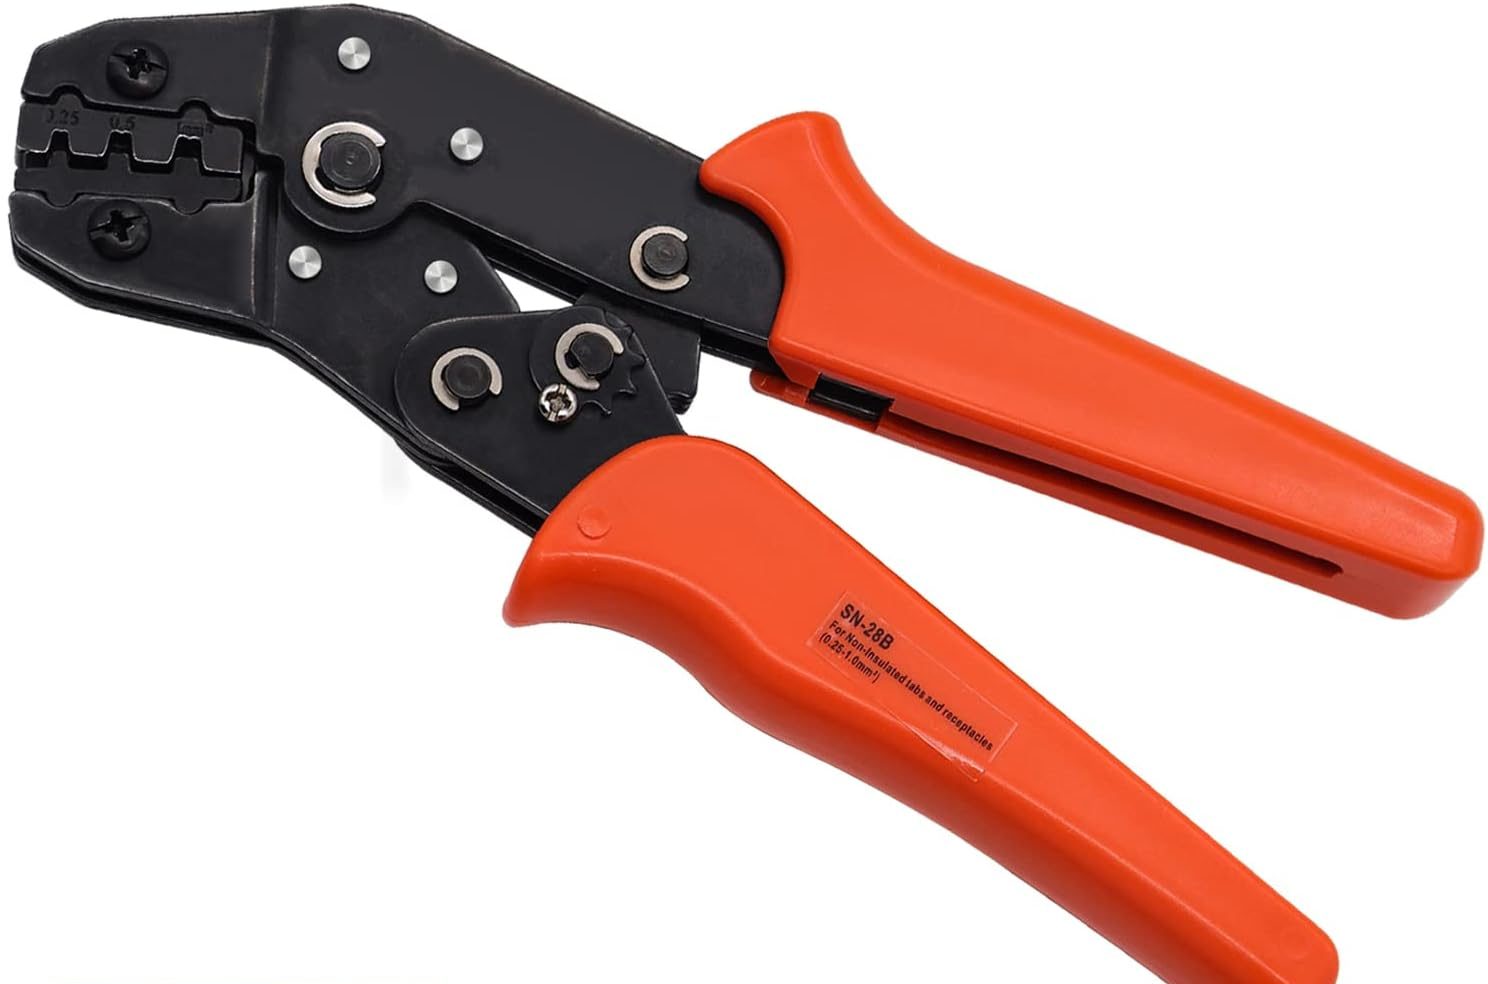
And here’s where the magic happens: our hero, the DuPont Crimping Tool. Boasting a unique design, this instrument exerts exact pressure at precise points on the connector, causing the metal to fold over the wire, creating a secure crimp that ensures optimal contact, resulting in an incredibly neat and reliable connection.
But, you may ask, “Why do we need a specialized tool for crimping?” Good question. The importance of the DuPont Crimping Tool lies in the precision and quality it brings to the process.
While generic tools might get the job done, only the DuPont Crimping Tool can provide perfect, repeatable crimps every single time.
These perfect crimps ensure stable, high-quality connections that reduce the risk of loose or disconnected wires, a vital aspect for any electronics project.
Moreover, for those embracing electronics as a hobby, customization is king. One of most valuable aspects of the DuPont Crimping Tool is the ability to create custom jumper wires.
Whether you need a wire of a particular length, or a custom pin configuration, the DuPont Crimping Tool enables just that, tailoring to project-specific needs, enhancing the aesthetic appeal, and freeing up valuable space on a crowded breadboard or a printed circuit board (PCB).
Using a crimping tool might appear daunting initially, but practice makes perfect. Start by stripping a small portion of the wire and placing it in the metal crimp pin.
The crimp pin, along with the wire, is inserted into the tool, ensuring firm contact. Now, apply gradual pressure, and the crimping process is completed.
One must take care not to over-crimp, as this could damage not just the pin but also hinder proper contact connectivity.
It’s a voyage of trial and perfection, of errors and refinement, but the entire journey is enriched by tools like the DuPont Crimping Tool that truly make electronics as a hobby much more enjoyable and infinitely more versatile.
Remember, fellow enthusiasts, this isn’t merely about reaching the destination – it’s also about the journey, and every tool like the DuPont Crimping Tool we learn to wield with precision is another exciting landmark on that journey!

Photo by nicetomeetyou on Unsplash
Preparing Wire and Crimp Connectors
Mastering Wire Preparation and Setting Up Crimps with the DuPont Crimping Tool
In hobby electronics, attention to detail goes beyond prints and prototypes. Latter steps, such as the preparation of wires and setting up crimp connectors, deserve equal focus, more so when using versatile tools like the DuPont Crimping Tool.
Here’s your guide to getting the most out of your DuPont Crimping tool.
Before diving into the crimping process, wire preparation merits particular attention. Keep your wires organized; this step saves time and prevents avoidable mistakes.
It all starts with the right kind of wire, cut to the correct length, and stripped precisely at the ends before the crimping process can even begin.
Much like arranging chess pieces on the board pre-game, organizing wires based on length, color, or functionality allows for a more efficient workflow, reducing room for error.
Depending on the number of pins in your DuPont connector, cut an equivalent number of wires commensurate with your project.
Upon successful organization of the wires, cutting and stripping comes next. There is a science behind stripping wires to their optimal lengths that boils down to the balance of reducing exposed wire and maximizing strong and effective crimps.
Strip about 1 to 1.5 mm off the wire ends. A wire stripper can be used for wire gauges ranging from AWG 18-28, standard for most hobby electronics. Remember, neatness matters!
Choosing the right crimper is key. Specifically, for DuPont wires, a quick-change ratchet crimper is excellent due to its easily swappable dies compatible with multiple connector styles.
Next comes aligning your wire and crimp pin. Slide the crimp pin into the crimper so that it’s sandwiched between the tool’s jaws.
Here’s a fantastic tip: align the pin carefully, so the seam of the pin faces into the crease of the crimper jaws. It’ll result in a higher quality crimp.
With the crimp pin placed, this is where the wire comes in. Insert the stripped end of the wire into the crimp pin within the crimper.
Double-check to ensure no stray wire strands are sticking out. Safety first!
And now, for the moment of truth: crimping! Apply pressure until the ratchet releases. It will snap open when the crimp is secure.
If you go into it with a ratchet crimper, there’s no need to apply Godzilla strength – trust the tool. It knows its job.
Once you finish crimping, it’s time to check your work. A successful crimp will have the wire securely tucked in and insulation neatly pinched by the crimp pin’s wings.
It’s a beautiful sight, showing the intricate combination of force, precision, and attention to detail that marks a true electronics hobbyist.
Connector assembly follows. Gently place the crimped wires into the plastic connector housing. It’s essential to match the wire order to your specific project needs.
Remember, the connectors are designed to keep the crimped wires secure and protected, so ensure they fit snugly.
Mastering the art of preparing wires and setting up crimp connectors requires practice, patience, and persistence.
Each well-executed crimp adds to your growing expertise, and the DuPont Crimping Tool becomes more than just a tool; it becomes an extension of the hobbyist themselves, and a testament to their dedication to the craft of hobby electronics.
Important Tips to Reiterate about the Crimping Process
Without these initial steps duly followed, you risk inconsistent results and potential device failures.
This ensures accuracy and speed, essential factors when working with a multitude of wires.
Often overlooked, the correct stripping can be the difference between a good crimp and a great one.
Equally important is the selection of the appropriate crimper for your DuPont wires. It’s no secret that not all crimpers are created equal; thus, finding one that specifically caters to DuPont wires can take your crimping skills to unparalleled heights.
When it comes to the actual crimping moment, alignment of the wire and crimp pin is paramount.
Neglecting this step can lead to inadequate crimps, a bottleneck to attaining perfect connections.
Thus, achieving a high-quality crimp largely depends on how accurately you line up the wires and crimp pins.
when inserting the prepared wire into the crimp pin. Ensure it’s at the right depth so that upon applying pressure and using the ratchet, the crimp pin tightly hugs the wire. It’s almost like a hand-in-glove fit, creating solid, reliable connections vital for electronic projects.
The beauty of creating perfect crimps does not solely rely on the process but also the outcomes.
Post-crimping, it’s paramount to inspect the crimp for security and the neatness of pinched insulation.
The crimp should neither be too loose nor too tight, but just right, holding the wire securely in place.
Upon establishing the crimp’s high quality, it’s now time for assembly within the plastic connector housing.
The housing acts as a protective layer that safeguards the crimped wires from external factors that might result in damage.
Assembling the crimped wires should be done meticulously, ensuring a snug fit. Additionally, matching wire orders based on the requirements of specific electronic projects is vital to the success of the whole operation.
One golden rule is that practice makes perfect. Mastery of wire preparation, crimping techniques, and use of tools takes patience and practice.
Don’t be unnerved by initial failures and struggles. Treat them as stepping stones that only serve to hone your skills.
In conclusion, the DuPont Crimping Tool isn’t just another tool in your toolbox, but a game-changer in your DIY electronics universe.
Its operation requires an admirable level of dedication and expertise, reinforcing its significance in the realm of hobby electronics.
Through this intermingling of process and passion, indeed, perfect crimps are not born, but rather they are made!
Notice this notion mirrors your journey in hobby electronics, making perfection not a destination, but an ongoing, exciting venture.

Mastering the use of the DuPont crimping tool not only refines your technical skills but also escalates the safety and reliability of your electrical connections.
Cumulatively, the understanding of this tool, wire and crimp connector preparation, and the crimping process presents a holistic approach to efficient wire crimping.
By meticulous attention to detail, conscientious wire preparation, and proficient execution of the crimping process, you can leverage the full potential of the DuPont crimping tool.
As you continue to enhance your skills with this tool, you are reinforcing your pathway towards excellent electrical craftsmanship.
