Crimping tools are an indispensable part of any toolbox, especially for those who are enthusiasts or hobbyists in the fields of electronics, telecommunications, or jewelry making.
They serve as significant devices in creating secure and reliable connections. To operate these tools effectively, an understanding of the crimping tool basics is essential, coupled with the knowledge of step-by-step crimping tool adjustment and appropriate tool maintenance for safety and prolonged tool usage.
This journey will take you through the key components of a crimping tool such as the crimping die, cutting edge, and adjuster; guide you through the process of adjusting your tool perfectly, and enlighten you on the necessary safety measures and maintenance practices to ensure optimum operation.
Understanding Crimping Tool Basics

Discover the Essential Features of a Crimping Tool
Whether you’re into cable installations, electrical work, or jewelry making, mastering the art of crimping represents a significant milestone in your hobby journey.
As you delve deeper into this fascinating field, it’s essential that you familiarize yourself with every tool in your kit — and among the most prominent of them all is the crimping tool.
Let’s unravel the fundamental but fascinating workings of this seemingly simple device.
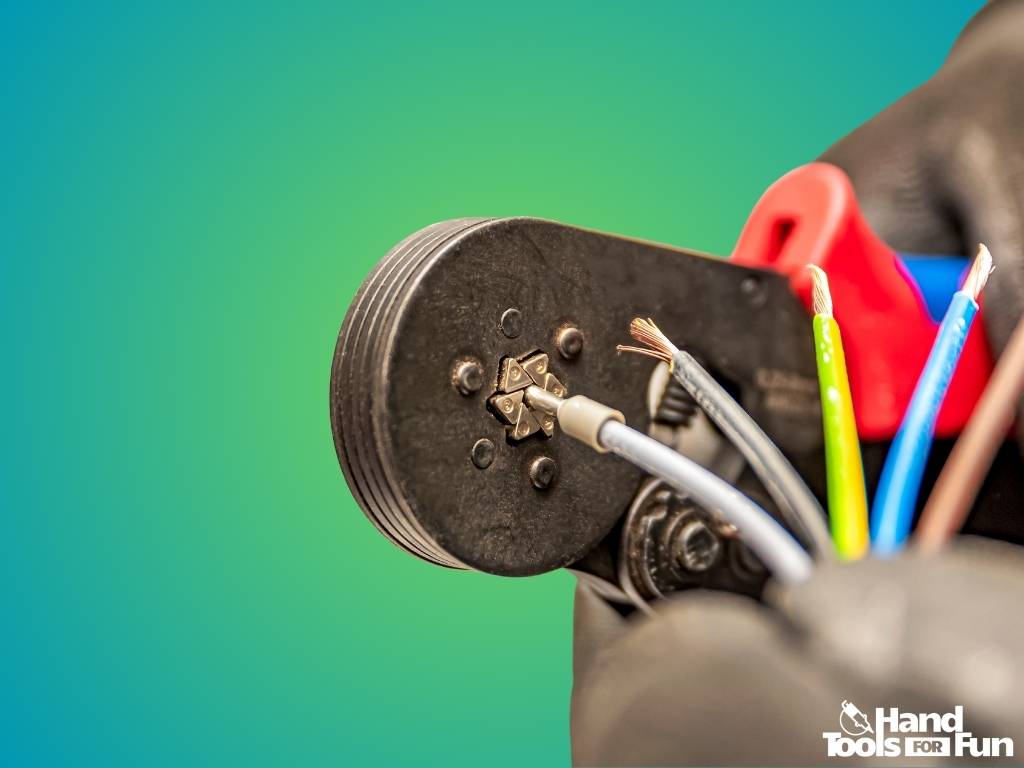
Broadly-speaking, crimping tools are specialized pliers primarily designed to conjoin two pieces of metal or other material by deforming one or both of them, a process affectionately dubbed as ‘crimping.’
They make secure connections between connectors and wires, creating a bond that stays intact, resisting wear and tear that comes with time.
As pivotal as crimping tools are, their diverse range can sometimes make selection daunting. However, there are specific features to seek that can streamline the choosing process:
- Ergonomic Design: Comfort should be on top of the checklist when selecting a crimping tool. Look for one with a comfortable grip, designed to allow for hours of continued use without causing hand fatigue. The handle should offer a secure grip, ensuring that safety isn’t compromised during operation.
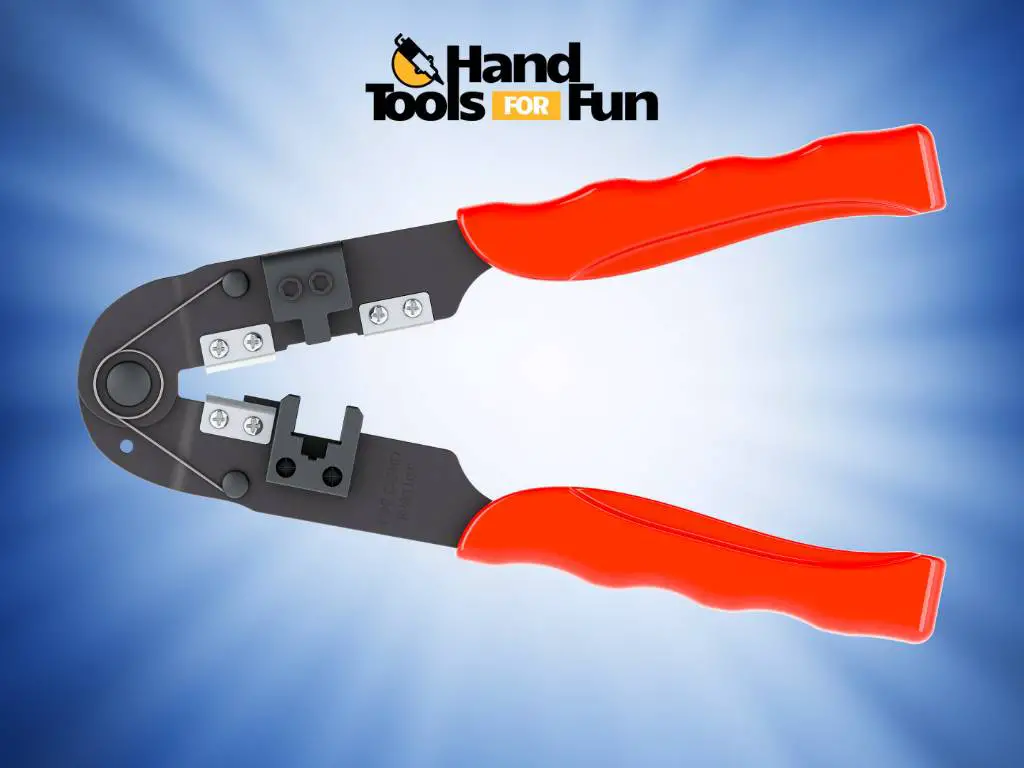
- Quality of Jaws: A good crimping tool has a pair of jaws intricately designed to execute a perfect crimp. These can either be fixed or interchangeable; nonetheless, they’re manufactured typically from hardened metal to ensure longevity and withstand vigorous activities of crimping.
- Precision and Accuracy: The best crimping tools boast precision that ensures the same amount of pressure is exerted at each crimp, yielding consistent and reliable results. It’s this consistency that ensures every crimp is as effective and durable as the last.
- Ratcheting Mechanism: Some of the well-received crimping tools incorporate a built-in ratcheting mechanism. This feature ensures that the tool only releases after sufficient pressure has been applied, thereby achieving a solid crimp. It eliminates guesswork and reduces the risk of loose or faulty crimps.
- Versatility: Finally, any aspiring hobbyist will make it a point to own a crimping tool that offers versatility. A tool that can accommodate various sizes and types of connectors provides an edge, serving as a comprehensive solution that fits all of your crimping needs.
With these features in mind, selecting a crimping tool for your hobby should stop feeling like a conundrum.
Married with knowledge and passion, the right crimping tool will help you continue to navigate the exhilarating world of crimping with the ease and precision of a seasoned hobbyist.
Go forward, and enjoy the thrill of creating with your newly-learned crimping wisdom.
Step-by-Step Crimping Tool Adjustment
As connoisseurs well know, a journey into the world of crimping tools doesn’t start and end with just picking the right appliance for the task.
Indeed, real value begins to manifest when you delve into the nuances of adjusting your chosen tool.
So, park the introductory know-how we’ve previously covered—today, there’s a riveting discourse awaiting as we delve deeper, discussing the mastery involved in precisely adjusting your crimping tool.
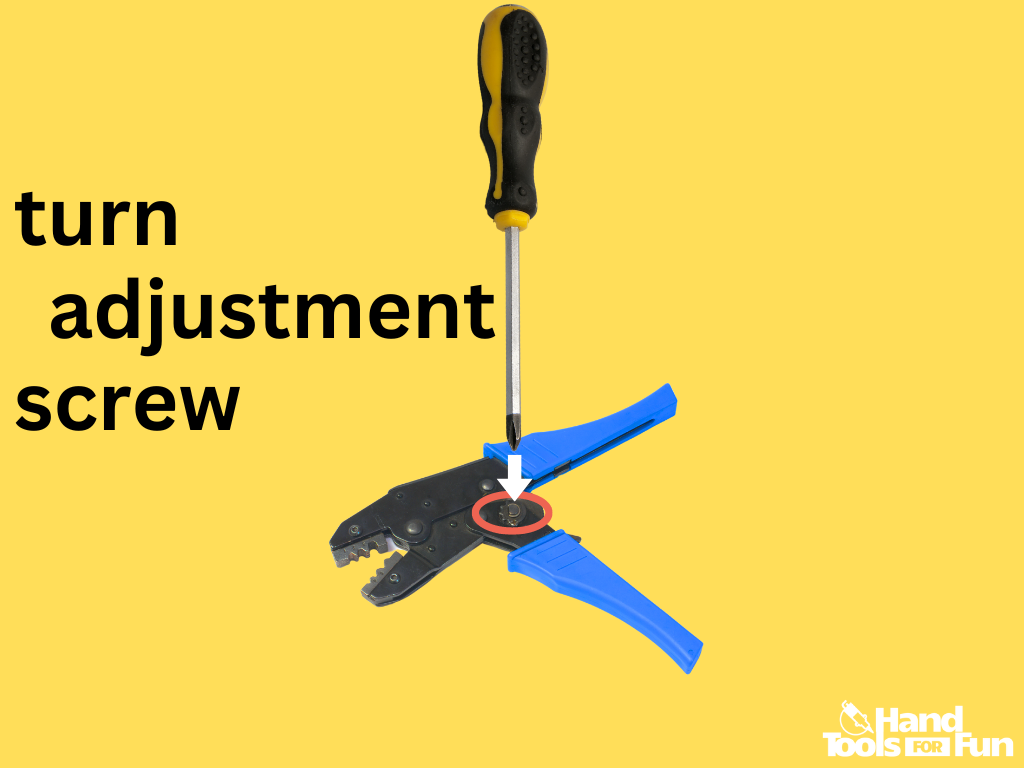
Understanding the pieces of your crimping tool is key to making the most of it. A standout feature that needs your attention is the tension-adjustment screw, although it might be called somewhat different depending on the manufacturer.
This is generally a small screw-lock found on the side of the tool, which regulates the force applied by the tool during the crimping process.
So, how do you customize your crimping experience? Here’s a step-by-step guide:
- Get Your Hands On The Manual: Though routinely overlooked, the tool’s instruction manual house invaluable insights, so start by brushing up on what your specific model recommends for tension adjustments.
- Grab A Screwdriver: Next, you will require a screwdriver that fits into your model’s tension-adjustment screw. Remember, not all fasteners are the same different crimping tools use different-sized screws.
- Increase Or Decrease Tension: Turn the tension-adjustment screw: Clockwise to increase force and Counterclockwise to decrease it. Be patient and make minimal adjustments gradually.
- Test: Test the adjusted tool on a piece of waste material. Repeat steps 3 and 4 until you get the desired crimp.
- Secure The Setting: Once satisfied with the tension, tighten the lock nut in place to secure the setting.

Just a quick tip: Play around and practice using off-cuts or scrap materials. This ‘test run’ will not only help you wind up with the optimal setting but also avoid wasting valuable resources.
As we wrap up, remember that precision is paramount—the degree of fun and satisfaction enmeshed in your hobby depends on your meticulousness.
So spend some time with your crimping tool, experiment with different settings, find what works best for you, and you will find that your efficiency and love for the hobby grows manifold.
And yes, don’t forget to share your experience with fellow hobbyists—after all, a shared passion is a doubled pleasure!
Maintenance and Safety

Maintaining a Crimping Tool and Guaranteeing Safety: Your Guide to Crimping Tool Care
After you’ve familiarized yourself with your crimping tool and have chosen the perfect one for your hobby needs, it’s crucial to maintain it properly.
A well-kept crimping tool not only works better but also ensures a safer working environment. In fact, the maintenance aspect is just as important as getting acquainted with the tool itself. Here’s, how you can properly maintain your crimping tool:
Regular Inspection:
Like any other tool, your crimping tool is susceptible to wear and tear, which might affect its overall performance and safety.
Regular inspection lets you identify any potential issues with the tool. Check the jaws for any physical damage such as cracks or chips, as well as any signs of rust or corrosion.
Also, inspect the handles for any loose or damaged parts. In case of any issues, it might be time to replace your tool to maintain the quality of your work and safety.
Clean the Tool Frequently:
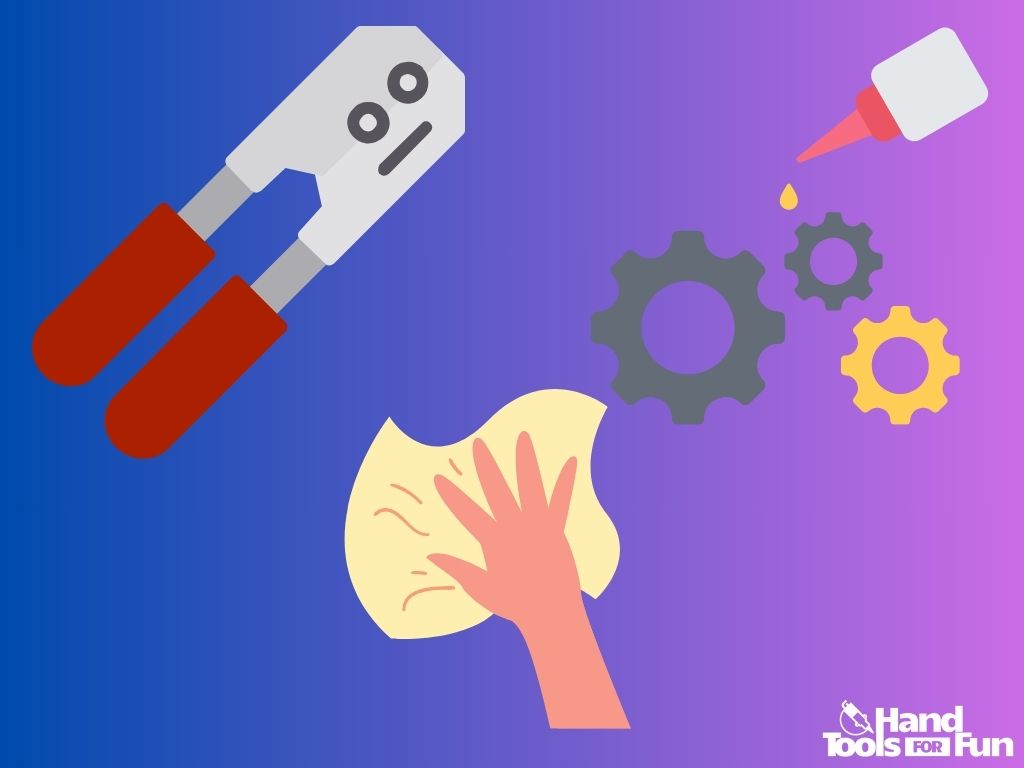
Due to regular use, your crimping tool can accumulate dust and unwanted residue. To keep your tool in mint condition, ensure to clean it thoroughly after every use.
You can use a cloth to wipe down the tool and use compressed air to remove dust from harder to reach areas.
Keeping a Sharp Crimping Edge:
Over frequent use, your crimping tool’s jaws can get blunt. Ensure they are sharp and ready for use by occasional filing.
This will help you make clean, accurate crimps and prevent any accidents due to a slippery grip.
Lubricate the Tool:
Lubrication ensures a smooth ratcheting mechanism and keeps the tool’s moving components in good operating condition.
Use a lightweight machine oil to lubricate the ratcheting system, but be sure not to over-lubricate, as this could attract dust and grime.
Safe Storage:
When not in use, your crimping tool should be stored in a dry and cool place. This prevents rusting and corrosion, prolonging your tool’s life.
Moreover, a dedicated storage case can protect the tool from any physical damage during transport or storage.
Safety should always come first when using any tool, and a crimping tool is no exception. Handling it correctly and wearing protective gear whenever necessary can significantly reduce the risk of accidents and injuries.
It’s also a good idea to cross-verify the crimp after finishing to make sure it’s fully secure and there are no loose ends that could lead to hazards later.
In conclusion, good maintenance and careful operation are keys to getting the best performance out of your crimping tool while ensuring safety.

And as you grow in your hobbies, feel free to share experiences and learn from fellow hobbyists & DIYers, because the learning never stops!
Having acquired the knowledge and skills on crimping tool basics, adjusting the tool, and its maintenance and safety, you are well-equipped to maximize the use of your crimping tool.
You can now make precise adjustments to your tool effectively, ensure that it gives you more prolonged service, and prevent work-related injuries during operation.
This is not just about extending the lifespan of your tool; it’s also about making your tasks simpler, safer, and more efficient.
Remember that the key to achieving quality results rests in continually learning and evolving in your understanding and usage of the tool. Happy crimping!


