
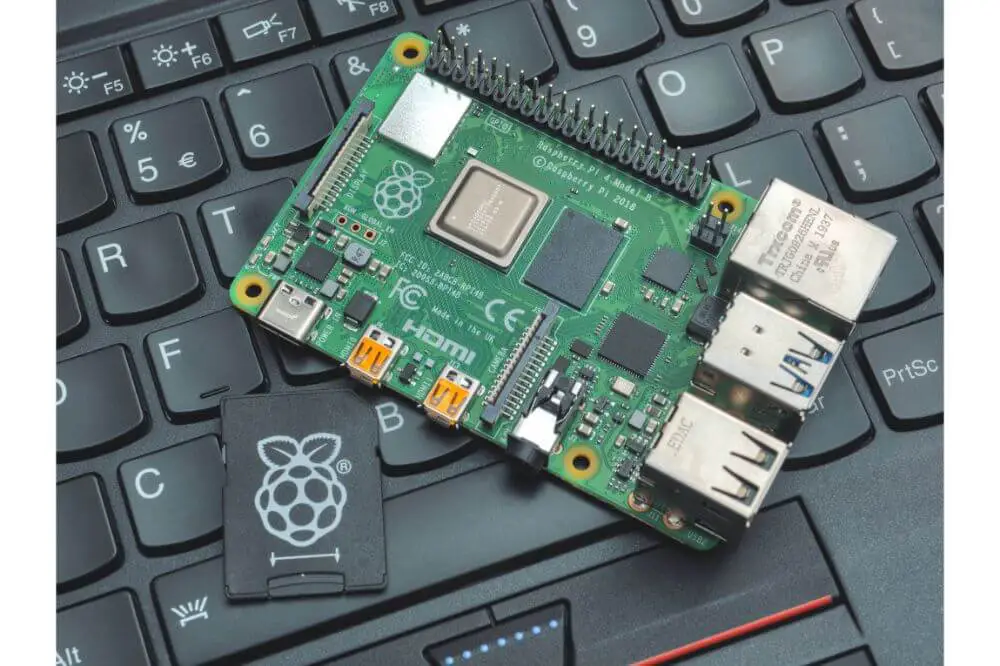
Raspberry Pi is a cheaply priced computer small enough to fit inside your pocket. Of course, to power such a small device, it has some particular requirements. But for a starting price of around $35, who’s complaining?
There are several ways to power Raspberry Pi 4 computers. Read on to find out the requirements, the best power supply to use, other power methods, and how to use solar power.
Raspberry Pi 4 Power Requirements
According to the Raspberry Pi official documentation, RPi4 has the following power requirements:
- A 15.3W USB Type-C power supply
- A DC output of 5.1 volts
- A minimum of 3.0 Amps
Recommended Power Requirements
Although there are several ways to power the RPi, the easiest, most cost-effective, and popular way is a dedicated power supply specifically designed for the device. The official and recommended power supply is a 12.5W micro-USB. Here are some of its specs:
- A 5.1V / 2.5A DC output
- A 96-264Vac operating input range
- A short circuit and overcurrent safeguard
- A 1.5m 18AWG confined cable with micro USB output connector
- It’s accessible in different variations to accommodate diverse international power sockets
The Micro USB power supply for the Raspberry Pi has undergone extensive compliance testing to meet regional and international standards.
Other Ways to Power the RPi4
While troubleshooting or experimenting with different projects, you may consider three alternative methods to power the Raspberry.
Use a Phone Charger
You can use the USB interface to power a Pi with a phone charger. Portable chargers can be used should the Pi need to be placed somewhere without power outlets or needs to be moveable.
Use the 40-Pin Connector
The 5V and GND pins are typically used as a voltage output. However, they can also be used for voltage input. The Pi will power on when the correct voltage is applied to the pins. As well as applying 5-volts directly, Pi-hats are available to interface with the pins. There are four pins behind the Ethernet connector, and they connect to the idle connections in the Ethernet jack.
Using a Power over Ethernet (PoE) HAT, the voltage delivered over the pins can pass through a voltage regulator, then be supplied to the Pi. For this method to work, you’ll need to be using Pi over a wired network connection and injecting power into the network.
Using Batteries
Although it’s possible to power a Pi using regular consumer batteries like AA or AAA, it isn’t recommended. Other options have higher volumes and handy features that are well worth considering. When going down the battery-powered route, consider the size and the inclusion of a real-time clock to query the battery’s power level.
Basic solutions will offer power and a USB port to charge the battery. Most use 18650 batteries – with an 18mm diameter and 65mm length. These types are similar to the small regular batteries with a minimum of 3.7-volts each. Therefore, two batteries are required to meet and exceed the 5-volt power requirement. The battery adapters’ power regulation circuits ensure the power delivered to the Pi doesn’t exceed 5-volts.

How to Power a Pi With Solar Power
Using solar to power your Pi allows you to use the sun’s energy to build green Pi projects. Your project can also run forever with the right solar panel and battery. Next, we’ll discuss how to power your Raspberry Pi using solar panels. Fortunately, it isn’t as difficult as it may sound.
Power Management Board (HAT)
Depending on your project, you’ll need a HAT for the Pi. The HAT or power management board connects to your Pi’s 40-pin GP10 header to manage the solar charging and monitor the battery.
Solar Panel and Battery
The solar panel and battery will connect to your power management board.
Technically, you could run your Pi using just the solar panel. But the following requirements would need to be present:
- You live in a very sunny climate.
- The solar panel is huge.
- You won’t be running the Pi when it’s cloudy or dark.
- The panel outputs 5-volts exactly.
Required High-Level Steps
Choose a Power Management Board
This board will convert the energy from the panel and store it in the battery. And some will power the Pi directly from the panel once the battery is full. As a reference, we’ll be using the PiJuice Solar kit as it includes solar panel and HAT management. This kit will likely be sufficient for your Pi project.
Choose a Solar Panel
The product description of your solar panel will typically list how much current it can output. If it doesn’t, you can work it out using Ohm’s Law.
Using the PiJuice 12W solar panel example, its regulated output is 5 volts/10 watts. Therefore, using the Ohm’s law calculator gives an output current of (I) of 2A, or 2000mAh, for this solar panel.
How Much Current Does a Pi Need?
At least 2-2.5A output for any Pi is required. If the current is too low, you’ll experience strange intermittent issues and typically see a yellow “Undervoltage warning” pop up on your screen.
Choosing a Battery
When thinking about which battery is best for your set-up, consider the following:
- The battery type: Lithium-ion (Li-ion) or Lithium-Polymer (Li-Po).
- The voltage: The HAT you choose will determine the battery voltage supported.
- The capacity: Consider that different Pi’s will spend power at various rates. And connecting additional hardware will also draw power.
- Planned use: If, for example, you’re Pi needs to run 24-hours a day, you’ll need more battery capacity.
Overall, a Lithium-ion battery is recommended with a voltage supported by the HAT.
Set Up Your Pi to Use Solar Power
Now for the fun part. Here are the steps to put everything together:
- Connect the Pi solar HAT. The HAT will come complete with instructions so just follow the steps.
- Connect the battery. If you’ve decided to use a separate external battery and the HAT includes one, you’ll need to remove it by clipping off the small 2-pin JST. Then use a small screwdriver to connect the wires to the screen battery terminal.
- Connect the solar panel.
- Use a housing/case. Put the Pi, HAT, and battery into a casing. To protect your project from rain, choose one that is water-resistant.
- Optionally, you could install software to monitor the Pi’s battery health and perform functions if the battery gets too low.