
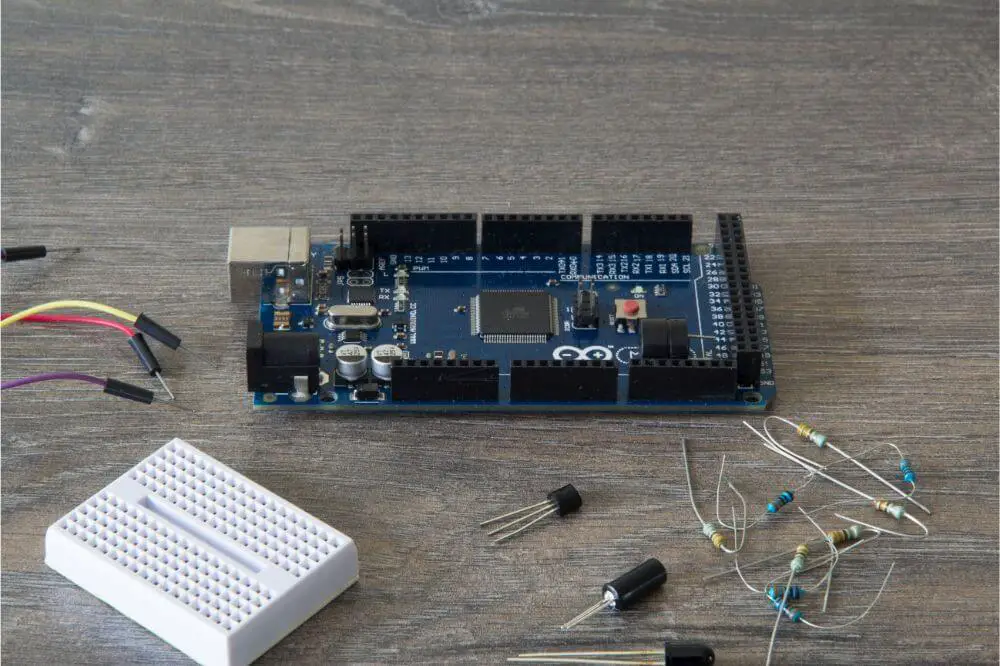
Thanks to the versatility of an Arduino Nano, it is used for many DIY electronic projects. In addition, the size of the popular mini-controller makes small DIY hardware development more accessible. However, the Arduino Nano is limited because it can’t accommodate a DC power jack. Luckily, it can be powered sufficiently with a battery.
Read on to learn how to power your Arduino Nano using a battery.
How to Power an Arduino Nano With a Battery
Batteries play a vital role in our lives. They are reliable, practical, and affordable sources of power. There are several electrochemical cells and batteries classifications, but two basic categories.
Primary (Non-Rechargeable)
Primary batteries are non-rechargeable, meaning they can’t use electricity to recharge. There are usually two types – zinc chloride and alkaline. Examples of primary batteries include zinc-carbon (Leclanché) cells and metal–air-depolarized batteries.
Secondary (Rechargeable)
Secondary batteries are ideal for recharging and best for your Arduino project.
Lithium-Ion
In the Lithium-ion battery, the cathode (negative electrode) is made using a Lithium-based mixture.
Lithium-ion batteries are the best type to power your Arduino Nano. They’re reasonably priced and conveniently offered in 18650 form encased in solid metal.
Lithium Polymer
Lithium polymer is a variation of the Lithium-ion battery – there are six main types. It has polymer as its electrolyte as opposed to a liquid electrolyte. They are high-quality batteries suitable for high-powered devices, such as a drone. However, they are more expensive and not appropriate for running an Arduino.
What Is Required to Power Arduino Nano With Batteries?
To power your Arduino Nano, you’ll need the following:
- Lithium-ion batteries: Consider purchasing a Li-ion battery to power your mini-controller. They are accessible as single-cell 18650 or 14500 batteries.
- A battery container: The battery holder you use depends on the battery size. A premium-quality holder is best as lower-quality regularly results in a loss of contact and strange intermittent behavior.
- A battery protection board: With Li-ion batteries, a fraction of an overvoltage or overcharge could lead to a dangerous situation such as an explosion or fire. Therefore, they can’t be charged directly and use a battery protection board designed to cut the power off when the battery gets to its maximum voltage of typically 4.2-volts.
Here are the steps to set up:
Position the Battery in the Holder
An 18650 cell is larger than a 14500 (AA) cell. Hence, it needs a larger holder. The holder must offer a custom fit for the battery to make proper contact. The contact provides a spring-based mechanism for a tight hold. Consider that the holder terminals may or may not have wires fused to them for a connection.

Connect the Battery Holder Terminals to the Protection Board
The battery holder includes two connected wires that connect them to the protection board. Alternatively, you’ll need to cautiously join a positive and negative wire to the corresponding terminals on the holder.
Start by charging the Li-ion battery. Then, join the negative and positive terminals from the holder to the respective terminals via the board. Ensure the opposition is correct, or else the battery may be damaged.
Now Use a Micro-USB Phone Charger to Charge the Battery
You can use any standard USB-based phone charger to protect the board. When fully charged, you’ll see a green LED light on the protection board to indicate it’s complete. Regular Li-ion batteries have a voltage of approximately 4.2-volts when completely charged.
And Finally, Connect the USB Port of the Arduino Nano
You can disconnect your phone’s charger from the protection board and connect it to the Arduino Nano’s micro-USB port. Your Arduino Nano should indicate that it is running by lighting up.
The Arduino Nano’s Power Consumption
The amount of current drawn by the Arduino Nano is based on the following:
- Any connected devices like displays, sensors, and other peripherals will affect the amount of current used.
- The amount of voltage supplied. For example, a 9-volt power supply will approximately draw 4.83mA of current. However, if the supply voltage is reduced to 3.3-volts, the amount of current drawn will reduce to 3.41mA.
- Consumption is also subject to whether the Arduino Nano is completely awake or sleeping. Therefore, the type of software you’re running will also determine how much current is drawn.
- The make and voltage regulator used in constructing the Arduino’s board will also play a part.
- And lastly, the clock speed of the built-in Atmega328 controller controls the current depletion. Overall, 8MHz clock speeds are favored for low-powered apps. Yet, if the Arduino Nano includes a 16MHz crystal oscillator, it will need to be replaced with an 8MHz first.
How Long Can an Arduino Nano Run on Batteries?
To know approximately how long a Nano can run on Li-ion batteries, we’ll look at the amount of current drawn during its awake and sleep modes. The results are based on the most common board available, the Arduino Uno, and the following setup:
- Two 18650 Li-ion batteries, 4200mAH, 3.7V each.
- An input voltage of 7.4 Volts altogether.
- A basic sketch loaded with an eight-second delay flashes the onboard LED for 100 milliseconds to verify the sketch is running – on loop.
A current draw of 54.4 milliamps in awake mode means it would run for around 77 hours or two days using the two 18650 Li-ion batteries. And a current draw of 38.2 milliamps in sleep mode, so it would be expected to run for around 110 hours or five days.
Power to the Arduino Nano
Before powering your Arduino, it’s vital to be clear on the voltage levels it can tolerate. Exceeding these levels may cause irreversible damage to the board. The specification information provided by the manufacturer is always a great place to start.
Another essential point to remember with Li-ion-powered projects is to monitor the battery charge, which can be done using a multimeter to measure the voltage across the terminals. The voltage level should never exceed the maximum or be less than the minimum stated by the manufacturer.
