
Arduino board is a single board microcontroller as well as it is open-source hardware that works on IDE (integrated development environment). On the other hand, the Arduino Uno is by far the most used as well as a documented board across all Arduino models.
As a novice, you might be facing some difficulties when it comes to choosing an Arduino board that will best suit your needs since there are different types of Arduino boards available in the market.
However, we strongly recommend Arduino Uno-R3 since it is relatively easy to use and ideal for newbies who are getting started with electronic projects. In this article, we shall help you understand better what an Arduino Uno R3 board is.
What is an Arduino Uno R3 board and why should you use it?
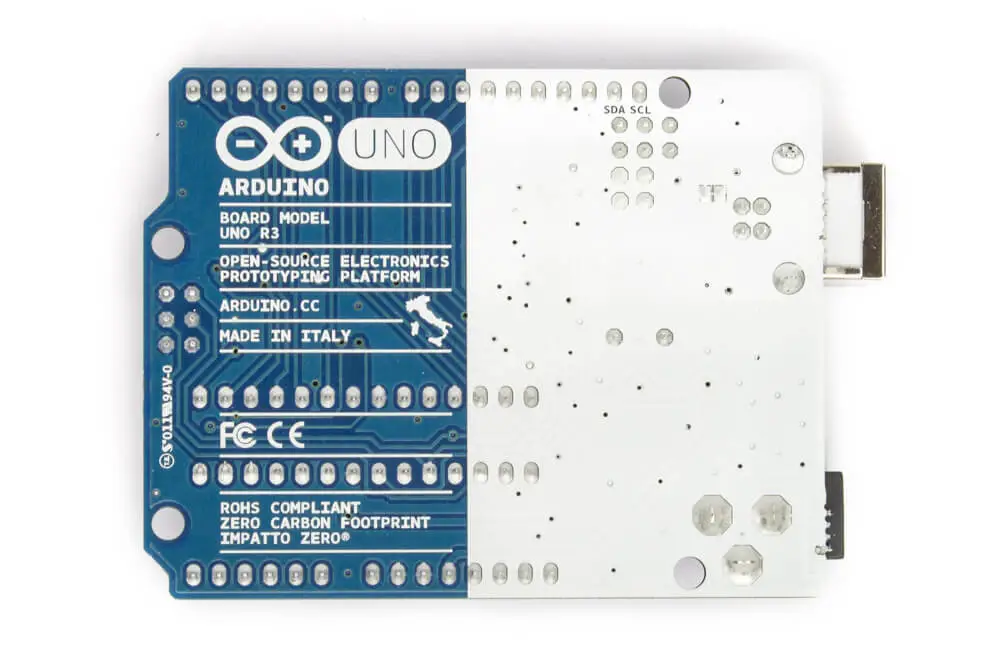
Well, for a start, Arduino Uno R3 board is a model of Arduino that falls under the types of Arduino Uno family. Some other common models of Arduino boards include; the Arduino Nano, Arduino Due, Arduino Mega and Arduino Leonardo among others.
However, the Arduino Uno R3 board is said to be the best choice as a first Arduino since it is relatively affordable as well as easy to set up. Furthermore, it is considered the toughest Arduino board that one can play with.
Whenever you mess your Arduino Uno board, you might consider changing it using ATmega328 microcontroller since Uno is a surface-mount version equipped with DIP package. This feature is by far the most significant advantage of using Arduino Uno.
In Italian, the term Uno refers to One, and it was named to mark the first release of Arduino IDE software 1.0. Arduino Uno R3 was first released to the market in 2011, and it is R3 since it is the third revision of the Arduino Uno boards.

Arduino Uno R3 specs
The Arduino Uno R3 is equipped with the following features which makes it an excellent board for newbies:
- ATmega328P microcontroller
- 5V operating voltage
- 7 to 12 recommended input voltage
- 6 to 20 limit input voltage
- 6 out of 14 digital I/O pins offers PWM output
- 6 analogue input pins
- 40 mA DC waves per I/O pin
- 50 Ma DC wave for a 3.3-volt pin
- 32 KB ATmega328 flash memory in which 0.5 KB is used by the bootloader SRAM 2 KB.
- 1 KB EEPROM
- 16 MHz clock speed.
The microcontroller
The Arduino Uno R3 board features ATmega328p microcontroller; in addition to that, it is equipped with the ATmega16U microcontroller as well. The ATmega328p acts as the brain of Arduino Uno R3. It is equipped with an incredible performance Atmel pico power 8bit AVR RISC based controller. This controller is designed to execute powerful instruction within one clock cycle. On the other hand, the ATmega16U2 is a microcontroller designed to handle USB connections as well as ICDP bootloader.
The I/O pins
When it comes to pins, the Arduino Uno R3 board is equipped with 14 digital pins. Out of the 14, 6 are for PWM signals. In addition to that, it is equipped with 6 analog pins as well. The pin 0 to pin number 13 are the digital pins. Pin 0 and 1 are usually used in receiving as well as transmitting serial data.
The PWM signal pins are 11, 10, 9, 6, 5 and 3. The six pins are used as pulse width modulation or PWM; they are designed to control voltage which in turn allows you to control the brightness level of your LED, motor speed or anything you would like to with the use of varying voltage.
On the other hand, the analogue pins are from pin A0 to Pin number A5. The primary function of the analogue pins is reading all values from an analog sensor.
Power pins/power system
Arduino Uno R3 board is equipped with convenient power management along with in-built voltage regulation. This Arduino power source is automatically selected, unlike other boards. You might consider powering it up directly while using USB or an external source of power.
The external source of power can be achieved through connecting the power source (7 to 12 volts direct current) to the DC power port or connecting the battery lead to GND and VIN. You should note that powering your board via 5-volt or 3.3-volt pin will cause damage to an on-board regulator.
You might consider using the 5-volt pin and 3.3-volt pin in providing power to modules and sensors whenever you connect to it. Furthermore, the Arduino IOREF pins offer a voltage reference in which your microcontroller will operate.
Memory
When it comes to memory, the Arduino Uno R3 board is equipped with 32KB ATmega328 flash memory that is vital for storing the vital program along with 2KB and 1KB of SRAM and EEPROM respectively.
The communication
Arduino Uno R3 board features communication protocols such as 12C, UART Serial Communication and SPI. For UART, the Arduino Uno R3 uses the digital pi0 (RX) along with digital pin1 (TX) for the UART serial communication.
In addition to that, this Arduino board uses the SDA or A4 pin along with SCL or A5 pin for a 12C communication along with a wire library. The SCL serves as a clock signal while SDA is a data signal. You should note that SCL and SDA pins aren’t the extra pins which are available in Arduino Uno for the 12C communication; however, it is a copy of A5 and A4 pins.
SPI
MOSI; Pin 11, MISO; pin 12, SCK; Pin 13. The MOSI or master-out slave-in is a master line which is designed to send data to peripherals. On the other hand, MISO or master-in slave-out is a slave line designed to send data to a master. SCK or Serial clock is a clock pulse that synchronizes data transmission that is generated by the master.
Final word
Arduino Uno R3 board is an excellent board for newbies since it is not only affordable but also relatively easy to operate. As we come to conclusion, we hope that you have found this article beneficial and that it has answered your question on what an Arduino Uno R3 board is.
