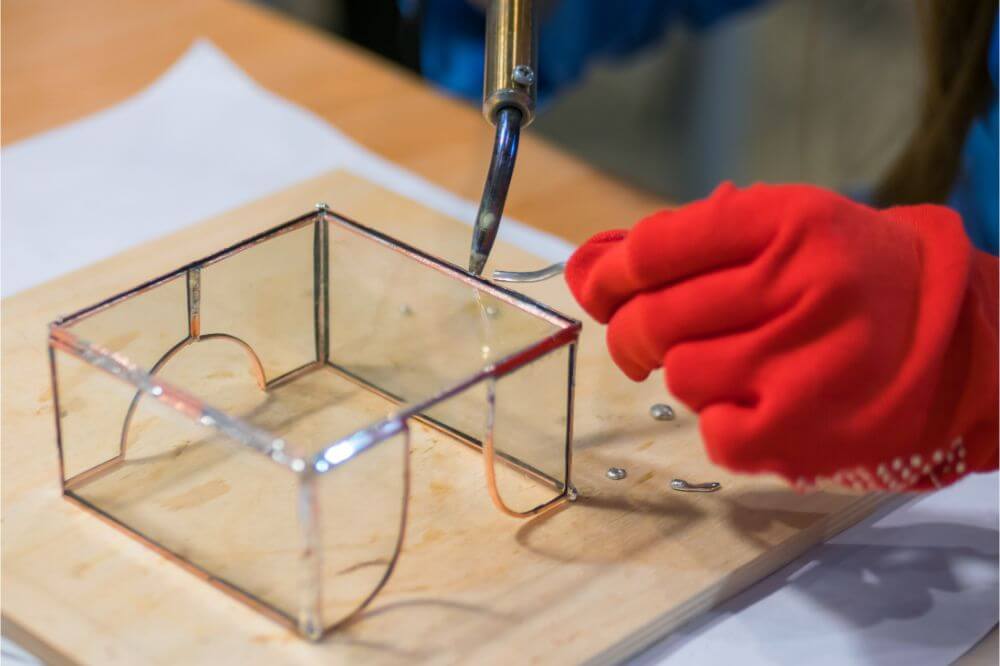
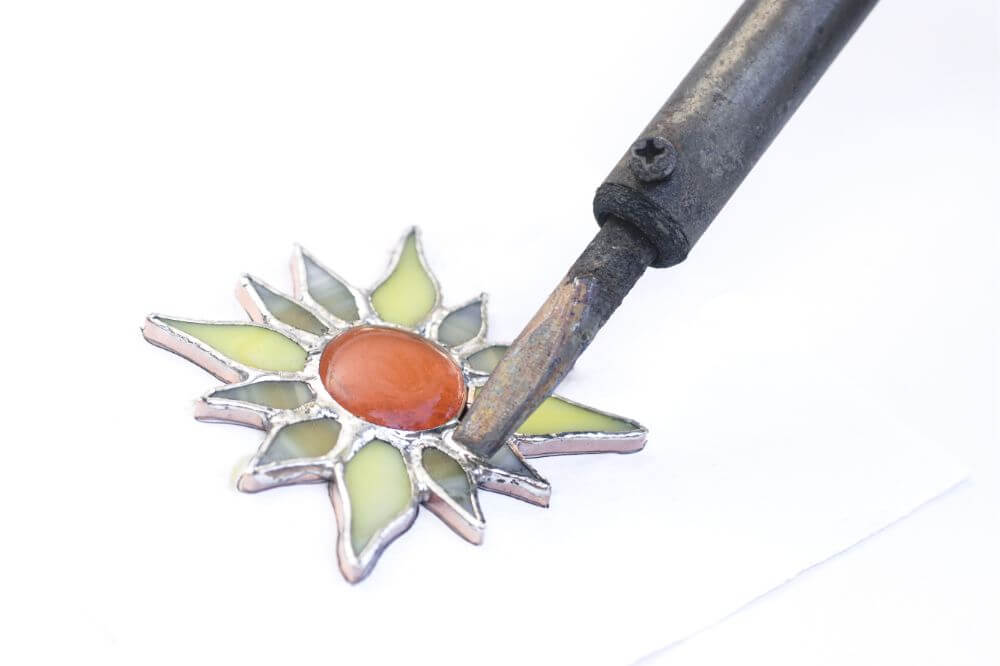
Soldering iron is a vital tool that, when mastered accordingly, can be used while working on various projects. With the right technique, you can use soldering iron while working on a circuit board, metals, jewelry, and glass.
When it comes to glass, the soldering process tends to be a bit long. It can take you up to half an hour to cut glass with a soldering glass. In this article, we shall be answering the question; can a soldering iron melt glass? As a soldering enthusiast, I’m sure that this question has been on your mind at least once. To better understand the process, continue reading this article.
Cutting Glass With A Soldering Iron
When it comes to cutting a glass bottle with soldering iron, you will need to follow these vital steps:
Scoring your glass bottle
It would be best if you first started by scoring the bottle using a bottle cutter. Ensure that you get a good score line; you should only do one pass during the process. When you go over the score line several times, it will make the cutting challenge. As you make the score line, you can easily tell whenever it starts overlapping due to crunching sound production.
When you make a mistake, you should consider choosing a place to start away from the flaw. With your hot soldering iron, place its tip on the score line and then hold it for approximately 5 seconds. It would be best if you kept in mind that the exact time is not that critical.
Once that is done, move the soldering tip a bit and then do the same. Continue with this process all around your bottle. This will not be sufficient to cut the glass bottle; however, it will help start a crack along the score line.
Dealing with flaws
When you have a stray score line, you should consider following the line where you would like to cut the bottle. In addition to that, in case you have places that have not been scored, you should follow the path that you would like to cut. You might consider drawing the score line with a marker allowing you to have a visual reference to follow.
Examine your score line
Once you are done with going around your glass bottle, you should examine the score line and assess if there is any crack present. At times this might occur in the first pass, and sometimes it doesn’t. Usually, the crack is shallow and hard to see; therefore, you try getting it to reflect.
Starting a crack if one hasn’t
If you haven’t formed any crack, pick a spot near the starting point. The process will be similar to that in the first step. Place the tip of your soldering iron on the score line; however, this time, you should hold for about 8 to 10 seconds.
Furthermore, you will not go all around the bottle, maybe an inch or so. You will repeat the whole process until a sign of crack starts.
Growing the crack
Whenever you see the glare of crack while heating your glass with a soldering iron, you should watch for it to grow. At times, it might fade while you are just starting the crack; however, this is fine.
When the crack starts growing, you will not have to hold your soldering iron in the same spot for an extended period. This means that you will have to move it from the crack as it becomes more significant. During this period, the crack will start following the soldering iron.
However, if it happens that you have a point with no score line, you don’t have to worry. You should continue following the path in which you would like the crack to follow, and it will follow your soldering iron with the utmost ease.
Finishing Your Crack

As you approach the point where the crack started, at times, you will be able to see the two ends meet; however, sometimes, they will seem like they don’t want to meet.
If the crack has stopped growing at this particular point, the cut will be complete. You can now try and separate your glass bottle; always remember not to force the two parts apart. If your cut is complete, separating the two parts will be relatively easy.
On the other hand, if separating the two parts seems to be difficult, you might consider heating the crack a bit more with your soldering iron. By heating the last bit, it will be sufficient to separate your glass bottle.
However, sometime, you will be forced to heat random parts of the crack. It would be best if you always remembered not to separate the two parts with the force since it might result in random cracks.
Now that your bottle has been cut successfully, you can sand it and polish it with the utmost ease. You would want to do that right away after the cut. This is vital since it’s broken glass and can result in accidents. Polishing the glass will prevent it from cutting anybody and allow you to work on your project more comfortably.
Final Thoughts
Soldering a glass is a form of art; with the right skills, you can solder different objects with a soldering iron. As a beginner, you might be unhappy with your solder lines; however, what you need to remember is practice makes perfect. When you put effort and consistency, soldering a glass will become relatively easy and a fun activity that you will love doing now and then.
Cutting a hole using a soldering iron is relatively easy; all that is required of you is to follow the above-discussed steps, and you will achieve what you want.
When set at the right temperature of approximately 370 degrees Fahrenheit, melting glass with a soldering iron becomes relatively easy. As we conclude, we hope that you have found this article helpful when it comes to cutting a hole using a soldering iron.


