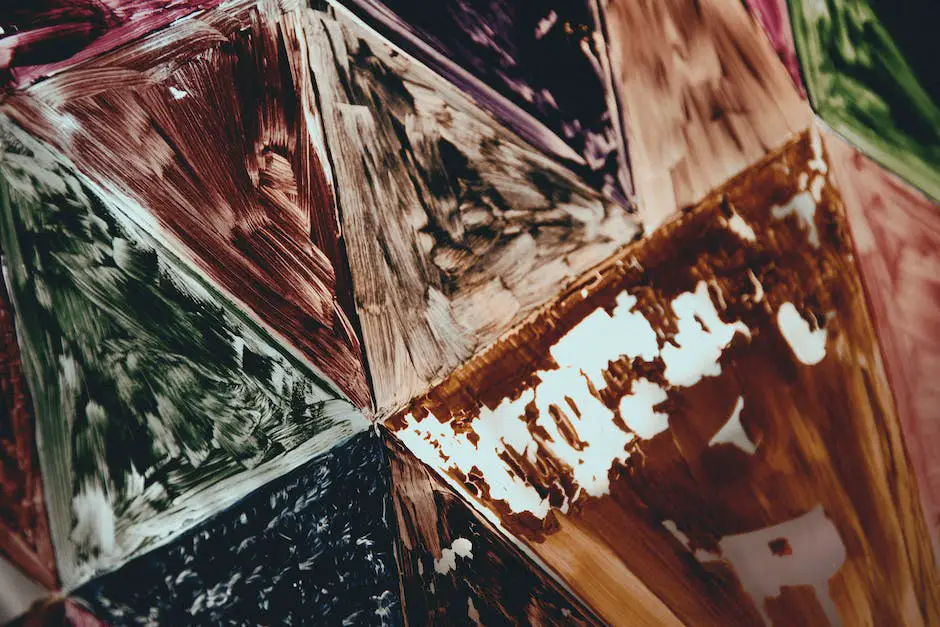
Imagination combined with creativity opens up a mesmerizing world where artistry comes alive, and one such creative pursuit is crafting a faux stained glass window. This unique endeavor isn’t just about creating aesthetically pleasing decor, but it’s also a beautiful journey through creativity, patience, and refinement of skills.
Whether your creative space is a tiny corner in your home or a dedicated art studio, the art of making faux stained glass windows has a charm that’s all its own. As we embark on this artistic journey today, we’ll unravel the secrets and practicalities of gathering the right materials, understanding the importance of design planning, and mastering specific painting techniques to manifest your very own stunning faux stained glass window.
Materials Gathering
Craft Your Magic: Materials for Faux Stained Glass Magic
Oh, faux stained glass, the unsung hero of window adornments! It is versatile, affordability, and attainable. Despite its rookie-friendly character, the end product can mimic the works of professional artisans.
Generating rich hues, the craftsmanship is a symphony of light and color. Delving into the art of creating faux stained glass windows is a colorful adventure filled with innumerable possibilities. Let’s scope out the fundamental materials needed for the journey.
One would think that real glass is essential for this art. But hark! Best to leave that cumbersome hurdle at home. Enter plexiglass or acrylic sheets! They’re the perfect starting block for beginners.
With their flexibility, durability, and reduced risk of shattered dreams, they are the perfect substitutes for real glass. Plus, they are lightweight which ensures ease while working and mounting.
Next, you’ll be needing a trusty glass cutter. Now, don’t let the name get the better of you. We are looking for a plastic scoring blade. Easy to handle, it cuts the plexiglass sheets into desired shapes with precision. But remember, safety goggles are a must with this piece of equipment, even if you’re working with plexiglass.
Moving forward, tracing paper and permanent markers are needed to sketch out designs. They are essential because they translate imaginations into a working outline. Remember, choose markers that won’t fade when the paint is applied over the top.
The leading man in this artistry is ‘Liquid Leading.’ It replicates the lines created between stained glass panels, which gives the faux stained glass its realistic appearance. The best types for beginners are the ones that come with a precision point. This helps create sharp and detailed lines.
Now we can’t forget about color. Glass paints are the heart of the stained glass window illusion. They bring life, vibrancy, and brilliance to the artwork. Depending on the look you’re going for, you may choose transparent glass paint for a light-filtering effect, or opaque paint for a solid color effect.
Lastly, to seal the deal, we need clear varnish or a glass paint sealer. Once the faux stained glass artwork has completely dried, a layer of this prevents the paint from peeling off or getting scratched. It also adds to the ‘faux’ in the faux stained glass.
With these materials at hand, a world of possibilities opens up. You’re poised to venture into a kaleidoscope of colors and designs. So, put on your creative hat and prepare to craft faux stained glass windows that would make any stained glass artisan proud.

Design planning
Armed with your plexiglass or acrylic sheets and that nifty glass cutter you picked up, you’re all set to delve into the artistic world of stained glass designing. The fascination for this cherishing hobby grows every day. Let’s steer this creative journey further, sprinkling in some tips to design your own stained-glass patterns, ensuring not to retread the cliff notes provided earlier.
For starters, a good design begins with an inspiration. Stained glass designs can come from anywhere – be it a piece of abstract art that caught your eye, your favorite landscape, floral arrangement, classic tales, or even a memory. A great place to start is by referring to stained glass designs in churches or online to get a sense of how different elements work together on glass.
Shaping ideas might seem cumbersome, but fret not, our friend – tracing paper will do all the heavy lifting. Draw or trace your design onto the tracing paper. You’d want to start simple if you’re new to this – geometric shapes are a great rudimentary step. Now, you’ll require broad strokes from a permanent marker to make sure the design shows up clearly, setting your stained glass’s scene.
The first fragment of this creative puzzle slotting in correctly will be the moment your tracing paper design meets the mundane acrylic sheet. Time to christen that glass cutter and score along the lines of the design. Apply a moderate amount of pressure; too light, you won’t cut the glass, too hard, it shatters.
Once your pieces are cut, it’s time for liquid leading. This material replicates the classic leadlines in glass art. It gives your pattern a cohesive look, holding all the pieces together like a meticulously crafted jigsaw puzzle. Remember, liquid leading does the twofold task of emulating the aesthetic contours of old-school genuine lead and sealing all our glass pieces in place.
Glass paints play the role of unmasked heroes here, giving life to your design. Presented in a fascinating array of colors, they help transform your glass into a chromatic canvas. You could either paint them directly onto the glass or pour them in the areas defined by your lead lines, depending on the viscosity of your paint.
Remember to apply them evenly to avoid blotching and clumps. Patience plays a crucial part when dealing with glass paints. Let them dry as recommended on the label.
To protect that rainbow resplendence, a touch of clear varnish or glass paint sealer is imperative. A gentle coating ensures your work’s longevity, preserving it from wear and tear while magnifying its colors. A muted sheen or a glossy look – the choice is yours!
Now, watch as sunlight dances on your finished work, the transformative art of stained glass designs illuminating your creative force. Don’t stop here.
Keep exploring, designing, and diving deeper into this world, doing your spellbinding dance, unraveling the vibrant magic within glass. In the end, joy floods you not just from the beauty that stained glass vests, but from the journey it takes to craft it.

Painting Technique
Now that we have covered the basics of tools, materials, and the steps generally involved in the process of painting on glass to replicate the effect of stained glass, let us delve deeper into some techniques that can elevate your craft even further.
- : It’s crucial to remember that unlike painting on a flat, opaque medium, working with glass means considering the impact of light. Consider your design’s placement – is it a window piece that will have direct light, or a simple display on a shelf? This will drastically influence how your colors appear. It’s ideal to choose brighter colors for areas with less light and lighter hues for those with more light.
Understanding Light and Color
- : If you want to achieve deeper, rich colors or gradients, layering is your friend. Layering in glass painting involves allowing one layer of paint to dry and then painting over it with another layer. Note that dark colors should go on first, and subsequent layers should be lighter.
Layering
- : You can add texture to your work by using a sponge, crumpled paper, or even an old toothbrush to dab on paint. This deliveries an uneven distribution of color that can replicate the textured effect of traditional stained glass.
Texturing
- : To add depth and dimension to your designs, understanding shading and highlighting is essential. Darker colors imply shadowed areas, while lighter ones signify light-reflecting parts. Plan these out in your design to avoid flat-looking pieces.
Shading & Highlighting
- : This imitation of the solder lines in real stained glass provides that authentic look we’re after. Ensure you give your ‘lead lines’ a smooth and even finish by pouring your liquid lead from a small height above the glass for better control.
Outlining with Liquid Leading
- : Wait for the entire piece to dry before using a paint sealer or clear varnish as outlined. Don’t rush! This final step will keep the paint from peeling and create that smooth, glassy finish.
Sealing
- : As with any art, the real secret is to keep practicing. Learn from each piece, make notes, and patiently watch your skills improve.
Practice
Art, with its gentle push to think creatively, look at things from different perspectives, and its capacity to create beautiful things, has a therapeutic and fulfilling effect that is second to none. The art of painting on glass to mimic stained glass not only brightens up homes with beautiful light patterns but also brings in a soulful vibe.
Remember, it’s not just about the stunning end product, but also the blissful journey of creating it. So, dive in, experiment fearlessly, and enjoy the therapeutic process of this beautiful glass art.

After venturing into the diverse world of faux stained glass windows, it becomes clear that this method of artistry is not just about transforming a simple piece of glass into a vibrant showpiece but is an entire process that combines precision, extensive planning, and a certain kind of artistry that is both meticulous and rewarding.
As you cultivate your clearly defined sections, perfect the gradient effect, and learn the right way of blending colors, you will find yourself not only creating a stunning art piece but growing as an artist as well.
Every maturing artist learns and grows with each project, turning into a better version of themselves, and this journey of making faux stained glass windows will undoubtedly leave you more knowledgeable, skilled, and inspired for your future endeavors.


