
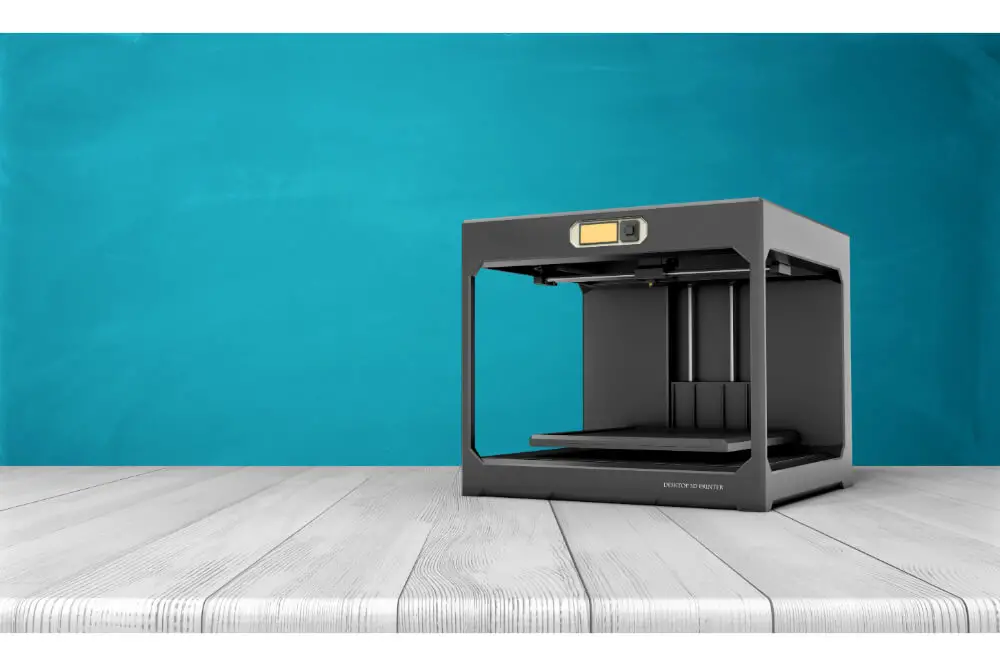
3D printers need good software…
The more user friendly that software the more enjoyable the 3D printing experience will be. Some 3D printing experts have said for years to avoid Blender but everyone’s experience is different.
The good news is that Blender released a new version last year silencing those critics. Plus, you can make unlimited objects using this open source software. You can even do CNC milling with it.
To find out more about blender and how to set it up, just continue to read our article. It fills you in so you can use blender to its utmost potential when you 3D print. It only takes a few minutes to get up to speed on this 3D printing option.

What is Blender?
It is a free and open source program that is designed to help you each step of the way when you do 3D printing. It also has other duties and it is called a 3D creation suite. It has many positive characteristics that make using this software a good choice:
- Blender helps with modeling, rigging, animation, simulation, rendering, compositing and motion tracking, even video editing and game creation.
- well suited to individuals and small studios who benefit from its unified and responsive design.
- runs equally well on Linux, Windows, and Macintosh operating systems.
- It is a community-driven project where users upgrade the system.
- The latest version is 2.8 which was released in 2019.
Installing Blender 2.8
At the time of this writing, this is the most recent version of this 3D software. It is not hard to install and since it is free you should be able to download it with little to no trouble at all.
It is simply like any other software you download and install as all you need to do is go to this link and click the download button. Then once the download is finished, just click on the file to start the install wizard.
After that, simply follow the instructions. That is for windows operating systems. For GNU and Linux systems it is a bit more involved and here are the simple steps you need to take.
- Download the GNU/Linux version.
- Create a new folder inside the Home folder and extract the contents of the tarball.
- Click the box that says make blender executable. Right click and when the pop up appears go to properties then select the permission tab and select allow executing file as program.
- Create a shortcut to blender and select make link. You will have to drag the new link to your desktop. That is it. You have installed blender.
Blender pros and cons
Pros:
- It is free
- The community works on finding and fixing bugs or errors or weak spots
- Powerful software tool, just as good as the more expensive Maya software
- Lots of tutorials online
- Been around since 2002 and has been upgraded many times since then
- You can make your contribution as well
- Lots of features you can use
Cons:
- Your computer needs to have a very good 3D card, can be costly
- Not for everyone especially younger children
- Interface can be complicated
- Shortcuts need a middle mouse button or scroll wheel to operate
- Not good for many laptop keyboards
- Numbered pad on keyboard used for many shortcuts as well
- A large learning curve
Setting up Blender to 3D print
The instructions come from a 2017 article but there should not be too much of a difference between that year’s version and 2019’s. The blender software doesn’t come ready to 3D print but if you follow the instructions, setting up the software to help you print should not be that difficult.
| Step | Explanation |
|---|---|
| Download the software | Those instructions have been provided for you above |
| Use real world units | Blender uses blender units and if you want to know the actual size you have to change those default settings. Go to units>scene setting>imperial or metric |
| Update the grid | To do this press N to open the transform properties panel > display >type in your measurements for mm-0.001 and for cm- 0.01. once that is done press ctrl +U |
| Display the printing area (optional) | Create a cube using the transform properties panel and place in the properties you want that cube to look like. If it is too large, go to object setting >display >maximum draw type and change textured to wire |
| Remove unnecessary elements (optional) | Remove those elements that you do not need like camera and lights, and so on |
| Activate 3D printing plug in (optional) | This is activated through the add-ons panel of the user preference pressing ctrl+alt + U |
| Make your changes default | Press ctrl + U to save your settings so you do not have to do this again |
It is called shader editor now
Before 2.8 came out the editor used to be called Node editor. Change the version, change the name. Be wary of any updates as the features may not change that much and be the same as previous versions. It will just sport a different name
This feature has two rendering engines, Eevee and Cycles. The former engine is newer and works in real time and it is much faster than Cycle. Cycle may be slower and noisier but it is more accurate than Eevee.
There are 4 elements to using this updated editor and it will take some practice to get the hang of using it and the newer upgraded features. With a little practice you should be fine.
Some final words
Blender can be used for 3D printing and with its low price tag (free), you should be able to create some wonderful projects to print. The main drawback to this software system is that it can be complicated to use, have too many shortcut buttons to learn and it has a steep learning curve.
If you get stuck, there is a community of people who can help you out. All you have to do is ask and listen to their advice.