
electric hand planers are similar to traditional models only that it is powered by a motor instead of a fixed blade. The blade is mounted in the middle of two plates and is referred to as a shoe. The planer performs the same function as an electric planer by shaving off extra wood. It also evens out boards with little wood on them instead of using sandpaper.
How an Electric Hand Planer Works
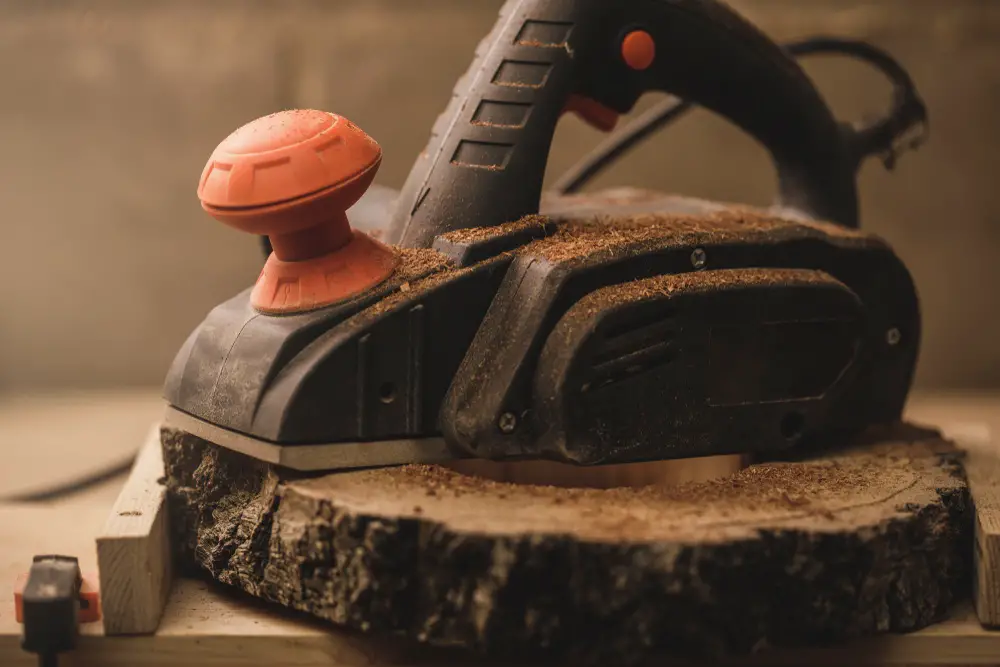
To operate it you need to adjust the front shoe which moves up and down using a knob located near the front of the planer. Most electric hand planers allow a maximum cutting depth of 3/32 of an inch.
Once you push the planer on the piece of wood the blade rotates at a pretty high speed, i.e. between 10,000-20,000 RPM while taking off small amounts of material to leave a smooth cut edge. You may need to sand the planed surface to smooth out the gouges or imperfections left depending on the surface you are working on.
Using an Electric Planer
Make Adjustments
Before you start working on the surface, ensure your body is balanced by standing with both feet apart. Ensure you are extremely comfortable allowing you to pass the planer through the wood.
The rest of the impact on the workpiece depends on the speed of your electric hand planer. Also, fine-tune the equipment to match the needs of the workpiece.
For example, if want to hog off dimensional lumber, you need to adjust the depth of the tool to approximately a 1/8. However, if you want to create a smoother and better finish set it up to 1/32 or 1/64 to deliver the desired results.
Also ensure that the blade is sharp. Luckily, most electric hand planers retail with re-sharpenable blades that allow you to sharpen them using a whetstone. Be sure to check the kickstand too; it should be nicely positioned and elevated before making a pass.
Start the Planing Process
When you have made all the adjustments, you can start using the equipment. Electric hand planers operate using a single shoe or plate. Place the planer’s front shoe on the surface of the workpiece.
Ensure the workpiece does not move when planing as it can cause gouging and uneven amounts of material to come off. Also clamp it down and hold the device using both hands.
Proper Placement of the Workpiece
Allow the front edge of the tool to rest on the workpiece without the blade touching the workpiece. If you leave the blade resting on the workpiece and you switch on the plane, it will obviously gouge out more wood than desired.
To get a feel of the balance of the tool ensure there is little movement of the workpiece from left to right. Then pull the trigger on the plane and allow it to attain a high operating speed.
Hand Placement
The hands should be placed in such a way that the first hand is on the knob atop the front handle of the electric planer. Then, place the second hand at the back handle. Using both hands allows you to make proper cuts.
Pushing the Workpiece
Push the workpiece firmly down the electric planer as it helps clear out the waste build up in the device. Make a slow forward and maintain constant and steady pressure. Also apply extra pressure at the front of the plane to avoid tilting which may gouge out the wood.
Electric planers come equipped with a cut control knob that prevents you from cutting too deeply into the wood. However, it does not guarantee that you will not shave off more wood than intended. Be sure to maintain balanced pressure throughout the cut and move the workpiece slowly to obtain an even, finished cut edge.
Towards the edge of the workpiece, apply more pressure on the tool. It avoid taking pout more material than you want and minimizes the pressure at the front end of the planer.
Tips to Help You
- Applying pressure to the front of the tool creates a smoother start and reduces the probability of sniping
- Ensure the blades are sharp. This is because blades have a greater impact on the cut
- You may use additional pieces of work at the beginning and the end of the workpiece to also eliminate ‘snipe’ issues
