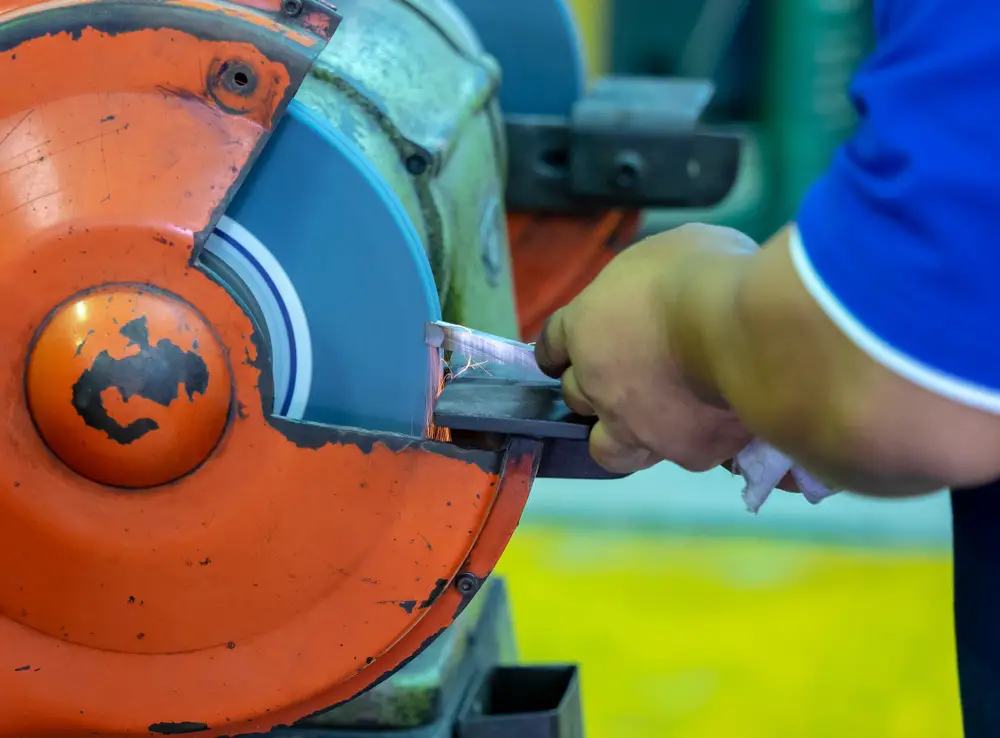
Bench grinders, even when assembled correctly, can still wobble and vibrate. Most modern machines have manufacturing short-comings that make it challenging to mount wheel that will spin correctly. A vibrating machine poses problems to users due to several reasons:
- It affects the performance of your work as you won’t achieve the same level of perfection
- It presents a safety risk to the users
- It reduces the lifespan of the product
- It can damage bearings and other components in its interior
Why Bench Grinders are Unbalanced
Several reasons cause an unbalanced bench grinder. The most common has to do with the wheel orientation. Bench grinder wheels have two orientations: the side to side motion and the outside face circumference running in a circular motion.The outside face circumference is likely to run incorrectly as a result of:
- Poorly attached bushings,
- The presence of a spindle that spins with excessive runout
- The use of a small arbor.
- Also, if the wheel is not centered correctly on the spindle, the outside face may not spin true
Bench grinders that have an appropriate exacting tolerance have the spindly attached correctly to avoid vibration. The quality of the bench grinder also determines how well it balances. High-quality bench grinders are fitted with spindles that have less runout than homeowner grinders.
Recommended: High Quality Bench Grinders
Washer flanges significantly cause side to side wobble. The insider and outside flanges should sit flat with the milled faces touching the sides of the wheel precisely. Low cots bench grinders, however, have stamped steel cup washers whose flanges don’t sit flat hence the imbalance. Also, the spindle arbors on the grinders provide a small shoulder milled surface for the insider flanges to bear against.
These features also make it difficult to clamp the wheel correctly on the shaft, causing wobbles. You will also find some bench grinders using butterfly cam locks, which create uneven point pressure on the outer washer causing an imbalance. It’s possible to eliminate side to side wobble by mounting the wheels correctly.
Steps to Balance the Grinder
- Supplies
- Stand
- Arbor
- Colored pencils
- Balancing weights
Check if the Wheels Spin True
Rotate the wheel using your hands to check if it moves freely without disruption. This is because regular use causes the wheels to expand. If there isn’t enough space on the sleeve, the wheel may not spin true.
Alternatively, spin the wheel at lower speed and check for wobbling. Wobbling is most visible at this speed, as the wheel rotates up and down at the end of the spin.
Tighten the Flanges
Then, secure the wheels on to the spindle and tighten the flanges leaving room for you to open them easily. Then, rotate the wheel to check if it is wobbling or if the vibration has reduced.
Identify the Extent of Vibration
Check the extent of vibration and remove the wheel from the sleeve assembly. Mount the balancing arbor in its stead and place them on a balancing stand to determine if they are stable.
Spin the Sleeve
Remove the weights on the sleeve and spin it. Be sure to allow it to spin naturally, to determine the actual place that has problems. Once it stops, mark the area facing upwards.
Connect the Weights
Connect the weights and align them to the marked points. Avoid over-tightening the flanges as it could cause more problems. Then, use your hands to rotate the wheels into position. Also, adjust the balancing weights and ensure they are also aligned to the chalk mark.
You’ll Like: Our Top Picks for Bench Grinders
Next, tighten the flanges firmly as you are not going to unscrew them anymore. Rotate the wheel using your hands to ensure the vibrations are eliminated.
Tips to Help You
- The right spindle nut of a two-wheeled bench grinder rotates clockwise. The vice versa is true for the left spindle nut
- Examine the washer flanges on a flat surface for warping or bending. If it has either of the two factors, dress them using silicon carbide sandpaper
- If the bench grinder has stamped steel, washers replace them with machined washers. They should be recessed on the side to ensure the force of nut is transferred to the outer part of the machine and not centered around the wheel
- If the grinder has plastic bushings check for excessive play. You can apply a drop of CA glue on the seams between the bushes to bind the nesting bushings into one bushing. Remove the wheel when using the glue to avoid binding the bushings to the wheel
- Take note of the washer position if you are going to change the wheels often. It helps restore the balanced position fast during wheel changes


