
Different kinds of soils affect the sensors differently, thereby leading to different readings. Therefore, it’s advised you use soil moisture sensors to suit the soil that’s being monitored.
If you have a smart garden, then you’ll not only be able to measure the soil’s moisture but also know when to irrigate the plants automatically.
The soil moisture sensors work by determining the dielectric contrast between soil and water. Usually, soil’s relative permittivity ranges between 2 to 6, while the water value is around 80.
Keeping an accurate track of the water content is essential when doing agronomy and botany applications. If you don’t, there’s a risk of either over or under-watering the soil that leads to wasted or unproductive resources.
In this guide, we’ll take you through the steps to follow to calibrate the soil moisture sensor, Arduino.

Items Needed
You’ll need several materials for this experiment to be a success, and this includes:
- Arduino IDE to flash ESP32
- Tensiometer(MPX5010DP)
- ThingSpeak account
- A Plant pot filled with compost
- Two 100K resistors
- Rubber stoppers
- ESP32 development board+ Internet Access via WIFI
- Power Supply
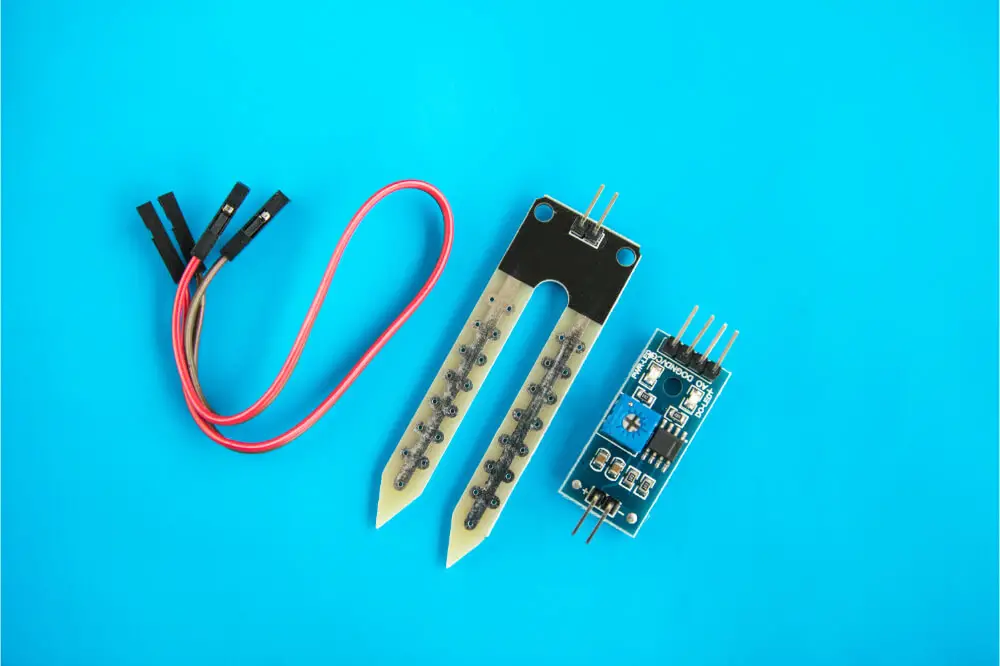
- Captive soil moisture sensor v1.2
- Boiled water
- Connecting wires
- Tropf Blumat ceramic probe
Steps To Follow When Calibrating Soil Moisture Arduino
Step 1: Tensiometer

The soil tensiometer refers to a water-filled tube that has a pressure gauge in one end and a porous ceramic cup on the other. You should bury this ceramic cup end into the soil to get the soil into close contact with the cup.
This will lead to the water passing out from the tensiometer, thereby lowering the pressure inside this tube. The reduction in pressure is a direct indicator of the soil’s affinity to water and gauge the difficulty plants experience extracting water.
The first thing you need to do is detaching the plastic diaphragm from the probe’s green head. If it fits perfectly into the green head, you’ll have to separate these two parts by cutting and snipping. After splitting them apart, start drilling into the diaphragm pip a 1mm hole. There’s a plastic pipe connected to the diaphragm’s top to measure pressure.
You should soften the plastic by placing the tube inside boiling water. If not, you could opt to use the traditional bored rubber stopper rather than recycling the diaphragm. Measuring the pressure inside the probe can be done by directly measuring the water column’s height that the U-tube supports. An inch of water supported is equal to 2.5 millibars of pressure.
However, you’re required to soak the ceramic probe in water for several hours to ensure the ceramic has been wet properly. After doing this, you should then add water into the probe and fit in a stopper.
If you want to prevent the formation of air bubbles in the probe, it’s recommended you use boiling water. Subsequently, you should insert the probe into the moist compost and give it time to stabilize before you measure the pressure.
You should find the data showing the relationship between the output voltage and pressure in the sensor datasheet. It’s also possible to calibrate the sensor directly from the U-shaped tube manometer filled with water.
Step 2: Capacitive Soil Moisture Sensor

We opted to use the v1.2 capacitive soil moisture sensor in this guide because it’s cheap and easily available on the internet. You should also get this kind of sensor instead of any other soil resistance measuring sensors that may be affected by fertilizers, thereby causing the probes to corrode. These capacitive sensors work by gauging the extent of the water content change probe’s capacitor, thereby giving the probe’s output voltage.
You should place a 1M resistor between the sensor’s ground pin and the signal. In certain instances, the ground connection goes missing even though the resistor is placed on the card. This leads to symptoms such as reduced response to a change in conditions.
Fortunately, there are various techniques for dealing with a missing connection. You can choose to link the resistor on the board to the ground or use an external 1M resistor. While the resistor discharges the capacitor on its output, which is attained in the software by temporarily shorting the output pin to the ground before measuring the sensor.
Step 3: Data Logging

You should proceed to place the capacitive probe and tensiometer into a plant pot with moist peat compost. Wait for a couple of hours to allow the system to settle and give the sensors steady readings. While doing this, you may choose to use the ESP32 development circuit board to measure the sensor outputs and then post these results to ThingSpeak.
It’s easy to find the ESP32 circuit board from Chinese suppliers, and you can use numerous of these pins in measuring analog voltages. When the pressure sensors produce a signal of 5V, the voltage is split into half with two 100K resistors that prevent damage to the 3.3V ESP32. Moreover, you may choose to connect other kinds of sensors to the ESP32, so long as it matches the output signal.
Give time to the plant pot to naturally dry out and post these sensor readings to ThingSpeak after every 10 minutes. Because the ESP32 pin also incorporates GPIO pins, it’s possible to add other sensors such as humidity and temperature to provide detailed information on the environment.
Step 4: ESP32 Program

Using the Arduino IDE program, gauge the sensor outputs and then post the outcome on ThingSpeak. You may also choose to increase the basic program, which doesn’t have any error trapping or progress reporting to a serial port. Moreover, you should install your password, SSID, and API before you flash the ESP32.
After confirming the ESP32 is being powered from the USB power supply and the sensors are well connected, send the readings to ThingSpeak after every 10 minutes. You may also choose to set different read times in the program.
Conclusion
Learning how to calibrate the soil moisture sensor Arduino is important to determine whether watering the soil is necessary. If you didn’t know how to do this, reading through this comprehensive guide has offered you useful insights on the steps to follow when doing this.
