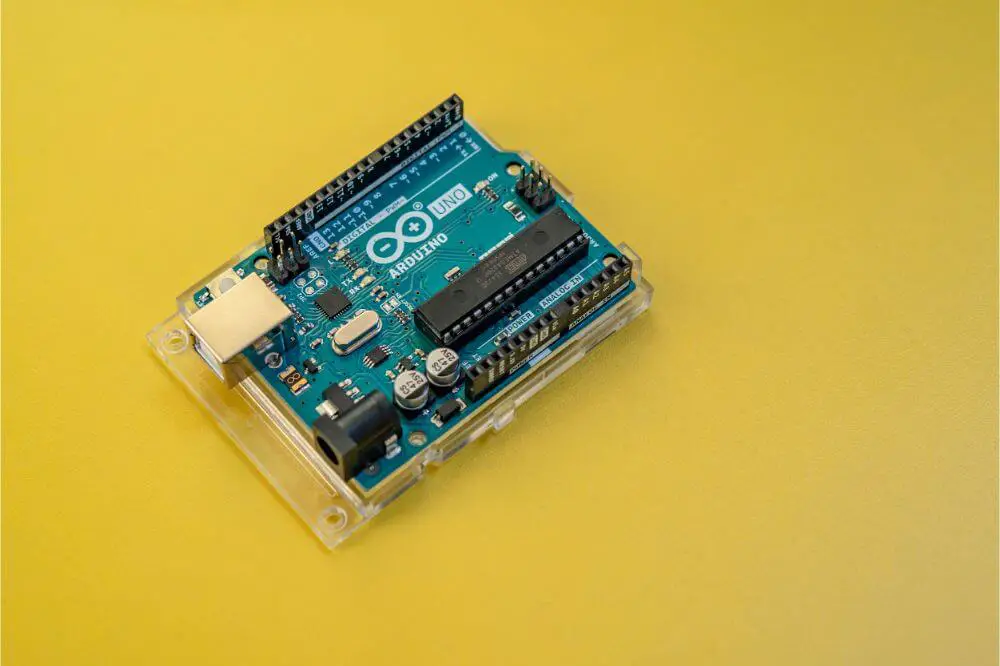
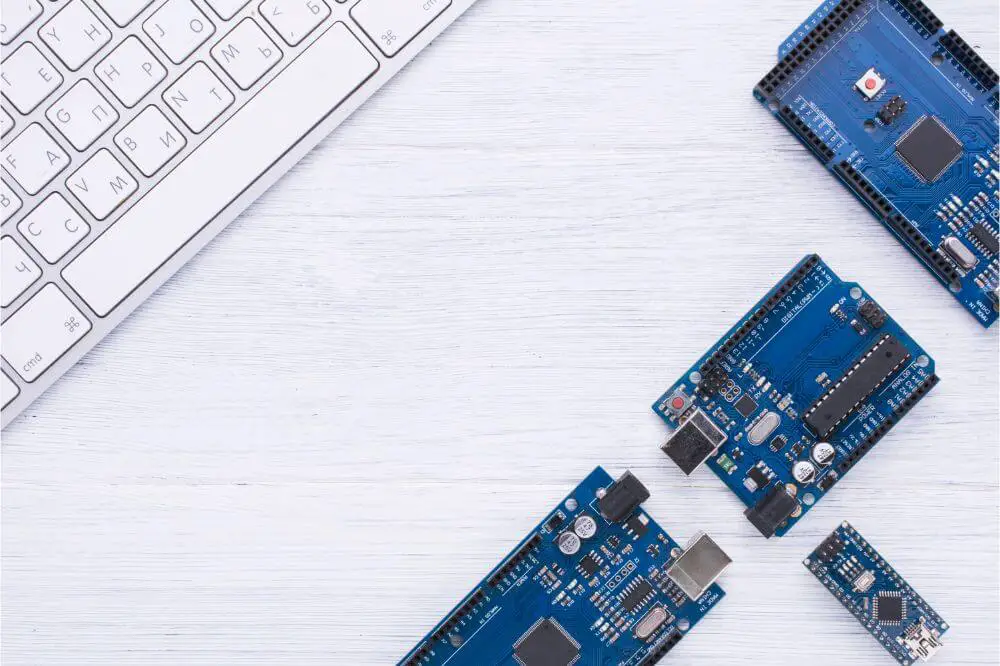
The Arduino is a microcontroller with software or an IDE used to build electronic projects. It has three different types of memory – Flash, SRAM, and EEPROM.
The Flash memory stores the sketch program and the Static Random Access Memory. SRAM is where the sketch creates and manipulates variables at run time. The EEPROM is used to store long-term data. The Flash and EEPROM are non-volatile types of memory and remain after the Arduino is powered off.
Keep reading to learn how to clear/reset your Arduino’s memory and how the memory works.
EEPROM
The EEPROM can be compared to a computer’s hard drive, but with faster read and write times. You can write, over-write, and clear the data stored there. The EEPROM is typically used to store the settings required by Arduino once it boots up.
How Much Data Can Be Stored?
The total size of the EEPROM is subject to the Arduino model. For example, the Arduino Mega has 4096 bytes of memory, while the Uno, Nano, and Mini all have 1024 bytes. On the other hand, some versions of Mini and Nano with an Atmega168 controller onboard only have an EEPROM of 512 bytes. Fortunately, there’s always the option to increase the storage capacity by interfacing with an external EEPROM.
Like most memory types, EEPROM has a limited lifespan and won’t last forever because it can only be erased a number of times and be subject to rewritten data. Typically, an EEPROM in an Arduino will last approximately 100,000 write and delete cycles. However, reading data stored on the EEPROM doesn’t influence its longevity.
Clear Your Arduino Memory by Connecting the RX and GND Pins
Here are the steps to clear the memory from your Arduino board by joining the RX and GND pins:
- Before starting the process, ensure the USB cable is disconnected from your Arduino. In addition to disconnecting the power, it will free the TX and RX pins used for USB-Serial communication.
- Connect the RX pin to the Ground (GND). This can be done by joining a jumper between the GND and RX pin. Also, keep a resistor of 10Kohm to maintain the current at a safe number between the pins.
- After removing the RX pin, reconnect the USB cable to power on the Arduino again.
- Then, launch the IDE to upload a simple sketch to the Arduino. Keep things simple by either uploading the “Blink” or the “Bare Minimum” sketch.
- Next, remove the USB cable to power off the Arduino again. This is so the PX pull-down can be removed safely.
- With the USB cable still disconnected, detach the resistor or wire used to connect the RX and GND pin.
- Finally, connect your Arduino directly to the computer device and not the hub to ensure everything works as expected.
Clear Your Arduino Memory by Creating an Empty Sketch
If you prefer not to connect the RX and GND pins, you can create a loop to clear the memory. Here’s how it’s done:
- First, disconnect the power by removing the USB cable.
- From the drop-down menu that pops up when you right-click “This PC,” launch the “Device Manager” from the “Manage” window.
- Next, from the “COM & LPT” section via the device list, choose “COM & LPT.”
- Select the right click on the COM port that corresponds with your Arduino.
- You’ll need to edit the port settings that correspond with your Arduino. This is done by selecting “Properties” in the pull-down menu, then selecting “Port Settings,” and switching “Flow Control” to “Hardware.”
With this technique, you’ll have the option to use the “Bare Minimum” sketch to flash to the Arduino. Upload the sketch to the IDE. Below is an example of a blank sketch that clears the previous program by telling Arduino to setup nothing and loop nothing:
// Empty sketch
void setup()
{
}
// The loop routine will keep going until stopped
void loop()
{
delay(1000);
}
Now power up your Arduino again using the USB cable.
Lastly, upload the “Bare Minimum” sketch. A shortcut for doing this is pressing the “Ctrl+U” via your keyboard.

Other Ways to Clear the Memory on an Arduino Uno Board
If you’ve worked with an Uno board before, you may have wondered what the “RESET” pin was for. Your Arduino will reset once you click and release the push button. Follow these steps to clear the memory using the “RESET” button:
- Switch off your Arduino.
- Press and hold the “RESET” button, and turn it back on while still pressing it.
As a result, the original sketch will no longer work, so you’ll need to produce a new sketch.
Another way to reset an Arduino is to launch the “Serial Terminal” via the Arduino program when connecting your board to your device. The Arduino will reset immediately once the “Serial Terminal” is launched.
How to Clear a Sketch From an Arduino Board
First, consider inserting the sketch into the flash memory, in the same way you would flash an operating system file onto a Raspberry Pi SD card. The sketch will load up whenever you power the Arduino. If you use a microcontroller, it will load almost instantly.
As the chip is programmed to flash with a program, it can stay on the chip until it is flashed again, regardless of whether it’s been switched off and on.
To configure your board for a new circuit, consider uploading the “Blink” program first, as it’s the easiest and quickest way to “reset” to a mutual beginning point.
Clear Your Arduino’s Memory
As you can see, there are a few options to clear your Arduino’s memory and essentially return it to the factory settings. The easiest method is to upload a new sketch, telling Arduino to set up nothing and loop over nothing. However, this method will detract from the 100,000 write and delete cycles allowance. Alternatively, you could connect the RX and GND pins or hit the “RESET” button.

