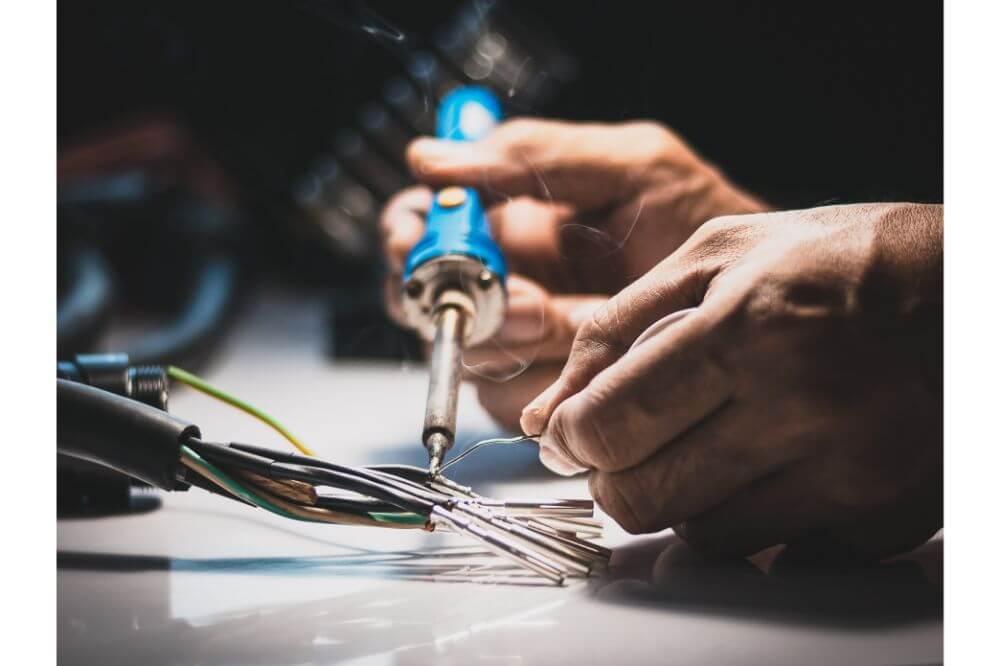
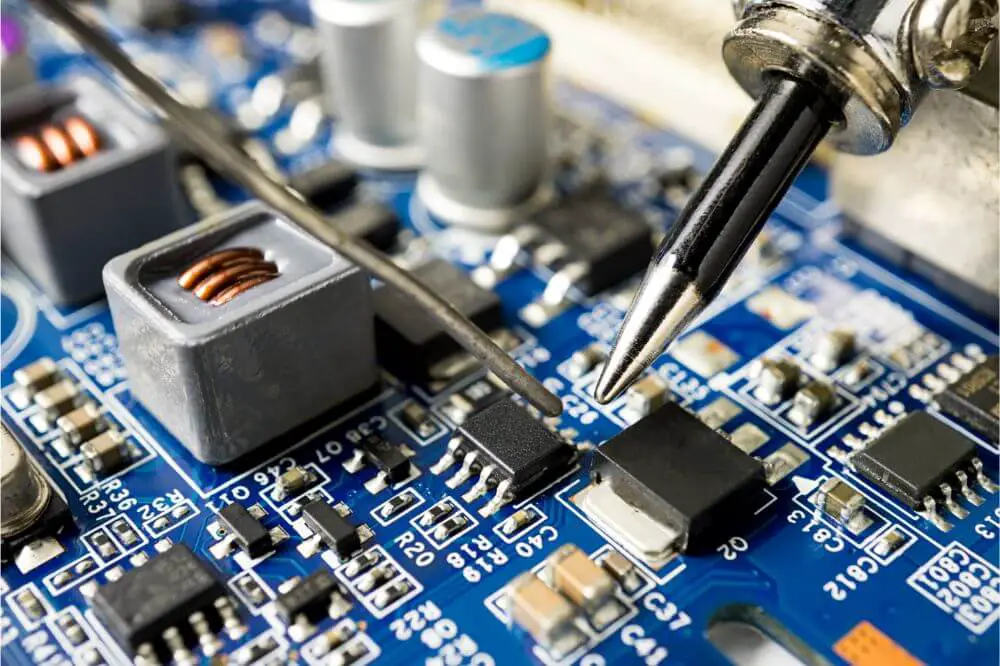
The main goal of soldering is to create a permanent and sturdy connection between circuits, wires and other components. However, in some cases, you might do something incorrectly during the soldering process. In these situations, you’ll need to replace or remove the circuit board bridge, and it’s here that desoldering is required.
- Step 1 – Get Your Safety Gear
- Step 2 – Place The Desoldering Braid Over The Solder
- Step 3 – Heat the Soldering Iron
- Step 4 – Get Your Solder Sucker
- Lift The Desoldering Braid and Soldering Iron Simultaneously
- Ensuring The Soldering Iron Is Clean and Tinned
- Match The Desoldering Braid to Soldering Iron For Accuracy
- Always Use A High-Quality Flux Remover
- Minimize The Duration Which The Board And Its Components Are At High Temperatures
- Match The Type of Flux To The Cleaning Process
If you know how to solder, desoldering will be much simpler to understand. This is because it entails removing the solder joint, hence the exact opposite of the soldering process. The process of breaking the connection and clearing away the solder is relatively straightforward. But if you don’t know where to start, here’s a detailed outline of the steps to follow during the desoldering process.
Step 1 – Get Your Safety Gear
Before you even start using your soldering iron to desolder a connection, make sure to get appropriate safety gear. This is crucial since your face will be positioned close to the molten metal, so you need to safeguard it from harm. You’ll need to do this because melting down the wires, solder joint and any other joined component might result in an abrupt snapping once the bond loosens. This consequently leads to the flying around of droplets in every direction, and this can cause you injury, especially to your eye.
Step 2 – Place The Desoldering Braid Over The Solder
Now that you’ve put on your safety gear proceed to identify the solder that needs to be removed. Once you locate it, place the desoldering braid over as you start preparing to have it removed.
Step 3 – Heat the Soldering Iron
Plug in the soldering iron and wait for it to get enough heat. Once it does, place its tip over the desoldering braid which will start aborting the heat produced and pass it on to the solder.
Please wait for a couple of seconds for the solder to melt completely before removing the braid to confirm that it has fully been extracted. As you do this, make sure to remain cautious since the desoldering braid will also become hot due to the heat.
You can also use a pair of pliers to pull out the components, thereby removing pins from their pinholes. Pulling the components by their leads is recommended instead of the complements as this safeguards the component’s quality.
Step 4 – Get Your Solder Sucker
This is an optional step and only applies if you own a solder sucker, which is a gadget which siphons off hot solder by at the press of a button. Once you’re done using the soldering iron to heat the joint, put the solder sucker’s tip above the hot solder.
You should follow this up by pressing the release button after which all the liquid solder will be sucked up. When you want to empty your solder sucker, press its plunger downwards.

Tips To Improve The Desoldering Process
When desoldering a circuit board, you need to maintain extreme caution to prevent wrecking it. It’s because of this that in this section you’ll be taken through the useful tips to consider when using your soldering iron in the desoldering process.
Lift The Desoldering Braid and Soldering Iron Simultaneously
One of the most common mistake done by many novices is not lifting the soldering iron and braid in unison. Make sure to avoid this or else risk soldering the braid to the contact and as a result, you might destroy the pad.
Ensuring The Soldering Iron Is Clean and Tinned
Whereas this looks obvious, it’s something many ignore and as a result lower the effectiveness of the desoldering process altogether. Using a soldering iron that’s covered with oxidation and burnt flux doesn’t wet properly, thereby poorly conducting the heat.
You should thus look to avoid such a scenario by making sure your soldering iron is clean and tinned. This means it’ll consequently be able to conduct heat better, thereby improving the desoldering process and the wicking action gets done a lot quicker.
Match The Desoldering Braid to Soldering Iron For Accuracy
For improved accuracy, ensure the soldering tip is of equal width to that of the contact area and the desoldering braid. Otherwise, using a tip that is either too big might end up to expose other components due to the compact assembly. Likewise, if the tip is too thin, you’ll need more time to complete this task.
If this isn’t something you wish to experience, get a matching tip to melt away the undesirable solder a lot quicker. This also lowers the time which you take when applying heat to the desoldering area.
Always Use A High-Quality Flux Remover
Flux residues might result in the corrosion and dendritic growth on the PCB assemblies. Because of this, it’s best to always clean and adhere to the recommended practices. This includes using a quality flux remover when cleaning around the board. It would be best if you did this while positioning the board at an angle, thereby allowing the residues to run off.
Minimize The Duration Which The Board And Its Components Are At High Temperatures
Exposing your board, its components, and fragile joints to high temperatures for a prolonged duration can lead to its destruction. It’s thus best if you maintained the soldering iron at steady temperatures ideally below 700ºF to avoid putting the internal components at any possible risk.
Match The Type of Flux To The Cleaning Process
The desoldering braid comes in different types of flux which usually depends on the process of cleaning and other requirements. Rosin fluxed braid has the quickest wicking action but leaves behind residues which you’ll need to clean thoroughly. When cleaning isn’t possible or practical, you should opt for the no-clean fluxed braid, and once you’re done desoldering, only the non-ionic residue will look clear.
Conclusion
The desoldering process can be quite complicated if you don’t know where to start. Has this been something you’ve been struggling with?
If so, reading this comprehensive article has taken you through the steps to follow when using a soldering iron when desoldering. Knowing this, you can now confidently embark on desoldering while following the correct procedure to guarantee it gets done correctly.


