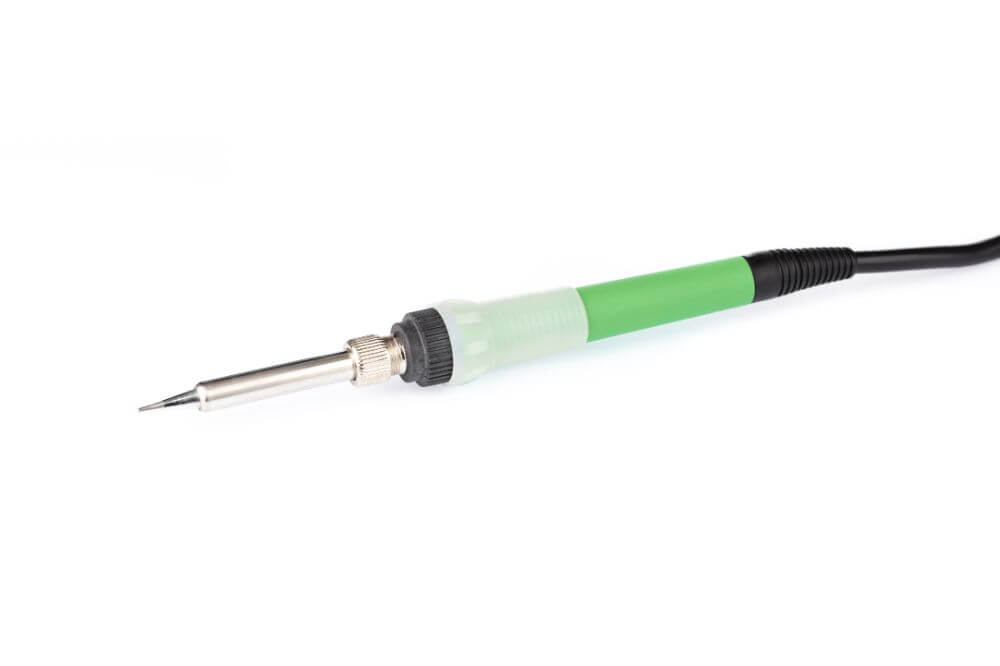
If you like Do-It-Yourself (DIY) projects, then you have probably used a soldering iron. You may have even had to purchase one, which can be costly. Despite serving you well, your store-bought soldering iron might have given up the fight. You now need a new one yet you’re quite sure you do not want to incur the cost.
You’re probably scouring the internet for tips on how to make your own induction soldering iron. If yes, you are in the right place because we will simplify the process for you.
In our article below, we will show you how to make a small and powerful induction soldering. The steps we will share are easy to follow, even for beginners. With the right material, which you can purchase from the hardware or find within your home, you will have your induction soldering iron within no time.
Making Your Own Induction Soldering Iron
Most of the soldering irons in the market are electrical. They deliver highly on efficiency but are quite expensive. Unless you use the tool professionally, there is really no point in spending all that money.
It is important to understand what induction soldering is. An induction process fuses two separate pieces with the use of filler metal such as an alloy of zinc and silver, lead, or tin. The soldering iron temperature needs to be high enough to ensure the filler melts and starts to flow.
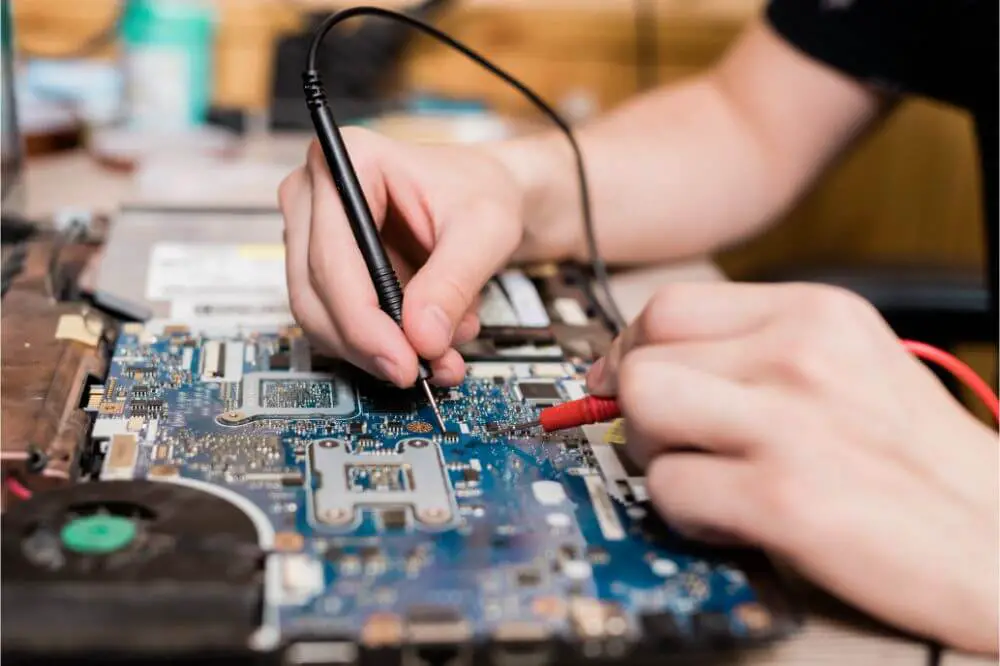
You must understand precisely what it is you need before choosing a soldering iron. With induction soldering, unlike brazing, you do not melt the joints. The joint may, therefore, turn out a little bit weaker. This is the major reason why you do not use induction soldering for larger projects. It, however, works great for tasks such as circuit board repairs, electrical repairs, and other smaller jobs.
The heating cycle is fast, and you have a lot of control over the process. Since you are applying the heat to a smaller area, you can concentrate the heat directly on the part you want to solder. The control allows you to avoid errors, and you will finish your projects faster.
If it sounds good so far, allow us to show you how to make your own induction soldering iron.

Materials You Will Need For Your Induction Soldering Iron
There are three main components to the induction soldering iron that we will be making: the inductor, an iron tube, and a copper tip.
To help you better understand the mechanics, we will break it down as follows.
- The role of the inductor is to warm the tube.
- The tube, once warm, will transmit the heat to the tip.
- The tip or induction system heats the iron you are soldering.
For the induction soldering iron we are making, think about curling irons. The part of the curling iron that gets hot is the tube. The part you hold when using the irons is the base, encased in the handle.
Stock up on the following materials:
- 1 mm copper wire
- Copper wire for the tip – sharpen it into a wedge shape
- Heat resistant adhesive tape
- Iron tube
- A base for the tube
- A handle – you can use the case of a small flashlight. It should feel like you are holding a pen. You will need to remove the connector on the flashlight end.
- A small generator for the power source. You will find tons of tutorials online on how to make your own inverter.
- You can use an industrial soldering iron for the inductor. You can access such in industrial soldering stations or even check with your local hardware.
- You will need a base for the tube. You can use heat resistant plastic, but just ensure it can withstand the high temperatures.
- Cover the tube with heat resistant adhesive tape to act as insulation.
- For the inductor, you will need 1mm copper wire. Wind it around an iron tube, but only after burning the wire tube. If you do not, the first time you put on the insulation rod, the varnish on the wire will burn, and may produce noxious flames.
- Aim for coils totaling six to a maximum of twelve
- When making the coils, make sure they do not touch each other. This is a critical step because contact could lead to a short circuit.
- Use the heat adhesive tape to get into the spaces in the coils for additional insulation. You also get to avoid any chances of the rings touching at any stage.
- Put insulating tape on top of the conductor.
- Pull out the ends of the inductor coil. You will need to make a hole through the base on which you will feed the wires through.
- Put the unit in the case, ensuring the connecting wires protrude at the bottom.
- Snugly fit the tip into the tube, there should be no movement at all. If you prefer, you can use thin copper wire and solder or screw it into place. The advantage of using copper wire for the tip is that you can replace it as often as you wish, inexpensively.
- Your induction soldering iron is now ready.
- Connect it to your generator and solder away.
It is important to remember that induction solders heat quite quickly. Within minutes, you will have the ideal temperature for your soldering job. You may, therefore, want to practice and sharpen your skill level; otherwise, you will not be able to control the heat.
Please note; you may get the steps right the first time, or you may not. If the latter is the case, do not give up. Making your induction soldering iron will save you money, which you could put to better use elsewhere.
Final Thoughts
Use our tips above to make a small and powerful induction soldering iron. As we have said above, the process is not complicated. The material you will need is not expensive, and some of them you can easily access within the home.
Don’t stress about buying expensive soldering irons when all you need is a little time and a fantastic tutorial such as this one to guide you.


