
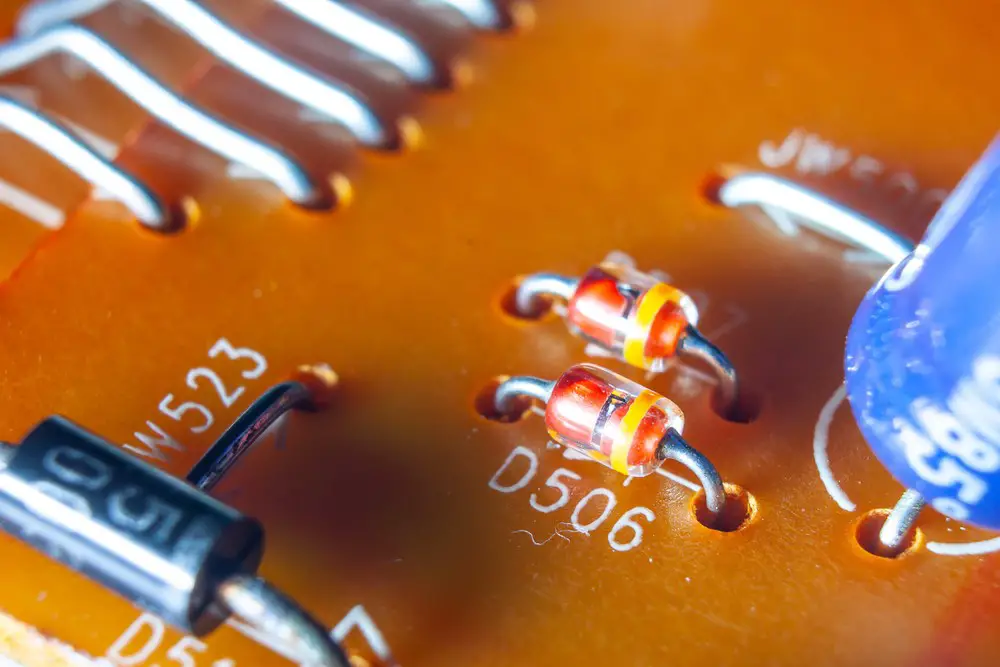
Zener diode is the most crucial part of a circuit with essential functions like protection, switching, rectification, and many more.
In case of an electrical fault, the Zener diode is usually the first one in a circuit to be damaged. It is, therefore, essential to know how to test Zener diodes to see if they are functioning correctly.
Zener diode is usually connected within the reverse diode. Each Zener diode has its maximum capacity of holding current. If current passing through the Zener diode pass or rather exceeds the current holding capacity, it will result in heat loss at the diode’s junction resulting in the damage of the diode.
Diodes have two terminals, namely, a cathode and an anode. The Zener diodes are made from semiconducting material and only carry current only toward one direction.
How the zener diode works
The Zener diode allows current to flow from their anode to cathode and, at the same time, blocking the current from flowing in the other direction. The Zener diodes are used in changing current from alternating current to direct current. If the power is connected in the wrong way in a circuit, the components are then protected from damage by the Zener diode. The diode protects the components by blocking the current flow, thus avoiding damage to be caused.
Here is a simple method of testing diodes using an analogue multimeter
Testing a diode with an analog multimeter
- The first step is to keep your analogue multimeter selector’s switch in low values of resistance.
- After setting the selector switch to low resistance, you then need a forward-biased connection to your diode. This is done by connecting your analogue multimeter’s positive terminal to diode anode and your analogue’s multimeter negative terminal to the cathode.
- If your diodes are functioning correctly, then the analogue multimeter should read/ indicate low resistance value.
- The next step is setting your analogue’s multimeter selector switch to the high position of resistance. After that, you then reverse your analogue multimeter’s terminal through connecting your analogue multimeter’s positive terminal to the cathode and the negative terminal of your analogue multimeter to the anode. This is known as reverse bias. If your diode is in perfect condition, then your analogue multimeter should indicate a high resistance or OL.
- If your analogue multimeter does not indicate the above readings, then that means that your Zener diodes are faulty or defective.
Testing diode with a digital multimeter
Troubleshooting of diodes with a (DMM) digital multimeter is usually done using two methods. This is because two modes used in checking the diode are usually available in a digital multimeter. These modes are ohmmeter mode and diode mode
Testing a diode in Diode Mode using a digital multimeter
- The first step is usually to identify the cathode and anode terminals of your diode.
- Next, you need to keep your (DMM) digital multimeter to diode checking mode. Switching to diode mode is usually done by turning/rotating the digital multimeter’s centre knob to mark the area that is labelled diode symbol. In diode mode, your digital multimeter is capable of supplying an approximately 2mA current between the two test leads.
- After that, you need to connect your digital multimeter’s red probe to the diode’s anode and the digital multimeter’s black probe to the diode’s cathode. This usually means that the diode is forward-biased.
- Then you have to observe readings on your digital multimeter display. If the readings show a voltage value that is around 0.6 to 0.7, then it means that your diode is in perfect condition/healthy and perfect.
- You then need to reverse the multimeter’s terminals; this means you need to connect the multimeter’s red probe to the diode cathode and the black probe to the anode. Such a connection is called a reverse biased condition of the diode. Your multimeter should indicate OL.
- If your multimeter shows an irrelevant value to the above condition, then it means that the diode is faulty/ defective.
Testing a diode in ohmmeter mode using a digital multimeter
- The first step is usually to identify the anode and cathode terminals of your diode.
- Next, you need to keep your (DMM) digital multimeter to ohmmeter mode or in resistance. Switching to ohmmeter mode is usually done by rotating the multimeter’s centre knob to mark the area where the ohmmeter symbol/resistance value is labelled.
- After that, you need to connect the digital multimeter’s red probe to the diode’s anode and the digital multimeter’s black probe to the diode’s cathode. This usually indicates that the diode is forward-biased
- If your multimeter displays the moderately low value, that can be a few ten ohms to a few hundred; then it means your diode is in perfect condition/ healthy.
- After that, you then reverse your digital multimeter’s terminal through connecting the positive terminal to the cathode and the negative terminal of your analogue multimeter to the anode. This is known as reverse bias.
- If your diode is in perfect condition, then your digital multimeter should indicate a high resistance or OL.
How to test a zener diode using a multimeter
Zener diode usually conducts only in reverse-biased condition,
Testing of Zener diode is a bit different in that; they require more circuitry.
Testing of Zener Diode with a multimeter
- The first step is to Identify Zener diode anode and the cathode.
- After identifying the anode and cathode of the Zener diode, Place your multimeter’s knob to voltage mode.
- After that, you need to connect your multimeter probes to the Zener diode.
- Connect your positive multimeter terminal to the cathode and the negative multimeter terminal to the anode of the Zener diode.
- After that, you need to increase supply input to the Zener diode gradually, and then try to observe the voltage display on the multimeter.
- The reading on your multimeter should be that as you increase the supply variable, your multimeter output should also increase until the diode breakdown voltage. If it’s beyond the Zener diode voltage breakdown point, your multimeter should show constant voltage value even after any more increase in the variable input supply. If you get such reading in your multimeter, then this indicates that your Zener diode is in perfect condition, but if you get different readings, then your Zener diode is faulty or defective.
EXAMPLE
If you add 12 voltages to Zener diode (its breakdown voltage is usually 6V) from a battery passing through a resistor, then your multimeter should identify or show a reading that is equal or almost equal to the Zener diode breakdown voltage of 6V. This type of reading is possible only if your Zener diode is in perfect condition or healthy.
