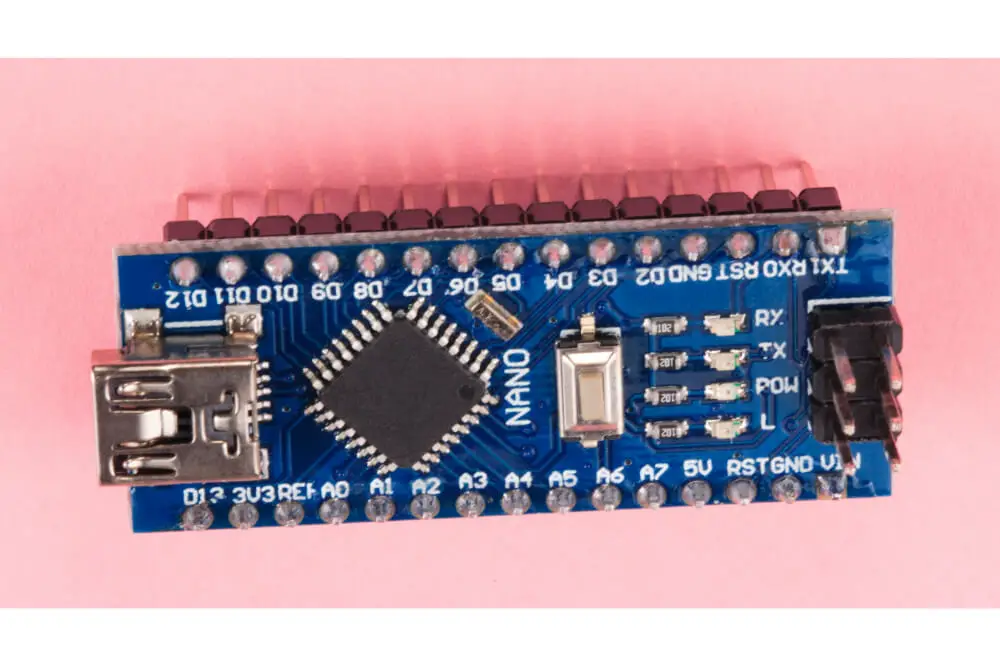
The Arduino Nano has been designed to offer a cost-effective and practical solution to all DIY projects, which requires a robust and small board that is fully compatible with Arduino Nano pinout and form factor.
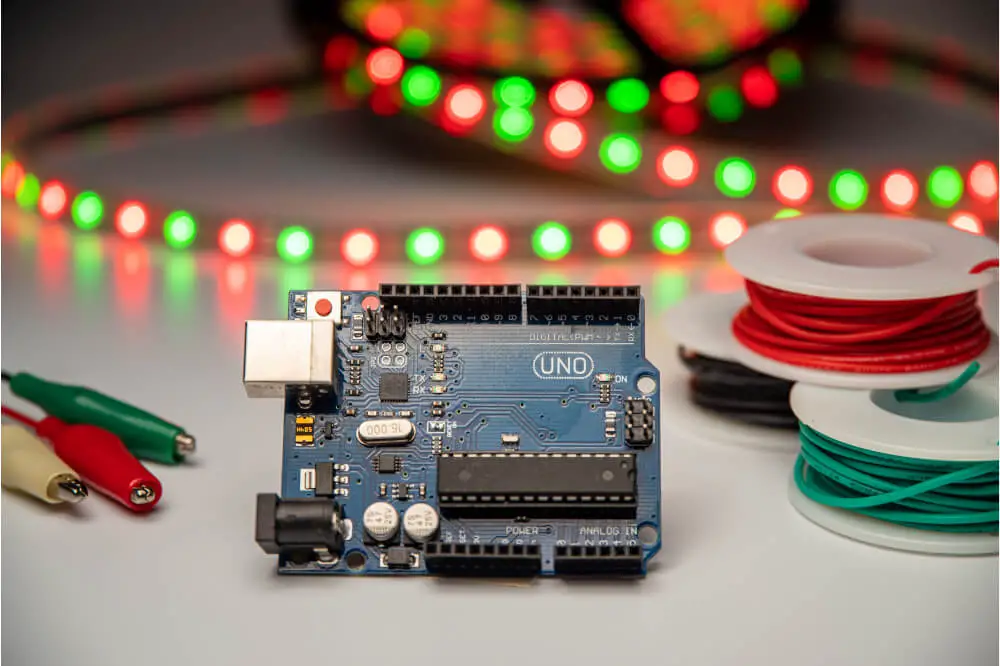
On the other hand, Arduino Uno is an open-source microcontroller board that utilizes the ATmega328P microcontroller. Both Nano and Uno are Arduino boards, which are an open-source electronic platform that is based on easy-to-use software and hardware, just any other model of an Arduino board.
With an Arduino board, you can tell it what to do by just sending a set of instructions to a microcontroller on an Arduino board. Using an Arduino board is relatively easy and does not require much explanation. However, in this article, we shall be discussing how to program Arduino Nano using Arduino Uno.

Requirements
Programming Arduino Nano using Arduino Uno is a pretty much straightforward process. To achieve that, you will require these vital tools:
- Arduino Nano board that will be programmed.
- Arduino Uno board that will act as a programmer.
- Jumper Cables with some male-male and male to female
- Breadboard.
Programming Arduino Nano using Arduino Uno
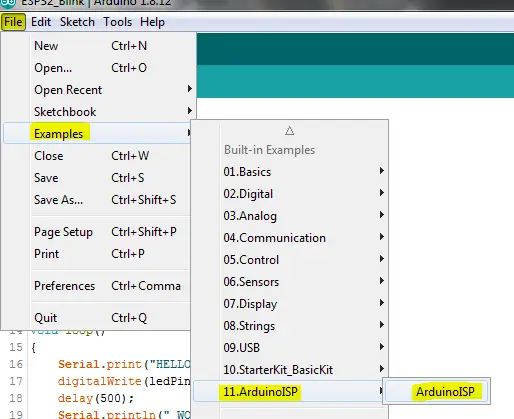
The first thing you will have to do is attach the Arduino Uno to your PC and then go to file and then examples and then go to ArduinoISP and then click on the ArduinoISP to open a sketch. Once the sketch is open, you will go ahead and upload it to your Arduino Uno. Once the uploading process is done, you will unplug your Arduino Uno from the PC.

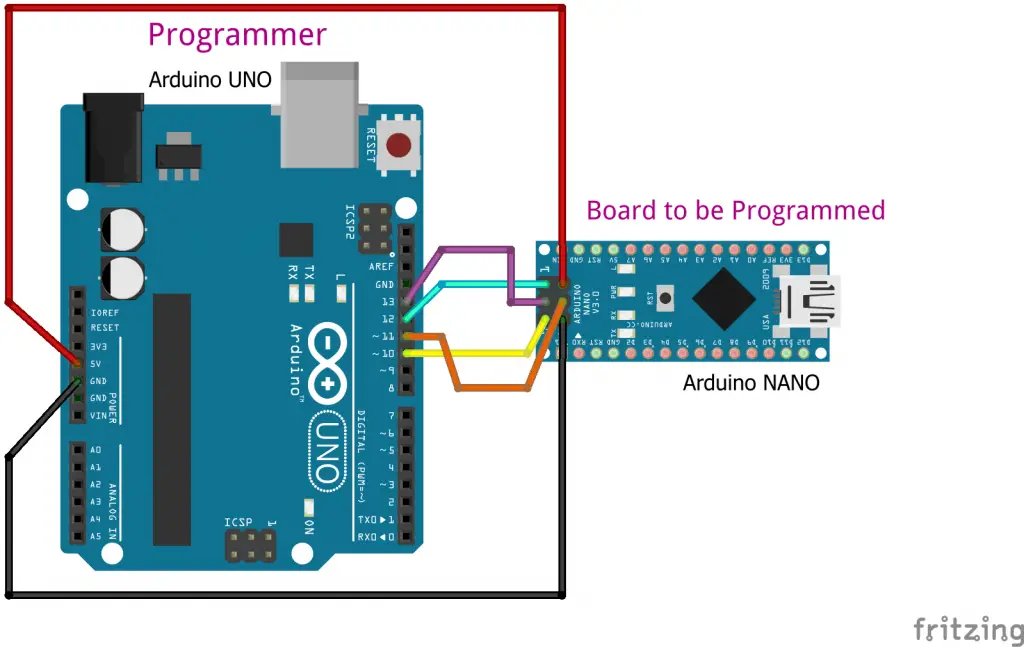
You will then go ahead and attach the Arduino Uno board and the Arduino Nano board that you would like to program using a jumper cable. You should note that when connecting the board that operates using 3.3 volts, you should consider connecting it to the 3.3-volt pin rather than the 5-volt pin.
When connecting the pins, ensure that it looks something like this:
- GND pin connected to GND pin
- D12 pin connected to MISO
- D13 pin connected to SCK
- D10 pin connected to RST
- D11 pin connected to MOSI
- 5-volt pin connected to VIN
Connect the components! 🙂

Once you are done connecting the hardware, you will go ahead and start preparing the software using the Arduino IDE software. When it comes to the IDE software, you will first go to tools and then click on board and select the Arduino Nano.
In the processor, you will go ahead and select ATmega328. On the other hand, you will select Arduino as an ISP in the programmer. While doing so, you should note that Arduino as ISP does not mean ArduinoISP.
Once you are done with the settings, you will go ahead and open up your sketch that you would like to upload to your Arduino Nano. Go to the Menu bar and then go to Sketch and select Uploading using a programmer.
With that done, the Arduino IDE software will automatically compile your sketch and then upload it to the Arduino Nano board. RX TX LEDs will start blinking rapidly on both the Nano and Uno Arduino boards, and you will be able to see once the uploading process is completed. However, if the process is not completed, you should consider rechecking all the wiring along with the settings.
You should note that the Arduino family of boards features 3.3-volt and 5-volt devices. Therefore, when using an Arduino board that isn’t tolerant to 5 volts as a programmer, ensure that you don’t expose any of the pins to a 5-volt power source.
This means that you will go ahead and connect it to a 3.3-volt power source. This is a vital piece of information that you need to remember when you are programming your Arduino Uno using an Arduino Uno board.
What are the differences between Arduino Uno and the Arduino Nano board?
Choosing an Arduino board can be a bit challenging, especially for newbies. However, by understanding their differences, you will be able to settle for an Arduino board that will best suit your needs. Some of the differences between an Arduino Uno and Arduino Nano board include:
- An Arduino Nano features a compact size along with a mini USB cable compared to an Arduino Uno. However, you might consider using an Arduino Nano, preferably an Arduino Uno board, since both of them operate on a microcontroller ATmega328p.
- An Arduino Uno board is easily available, unlike its counterpart, the Arduino Nano. Furthermore, an Arduino Uno board is said to be a standard board that is available in today’s market, which is relatively easy to use for newbies or starters out there.
- Arduino Nano is also available in Plastic Dual-Inline Package or PDIP, while the Arduino Uno board is available in plastic Quad Flat Pack or TQFP.
- An Arduino Uno board is equipped with six analog pin inputs along with 14 digital pins, one USB connector, ICSP, or In-Circuit Serial Programming header and a power jack. On the other hand, an Arduino Nano is equipped with an I/O pin that is set for 14 digital pins as well as eight analog pins. Additionally, it is fitted with six power pins along with two reset pins.
Both Arduino Uno and Arduino Nano boards are of high-quality and very effective, and choosing between the two will highly depend on your preference and the type of project you are working on.
Final verdict
There is no doubt that programming an Arduino Nano using an Arduino Uno is relatively easy and can be achieved by any individual irrespective of their skill level. By adhering to the tips discussed in this article, you will come to find out the whole process is pretty much straightforward and does not require any advanced skills.
Once you have all the requirements in place, you will be good to go. As we come to a conclusion, we hope that you have this article helpful and that it has helped in answering the question; how to program Arduino Nano using Arduino Uno?

