
It is essential to have a soldering iron in your home. Most people prefer simple DIY, and a soldering iron can come in handy, especially if you like fixing things. However, if your soldering iron is not working, you need to fix it.
It is not an easy task, but you can rewire your soldering iron with ease if you follow this guide. If your soldering iron is not heating anymore when plugged in, you do not have to replace it. This instructable will help you understand the steps you need to follow when rewiring your soldering iron.
The heating element of soldering iron is made from a resistance wire that’s snugly wound around a metal spool. When the heating element fails, the soldering iron cannot work any longer i.e., produce heat. However, if the iron is producing heat, the soldering iron tip has a problem. If the tip is not appropriately maintained, such as tinned regularly or kept clean, oxides accumulate on the shank’s surface.
You need to remove these contaminants to facilitate heat transfer from the heating element to the soldering tip. In case you haven’t maintained the soldering iron, consider buying a replacement tip. The majority of soldering iron runs on electricity. Ergo, if the circuit is broken, the electricity will not work either because you have a faulty connection or a heating element failure. Follow these steps to rewire your soldering iron:
Determining broken factors
The first thing you need to determine is the factor broken. It is not easy to start fixing your iron without knowing what’s broken or needs replacing. Your soldering iron might not be working due to several factors. Firstly, test the wires on the plug to ensure they are working correctly.
To test the wires, you need to use a multimeter or any method to determine if the cables are working. In case there is no disconnection on the wires from the plug, your outlet is functioning correctly. If the cables are in perfect condition, you need to replace the filament.

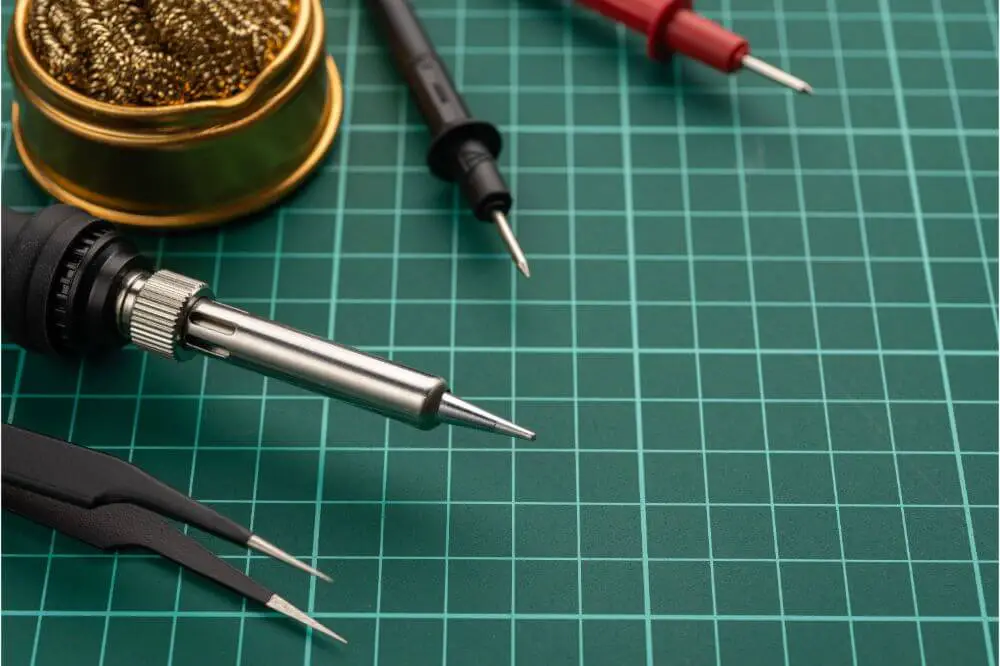
Materials needed
To fix your soldering iron, there are several materials you need to get the job done. Here are the materials you need:
• You need a new soldering iron filament. Since filament wattage may vary, you need to determine the wattage of your soldering iron. The iron filament you are replacing should have the same wattage as the one broken. For instance, if your soldering iron is 20 watts, you need to use a 20 watts filament.
• It would be best if you had some electrical tapes or any tape that is designed to withstand high temperatures. The tapes will be used to join the filament to specific wires to facilitate the conduction of electricity.
Removing the filament
If you have tested and confirmed that your filament needs replacement, you need to remove it. Firstly, you need to remove the filament from your soldering iron. How does one remove the filament from the soldering iron?
If you have a screw-type iron, removing the filament is easy because you need to twist the handle & the trunk in the opposite direction (sides) and pull. The process is straightforward and easy. However, if your soldering iron has screws, you might have to use a screwdriver.
Removing the filament entails numerous steps depending on the type of a soldering iron. Remember, since the screws might develop rust, you should be careful to avoid destroying the screw. The soldering iron metal is not hard due to the heat generated now and then.
After opening your soldering iron, you need to remove the filament using cutter pliers. Use the cutter pliers to cut the terminals of the filament attached to the wires of your iron. To replace your filament, attach the new filament to the wires where you cut your old filament’s terminal. It is crucial to use electrical tapes or tapes designed to withstand high temperatures to cover the filament terminals to prevent short-circuiting.
After replacing your filaments, you need to assemble the soldering iron. If you have unscrewed the soldering iron, make sure you screw them back for safety purposes. Finally, after rewiring your iron, you need to test it to ensure it is working well.
Causes of soldering tip failure
Soldering tip life depends on proper maintenance, tip configuration, cleaning, and the jobs done. To get the best tip performance and maximize its life, avoid situations that contribute or cause tip failure. Here are some of the things you can do:
• Use correct voltage – ensure you use the correct voltage in your electrical line. Typically, most irons are designed to withstand slightly varying supply voltages. However, if the line supplying has high voltage causes the iron to run hot & reduce the soldering tip’s life.
• Adjust the soldering temperature – it is essential to note that the higher the soldering tip temperature, the faster the oxidation. You need to adjust the soldering temperature to the minimum temperature required to melt your solder. If you use an iron that has or works with a rheostat can help you work using the best working temperature.
• Avoid temperature cycling – although keeping the tip clean is vital, using a wet sponge causes early tip failure. Using a damp sponge makes the temperatures drastically rise and fall. The metal tip thus expands and contracts, reducing its life span.
• Let the soldering iron do the melting – when you push or rub the solder into the soldering tip against the joint, force heat to make the tip wear out faster. It is crucial to allow the iron to heat to the soldering temperature to improve its durability.
• Use high-quality solder – if the solder has impurities, they collect on the iron tip prompting it to work less efficiently. Using a high-quality solder ensures your tip works appropriately for a long time.
Finally, choose the right flux. Using a flux with the lowest activity reduces oxidation & corrosion, thus maximizing the tip life. For instance, paste flux is more aggressive & active than water-soluble liquid flux or gel flux. If the tip is very dirty, use a soft brass or brass wool to remove the oxides.