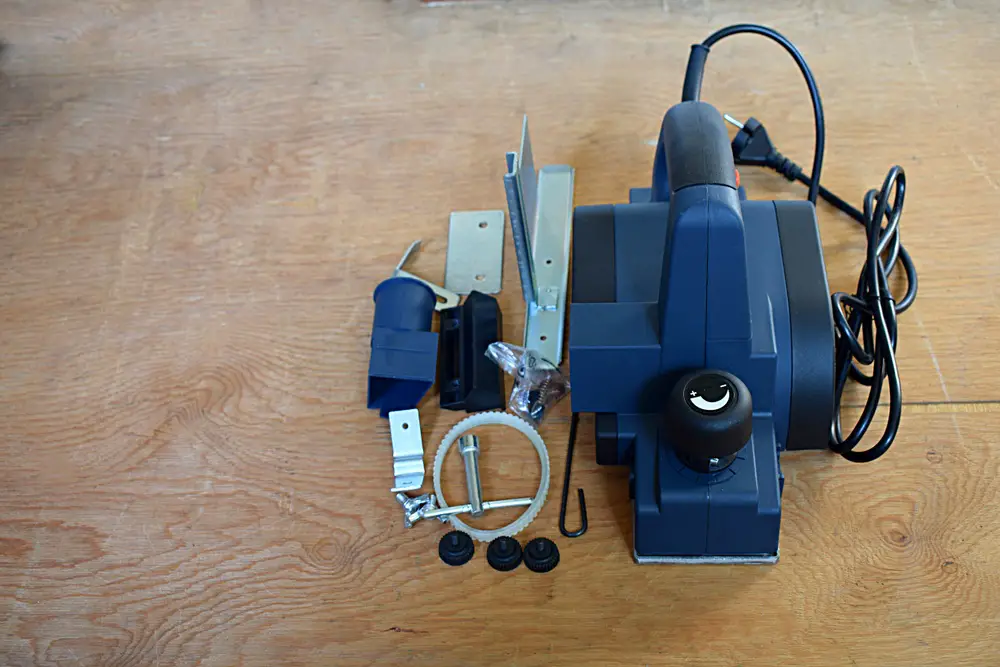
If you own an electric hand planer, then you know how important it is to have the blades set correctly. The feature and the setting of the blades have a huge impact on the quality of your woodwork. Unfortunately, most machines come with improperly set blades that make them inappropriate for the type of woodwork you want to do.
On the other hand, constant use of the blades can lead to its wearing out, plus poor setting of the blades. However, you don’t have to worry because we have compiled the best advice and hacks that will help you set the blades to achieve the desired effect.
How do you know your blades need to be set?
If you notice that the surface you are planning is not level and smooth, it means your blades are not well set and secure. As a rule of thumb, the blade of your machine should be mounted in such a way that the cutting edge is parallel to the surface of the rear base.
You should check and ensure that the cutting edge is level. Nonetheless, you have to make sure your blades are sharpened even as you set them; otherwise, the finish of your woodwork might be compromised.
Now that you know when to set the blades, let’s show you how to set electric hand planer blades at the comfort of your home or workshop.
How to set electric hand planer blades
Unplug the Power Supply
When you are adjusting the planer blade, you need to ensure that you have the plug out of power for safety reasons. Once you have taken it off the power, you can now take the blade out. You should avoid making any adjustment on your electric hand planer with the machine plugged to the power.
Wear Protective Clothing
More on safety, you should ensure that you have protective gloves when handling the setting and handling the blades. Blades of electric plane tend to be sharp and fragile. Therefore, ensure you wear gloves to protect yourself from injury and from damaging the blades.
Determine the Depth of the Blade
Before you start the actual process of setting the blades, you should determine the length that needs to be adjusted. You should check to see whether your blades are below the level of the rear shoe and whether they need to be adjusted to protrude more.
Check whether you can adjust the blades using the depth knob. If the knobs, when adjusted all the way down, fail to protrude the blades, then you need to adjust.
The Condition of the blade affects the quality and precision of the cuts. Therefore, the first step is to determine the quality of the cut, which the electric planer produces. When you use dull blades, you get rough surface because the blades tend to tear wood fibre. Besides, this can also cause raised grains on the wood.
Set the Planer and the Table
The next step is to set the working surface of the planer – this can be a table or your working station. The in-feed table, which is usually at the front, should help you set the depth, while the out-feed table should enable you to hold the piece of wood you are working on.
To properly set the blade, it is essential to set the blades fractionally above the out-feed table. Furthermore, the blades should be parallel and of the same height with the table. Setting the blades too low or too high can cause the planer to leave a scoop at the end of the wood.
Clean the Blade and Dust the Blades
Once you have removed the blade, ensure to dust and clean them. Moreover, you should clean the other surface of the machine to ensure the device works out well when you finish setting. You can use a compressor or soft brush to clean the chips, and the dirt sticking on the blade drum.
Adjust the Blades
Once the blades are clean, the next step is to loosen the screws in blade gauge, by turning them anticlockwise until they touch the end of the notches.
You can adjust the amount of space you want the blade to move by tightening or loosening the gauge plate. After you have finished changing the gauge plate, ensure to secure the screws both inside and the top of the adjusting screw.
To achieve the correct setting of the blade, I suggest you get a ruler and a pencil. Next, you should set the ruler to zero and reset the depth of the electric hand planer blades to 1mm.
The use of a pen to mark the ruler and the base allows you to set the correct distance needed for a precise and smooth cut. When adjusting the blade, you should aim at getting identical length on all edges.
Conclusion
Setting your hand planer blades is not rocket science. You can easily do it at the comfort of your home. However, just like other DYI, you need to have the right tools and take safety as your priority. Working with dull or chipped blades can be a daunting task. It is, therefore, vital to reverse and set them to have an efficient machine that gives your timber a smooth finish.

