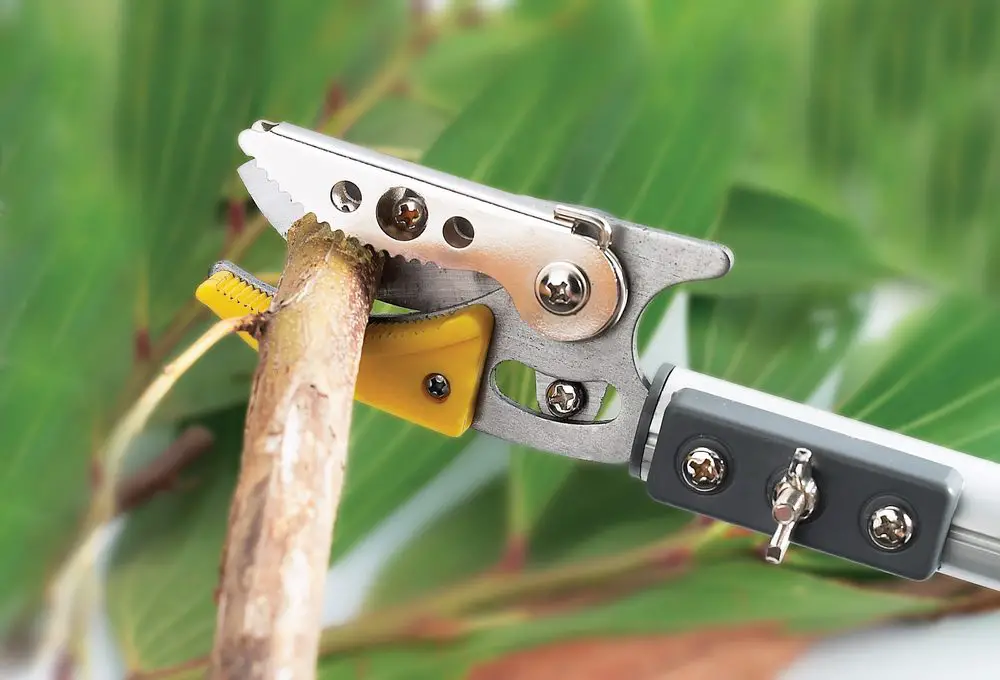
It is crucial to keep gardening tools sharp. Avid gardeners sharpen their tools once a year often during winter as gardening tasks are minimal during this season. Tools like the garden shears are used more frequently hence the need to sharpen them several times throughout the gardening season.
A sharpened pair of shears not only makes clean cuts but also helps plants heal faster. This is because it cuts the stems and branches with ease in comparison with a pair of blunt shears. Also, clean cuts reduce the plant’s risk of developing diseases.
Recommended: Dull Gardening Tools? 5 Good Bench Grinders Picks
Why use a bench grinder?
Most gardeners use files to sharpen their gardening tools. While the tool is effective, it might not remove the nicks and dredges etched on the surface of the shears. A bench grinder comes in handy as it rids of all the scratches leaving your gardening shears ready for pruning.
The machine is also ideal for sharpening incredibly dull gardening tools. Here’s a step-by-step guide to help you when sharpening the shears using a bench grinder:
Wear Protective Gear
Wear protective gear before you embark on the process. Don a pair of protective gloves to your hands protected from scratches or nicks. Look for a pair of heavy-duty gardener’s gloves, and ensure they are made of thick leather.
You also need a pair of safety glasses to protect your eyes from the flying sparks that cause injury. Experts recommend using safety goggles as they protect the eyes from the small particles that land in and around the eyes. Safety glasses leave gaps that the little bits can penetrate.
Tighten the Pivot
Before sharpening, check the pivot nut for tightness. A loose nut makes blades to drift apart when cutting a twig instead of making a clean cut. You should tighten the nut using a screwdriver and check if the tool can make a clean cut. If it still cuts poorly, examine the blade to check if it is bent. If so, clamp it on a vise and tweak it straight.
Clean the Shears
Ensure the shears are clean before sharpening. Dirt, debris, oil, and other material on the blade can damage the tool during sharpening. You can use warm, soapy water and a stiff brush to scrub off both sides of the blade. Then rinse using clean water until the shears are free of soap residue and dry them using a thick towel.
Rust Removal
You should also examine the blade for rust. It is essential to remove rust before sharpening the shears as it makes the sharpening process. You can use a piece of medium-coarse steel wool to buff away the rust. You can soak the tool in a mixture of water (50%) and vinegar (50%) first before buffing it with steel wool.
Alternatively, you can use the bench grinder to rid of the rust. You only need to replace the wheels with a wire wheel and a buffing wheel to remove the rust. After removing the rust, rinse the blades and dry them using a thick towel or rag.
Sharpening the Shears
Hold the tool firmly and pass it over the wire wheel in a bevel angle. You need to maintain this angle to ensure the entire surface is sharpened. Apply moderate pressure and using a single, smooth stroke draw the tool along the contour of the blade from the base to the tip.
Check the edge after a couple of strokes for a uniform shine. If it is not, you may be holding the tool incorrectly. Repeat the process until a sharp edge forms on the shear blades. You will need 10-20 passes to obtain sharp edges on the blades.
Remove the Burr
Burrs are small folds of metal that form on the opposite side of the blade after sharpening. They are a sign of a tool that has been sharpened correctly. If the burr does not form, then the edge is not fully sharpened.
Picked for You: Sharpen Your Tools With a Bench Grinder
The burrs are also removed using the bench grinder, but you may also use a sharpening stone or a file. Avoid applying too much pressure as you will create new burrs on the original edge. Then test for sharpness by making a test cut. The shears should make a clean cut without pinching or tearing the stems and branches.
Reassemble the Tool and Lubricate
Once the blade is sharp, use a reverse order to reassemble the parts. It is an excellent opportunity to examine and replace worn out parts. You also need to lubricate the moving parts to prevent friction and the development of rust. You can dip a piece of cloth into a lubricant of choice and wipe the blades. Be sure to lubricate the shears throughout the year, especially after heavy use, whether you are sharpening or not.


