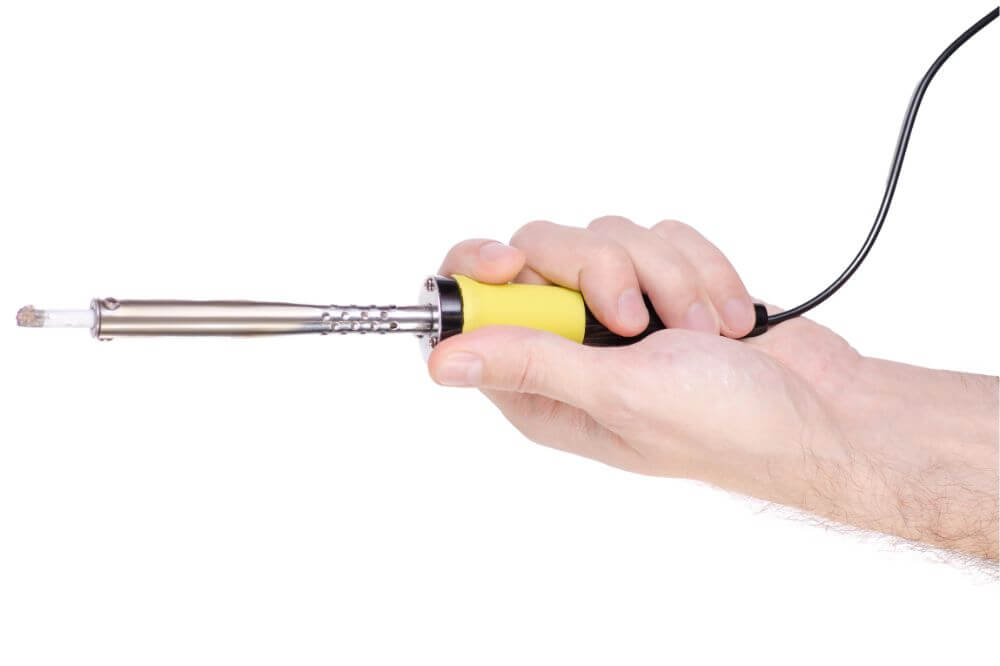
Joining aluminum without specialized welding equipment can be quite challenging. Aluminum can be soldered, but doing so is quite difficult compared to other metals. To make soldering for aluminum easier, experts recommend you to use the right blend of solder. You may also have to remove aluminum oxide.
This detailed article will guide you on how to solder aluminum with soldering iron. Before commencing, you need to have the appropriate soldering kit and other crucial equipment. After removing the aluminum oxide, you should perform the soldering procedure quickly before aluminum oxide forms again.

1. Identify the Alloy
Pure aluminum is solderable, though it’s not easy to work with because it’s considered a hard metal. Most of the aluminum products available are aluminum alloys. A majority of them can be soldered in the same way. A few cases can be challenging to work with unless you are an expert.
Some aluminum products are marked with numbers or letters. Each of the labeled aluminum has specific requirements. Other aluminum products are unlabeled, and they can be difficult to identify.
The properties of an aluminum product determine whether it’s possible to join the material with another metal. Some combinations, such as aluminum-steel, are difficult to weld and may require more specialized methods and a professional welder.
2. Select a Low-Temperature Solder
Aluminum usually melts at 1220 degrees Fahrenheit (660 degrees Celsius), which is a relatively lower temperature. Therefore, it will be challenging to solder it using general solders because they have higher heat capacity.
You’ll need to purchase a specialized solder with a lower melting point. Generally, an alloy made with a combination of zinc, silicon, and aluminum may serve the purpose. Double-check the label to confirm if it’s the perfect solder for the job.
Avoid solders that contain lead. For filler metals that melt above 840 degrees Fahrenheit (450 degrees Celsius), join aluminum metals through brazing rather than soldering. Brazing creates a stronger bond. Soldering, on the other hand, is preferred for pieces with delicate materials such as electrical circuits.
3. Pick a Flux
The reason why we use flux is because of the aluminum oxide layer that forms rapidly, thereby making it impossible for the solder to wet the aluminum. Compared to copper oxide, it’s a challenge to remove aluminum oxide. It may require a stronger flux such as the organic amine-based flux, inorganic flux, or fluoroaluminate salts to remove the oxide.
It’s vital to have the right flux for the aluminum. If possible, buy the flux and the soldering iron in the same store and confirm that they should be used together. The melting point of your soldering iron should be equal to the required temperature of your flux.
4. Choose a Source of Heat
You can join aluminum wire using a soldering iron, but some jobs will require a torch. If you don’t have a torch, try using a 150-watt soldering iron.
5. Set Up a Safe Work Station
When soldering aluminum, you should always wear a respiratory mask to protect yourself from toxic fumes. Also, make sure the work station is well ventilated. We recommend you wear non-synthetic clothing and heavy gloves.
Step-by-Step Guide
Step 1: Clean the Aluminum
Aluminum oxide forms on aluminum materials rapidly after direct contact with air. The oxide layer makes it impossible to join two aluminum materials.
Scrub it thoroughly with a steel brush, but be prepared to clean, flux, and solder quickly before the oxide gets a chance to form again. For old aluminum, grind, sand, or wipe the oxide with acetone or isopropyl alcohol.
Step 2: Clamp the Base Metals Together
If you are combining two pieces of aluminum, clamp them together. Make sure there’s a slight gap in between them to enhance the flow of the iron solder.
You may have to make the joined areas smooth through bending or sanding if they do not fit together.
Step 3: Apply the Flux
After cleaning the metal, apply flux on the area you wish to join immediately. This helps to prevent more oxide from forming.
If you are soldering wires, dip them in the flux. Some flux comes in powder form and with mixing instructions.
Step 4: Heat the Metal
Heat the aluminum metal material with a soldering iron. You should start at the lower end and heat the object adjacent to its join.
Once you apply a direct flame on the repair area, it will overheat the solder and flux. Move the heat slowly along the area to ensure it’s heated evenly.
You might have to wait for up to ten minutes for the soldering irons to heat up. If you notice the flux changing to black, let it cool down, clean it, and repeat the process.
Step 5: Applying Solder
Drag the iron solder over the join as you continue to heat the area slowly from the opposite side or a nearby surface. Slowly move the iron solder while applying it to achieve an even outcome. Making a strong and even joining takes practice to perfect.
If the solder fails to bond with the aluminum materials, then it’s highly likely that aluminum oxide formed before you could solder. In that case, you need to clean and start the process once again. Other reasons could be a wrong solder or difficult to join alloy.
Step 6: Remove the Excess Flux
Water-based flux is washable with water after cooling down. For resin-based flux, only use acetone. After removing the flux, you may proceed to remove any oxide that may have formed due to the high heat.
Bottom Line
These essential tips will help you solder aluminum using a soldering iron. However, the iron solder you are using may fail to bond the metal for various reasons. As I have mentioned countless times, aluminum oxide is your biggest enemy. If it forms, you will not be able to solder the joint. You will be required to clean the surface once again and solder it to get the desirable results.
Make sure you apply the tips accordingly, and if it doesn’t work out, check the solder and the flux you are using. If they are the right pair, ask for help from an aluminum expert.

