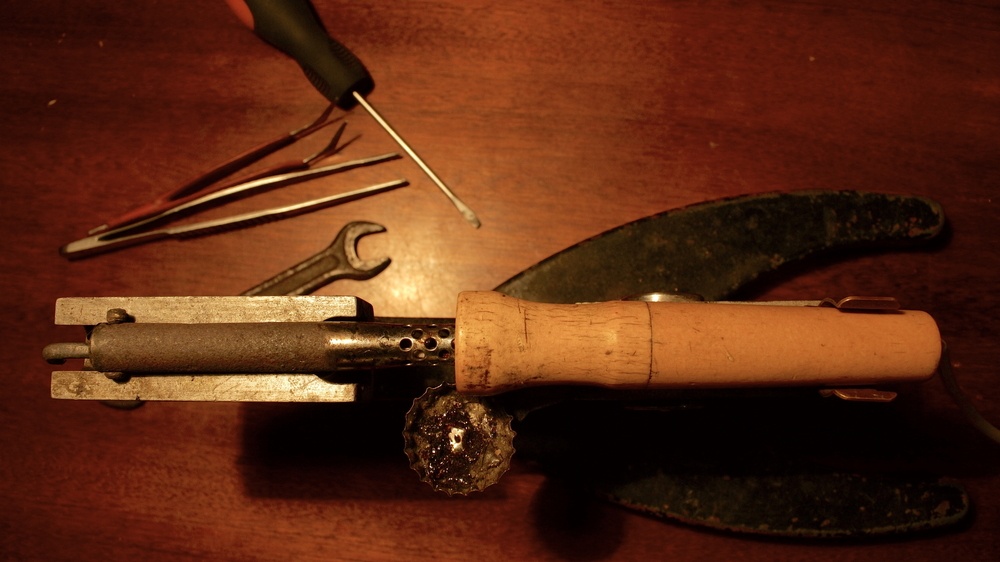
Proper care of the soldering iron results in cleaner solders, lower melt times, and longer life. Most soldering irons are made of iron-plated copper; hence, regular care and maintenance is essential to effective performance. It prevents tip damage and metal buildup. Also, proper maintenance eliminates the possibility of transferring impurities to the solder joint.
Here’s a guide to help you take care of the iron:
Tools Required
- Damp sponge
- Sandpaper (600 grit sandpaper)
- Tip cleaner
Procedure
Turn off the Iron
Turn off the iron and allow it to cool for 15-20 minutes. This way, you can work on the iron without getting burned. You should start cleaning it immediately to reduce the risk of buildup.
Wipe Off the Tip Using Damp Sponge
Rubbing a hot iron on a damp sponge allows the soldering tip to contract at a different rate compared to the soldering iron. This way, you can remove any traces of solder clinging to the tip and determine if the tip is too hot to touch it with bare hands.
If it is still hot, flick the tip on the wet sponge without touching it. Look for sulfur-free sponges specially designed for soldering as regular sponges don’t remove the solder efficiently.
Scrap off Rust or Stains
If you don’t clean the iron regularly, the iron may develop discoloration or stubborn stains. Scrap them off damp steel wool pad. The sandpaper is ideal if the tip has been abused excessively.
Scuff the surface of the iron tip lightly until it begins to gain luster. Be sure to turn off the iron and have allowed it to cool before using sandpaper as it ignites at 451F.
Tin the Tip
After cleaning the tip, it is essential to coat it with a thin layer of solder. This process is called tinning, and it protects the iron from oxidation by creating a protective layer on the tip. It might not be necessary if the iron is new or has been appropriately maintained.
You may use a tinning compound, but if it is not available, to substitute it with regular solder. Use low heat when soldering the tip to avoid bringing the solder to the melting point. Also, apply the solder evenly to keep the heat flow in check and to prevent the accumulation of rust.
Be sure to wear safety goggles when tinning as chemicals used in solder irritate the eyes. Once the tip is properly tinned, be sure to avoid de-wetting through occasional cleaning and addition of small amounts of fresh solder, particularly when the soldering iron has not been used for a long time.
Tinning Uncoated Copper Tips
Also, if the tip getting tinned is made of un-plated copper, first clean and dress it using a flatfile. Then heat the iron (at low temperature) and apply rosin core solder. Avoid heating the iron at a high temperature before applying the solder as excess heat causes the surface of the tip to re-oxidize.
Apply a Layer of Alloy Cleaner
Allow the iron to cool off and apply a layer of alloy cleaner on the tip using a microfiber cloth. This will prevent dust buildup and reduce the chances of oxidation.
Additional Tips
Always use high-quality solder: Cheap solder saves on cost, but it damages the tip over time. It will cause impurities to build upon the tip, which in the heat transfer ability of the soldering iron. Solders with 50/50 or 60/40 proportions are ideal.
Wipe the tip after every use: It is particularly crucial if you just tinned the tip as it rids of impurities and allows effective transfer of heat from the tip to the work surface.
Gentle wiping comes in handy as oxidation occurs rapidly when all the solder is removed. Oxidation makes it difficult for the solder to wet the tip. Use a wet sponge to wipe off the tip after each stroke. This way, you have less to clean after the soldering job.
Check the iron for cracks or burns regularly: A solder iron cord is susceptible to damage due to the high heat it is subjected to. In case you notice such damage, engage a professional to replace it. Solder irons that have damaged cords can be extremely dangerous to work with.

