
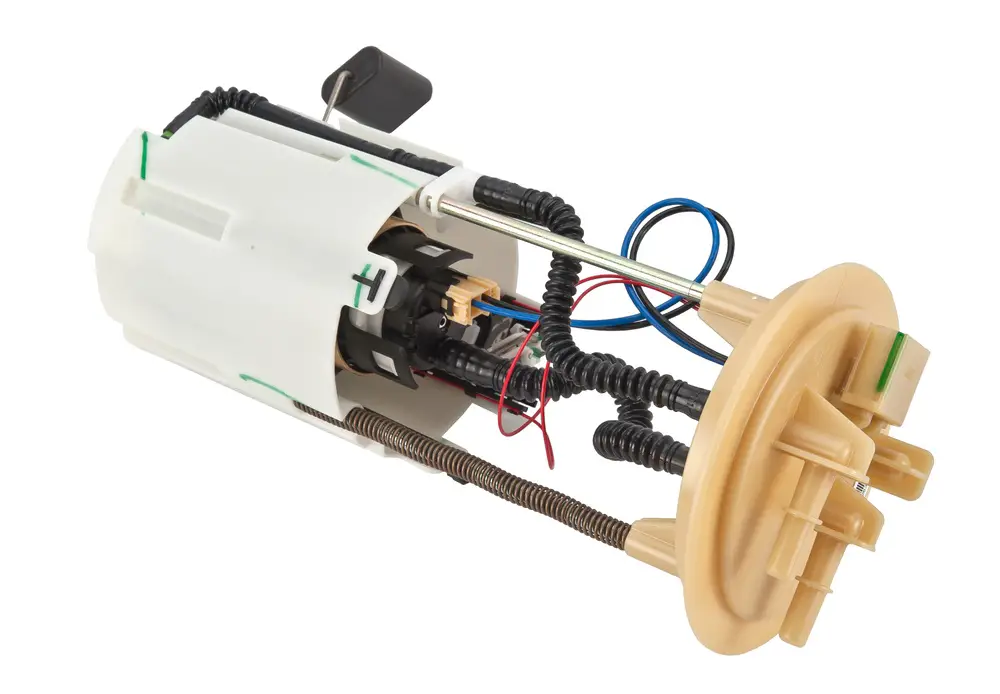
The fuel pump is a component whose role cannot be overlooked for the full functionality of a car. It ‘s, however, not hard to understand the component. It connects the engine and the fuel tank, with its main purpose being to supply fuel to the engine. The component is mostly located in the tank or beside the fuel tank for safety purposes.
When the fuel pump is faulty, it means fuel supply to the engine is not sufficient or totally no supply. This could be noted when the engine does not start, or it starts and later stalls. It could also be noted when in motion, when accelerating and the fuel functionality is not efficient.
The car will struggle to attain its full power. Moreover, there is a swirling sound made by the fuel pump when the ignition is put on. If this sound is not heard, then the pump is not operational.
An electric connection helps to power the fuel pump. the circuit includes a switch that is immobilized by the ignition switch. There is also a relay located in the fuse box to control current directed to the fuel pump from the battery. It is advisable to check faulty in this battery, switch, and relay before jumping to the fuel pump. A multimeter is used to measure functions like current resistance and voltage in this unit. If the switch, the fuse, and the buttery are not the problem, then you can go ahead and test the fuel pump
This article will guide you in conducting a voltage drop test using a digital multimeter. High resistance in the circuit could be as a result of voltage drop.
Testing The Fuel Pump
Step 1: Check for closed or open loops
To get to know if there are closed or open loops between the fuel pump and relay, connect the digital multimeter to the positive and negative stand on the fuel pump. The circuit here should be a closed-loop with no loss of voltage between the terminals. The reading on the multimeter should be the same when it is not connected to the fuel pump. If it turns out negative, you can move on to test the ignition switch.
Step 2: Turn on the engine
After returning back the fuel pump probes, turn on the ignition switch without starting the engine. A soft sound should be heard from the fuel pump system to indicate that the pump is ready to supply fuel to the engine.
If the sound is not completely heard, then the switch could be faulty, or an open circuit between the battery and the switch exists. If the sound is heard, then the pump is not faulty. To find out it the power supplied is efficient or not, it’s necessary to conduct the voltage drop test.
Step 3: Split the +&- circuits
You will need to split the positive and the negative circuit, to avoid wrong reading on the multimeter when connected to the fuel pump.
Separate the connectors by having the ground on one side and the live phase on the other.
Connect the ground circuit to the digital multimeter. One socket toward the fuel pump and the other socket to the battery.
What the multimeter should indicate on-screen must be less than 0.1 on the negative circuit. If what is indicated is greater than 0.1, then the resistance in the circuit is high and could be the cause of high resistance. This will only be caused by a faulty connector on the harness or faulty wiring.
If there are no cases of high resistance, then go-ahead to test the power drop on the positive phase.
Step 4: Connect the multimeter
Connect one of the multimeter sides to the battery and the other side to the connection that leads to the fuel pump. You should be careful not to test the wrong circuit. The reading on the screen of the multimeter should be 0.1.
If the case is different most probably high than 0.1, unless the battery is discharged or faulty, then the resistance in the circuit is high and could be the reason for the voltage drop. The main cause could be poor wiring or damaged connector. If the results were positive, continue to test the relay that feeds the pump.
Step 5: Find the pump relay
Pump relay is found in the switch box that could either be in a compartment on the dashboard or close to the battery. Plug out the relay, switch on the ignition, but don’t start the engine to connect power from the battery. Using the multimeter, check on the voltage at the connector of the relay.
This could be the same voltage in the battery, most probably 12 volts. Switch on the ignition and replace the relay. Switch on again the ignition without running the engine and check the voltage on the connector located next to the fuel pump. The voltage should be slightly lower than 12 v but not less than 5 v.
Step 6: Remove the fuel pump
Here, you will need to remove the fuel pump from its attachment to the fuel tank. This, in some cases, will call for the removal of the fuel tank. This is what is recommended, but if it’s not possible, you still can move the battery close to the fuel pump. In this case, be more cautious and avoid sparking. Connect the battery directly to the probes before the socket.
After the socket connects the multimeter to the fuel pump, the voltage, in this case, should the same as the voltage on the battery. If the voltage indicated on the multimeter is lower, in this case, the problem could only be the probes are loosely connected to the socket. In this case, the advice should be to replace the socket and not to connect power directly to the pump, which could sound similar but different when safety is mentioned.
One More Thing…
I will not be surprised if all the cases mentioned above turn to be negative, but still, your car stalls or doesn’t attain its maximum power. This will only mean that something else is wrong, but before you shift your troubleshooting from the fuel pump, please check if the fuel filter is clogged with dirt if yes, replace it and thank me later.