
Fuses often operate by providing overcurrent protection. Furthermore, it is an essential component when it comes to electrical engineering. There are various designs, shapes, and sizes of fuses available in the market. Operating a device with a faulty fuse can lead to possible damage to the equipment due to excessive current.
On the other hand, relays are switches that help in the opening and closing of circuits electromechanically. Usually, they control an electrical circuit through opening and closing contacts in another circuit. Since they are responsible for causing actions via an electrical current, things might become wary when you operate on a faulty relay. Therefore, in this article, we shall be focusing on how to test fuses and relay with a multimeter.
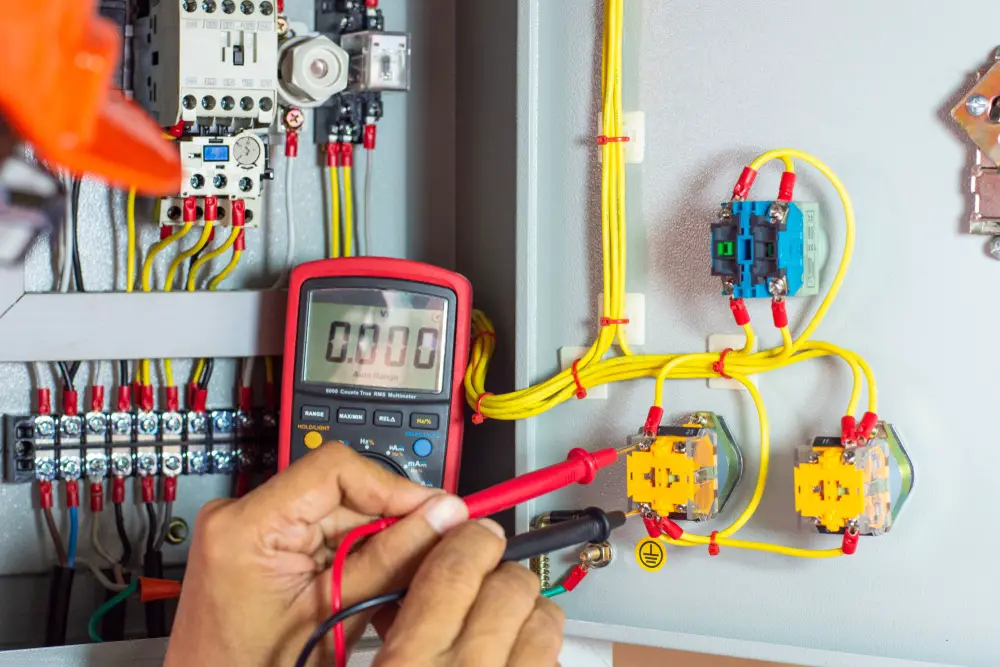
How to test fuses with a multimeter
Since it might be easy to inspect elements in a glass fuse visually, often, most fuses feature solid and opaque materials that hide essential elements from view. Therefore, using a multimeter in assessing whether a fuse is blown or not, is critical for fuses with opaque material. Once configures, you should consider using a multimeter to measure the resistance of your fuse element. Usually, resistance is measured in Ohms Ω. Here are the critical steps that you should consider following when testing fuses using a multimeter;
First and foremost, ensure that the black lead is connected to the common socket while the red lead is connected to the Ohms socket, which is indicated with this symbol Ω. Once this is done, you should move the dial to the lowest range of your Ohms scale, which is often 200Ohms on multimeter. When this is set, the meter should turn ON. However, if your multimeter features an ON switch, you should turn it ON. Do not forget to use the lowest range of Ohms on your multimeter since there are five different ranges available.
When testing a fuse, you should place on a non-conducting surface such as a laminate, plastic, or wood. Using a metal tip of a testing lead, touch the metal caps which are available at the end of your fuse. Since there is no polarity, you are free to use any lead for any fuse cap. You should ensure you have made good contact by ensuring you have touched the clean metal surface on every cap. Look at the reading being displayed on your multimeter while the leads are connected to your fuse firmly.
You should note that, when testing a fuse that is still located within a circuit, ensure the power source is turned off as well as disconnected to avoid any chances of electrocution. It would help if you replaced your fuse when you find it being faulty.
How to test a faulty relay using a multimeter
Relays are essential since they control numerous electrical components within a car. When a relay becomes defective, it will prevent many components of a car from working by restricting the flow of electricity. However, determining whether your relay is faulty or not, you will have to carry out a little basic investigation using a multimeter. Here is how to go by;
It is vital to understand how relays operate before commencing on your test. Relays are equipped with internal electromagnets that aids in the opening and closing of a circuit, hence regulating the flow of electricity. They are essential when it comes to extending the life of a switch. This is because they make switches unnecessary to route the high flow of electrical amperage that is often needed by the system directly via a switch.
You should know where every circuit flows into and out of before you commence on testing your relay. Usually, every relay features a standard number, which helps in identifying every of the four connection pins. These numbers are often printed in the relay’s body next to the pins. Here is what these pins signify;
Pins 85 and 86 are positioned on the control side of your relay. At pin 85, power from a switch will flow into a relay via it and then out from pin 86 into the chassis ground. Hence making a complete circuit, this then activates an electromagnetic ability of the relay. Once this is done, the magnet will close the second circuit, which is independent within a relay; this circuit runs between pin 87 and pins 30. High-amperage usually enters a battery via pin 87, whereas pin 30 is where a current flows from the battery into the component. This only takes place when the circuit is closed, and the electromagnet is energized.
Before testing the relay, ensure the fuse is working appropriately, and if it is not, you should consider replacing it before checking the relay. Relays statuses are only tested using a multimeter. Once you remove the relay from a fuse box, set your multimeter to measure DC voltage and then switch the cab activated. Assess for 12 volts within the 85 position on your fuse box; once the voltage is present, you should set the multimeter to continuity mode and assess the 86th slot if it has an excellent connection to the ground.
If the voltage flows through that side of the relay, you should consider moving to the 87th connection point and check if the battery voltage is available. If it is absent, it indicates that the fuse or your circuit breaker is faulty.
Using the continuity mode on your multimeter, ensure that there is a good connection between the relay and the component. Place one of the lead on the 30th terminal and another on component positive voltage point of connection. Once this is done, and everything is working accordingly, then your relay is probably faulty.
To confirm this, you might use a piece of wire or a cotter pin and connect it to your relay between the 87th and 30th connections within your fuse box. Once connected, the component should start working. This is an effective way of repairing it during an emergency, and it will allow you to move your machine to your yard till you replace the relay with a new one.
Conclusion
Identifying a faulty fuse or a faulty relay is essential for the performance of your machine. Operating a device with any of the two being faulty might lead to further complications, and you will end up destroying your device entirely. Therefore, you should always consider assessing for any faulty symptoms within the fuses and relays of your machine.
