
A multimeter is a hand-held diagnostic tool that’s superior in taking various readings. It can be used to measure voltage, ohms, and amperes. Advanced multimeters can even take more readings like frequency, capacitance, etc. but those come at a price. That’s why multimeters are much better than voltmeters for performing tests on generators.
We recommend a digital multimeter, as it’s much more capable and more accurate than an analog multimeter. In this guide, we will be diving deeper into how to test a generator with a multimeter. Testing a generator is an easy procedure, even for a layperson. All you need is to understand how your generator works and take some safety precautions.
Basic Equipment &Tools Required
In addition to having a digital multimeter, make sure you have the following tools when carrying out generator tests
- Protective gloves
- Sandals or shoes with non-conductive soles.
Generator Tests Than Can Be Performed Using A Multimeter
- Voltage tests–Generators Voltage output tests are done without isolating the circuit. We will be digging deeper into performing these types of tests.
- Amperage tests – amperage tests are more advanced. The circuit is routed through the multimeter.
- Resistance-To performs resistance tests on a generator, conductors, and coils get disconnected from the circuit for accurate resistance readings. If the readings show that coil resistance is above recommended specifications, the alternator needs to be reconditioned or replaced.
Safety Tip: Ensure that you don’t touch the voltage regulator or any other wires while performing your test. You could get an electric shock if not careful. Use gloves.
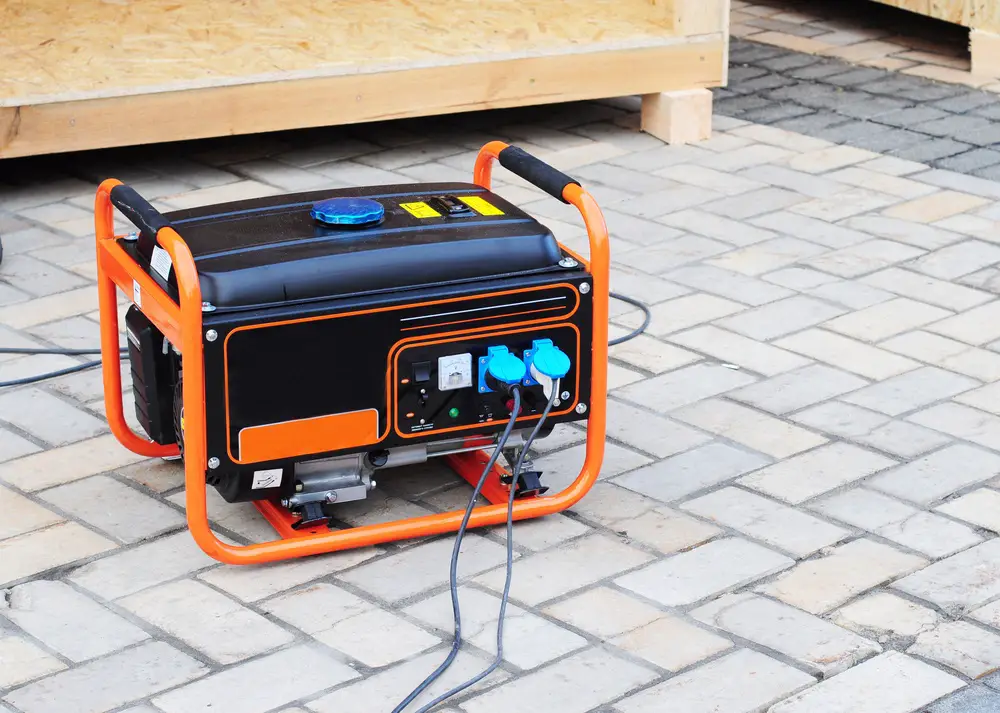
How to Test a 12-Volt Portable Generator with a Multimeter (& 12 & 6 Volts Car Generators)
Portable generators are very useful because they are flexible and can be used for different situations such as camping, powering different tools in a remote location, or acting as an emergency backup power sources. Car generators are fitted into a car to charge the battery and provide power. You must carry your multimeter to test your portable and car generators anywhere you go with it. Follow this process to do it safely and accurately.
- Set up your multimeter to measure AC voltage. It may be signified with a V ~. Alternatively, a ~V symbol depending on the model. Set the voltage as 0 to 20V range for a 12volt portable or car generator and 0 to 10V for a 6 volts car generator
- Turn your generator. For a 12&6-volt generator that’s fitted into your car, turn on the engine, keep the engine speed at above idle (1500 rpm), and open the hood.
- Locate the negative as well as positive outputs on your portable generator. A portable generator has two wires that are connected internally; you will observe a plastic connector on each end. One connector is labeled positive “+” and the other “-.” Negative. Connect the black lead from your multimeter to the generator’s negative terminal, and the red lead to the generator’s positive terminal.
- For a 12volt generator that’s fitted to your car, at the back of the generator, there will be two terminals marked as “Gnd” and “B.” A red wire extending from the generator is attached to the positive terminal labeled “B” The other wire colored black is attached to the negative terminal labeled “Gnd.
- For a 6-volt generator, you will place your multimeter metal leads on the ends of the two wires from the meter on the battery terminals. The red is for positive (labeled “Pos” or”+”) and black for negative (labeled “Neg” or “-“)
- Observe the reading on the display panel of your multimeter. If it is between 11 and 13 volts, your 12-volt generator is fine. If the reading is below 11 volts, the output voltage is not enough, and the generator needs to be checked.
- For the 6-volt car generator, the reading should be 7 – 8 volts. A reading of 6 – 7 volts means it has a problem and should be checked.
- Turn off the generator or your car engine after the tests.
Safety Tip: Always put on sandals and stand on a rubber mat when using a multimeter to test your generator. Alternatively, you can wear shoes with a non-conductive sole.
The generator’s output readings are higher because generators produce slightly more electricity than labeled to allow for resistance in the cables. For a 12V car fitted generator. The reading should be about 12.6 volts with the engine off and that this value should be half for a 6-volt generator
Troubleshooting a generator Using a Multimeter
If your 12-volt generator produces a voltage below 11 volts, there is a procedure for troubleshooting and understanding the problem. If the generator has an automatic voltage regulator or AVR, you need to test it, as it could be the culprit. Here are the steps on how to go about it
Locate the automatic voltage regulator on the generator and disconnect it
Do this by removing its two leads. Also, disconnect the red &black leads going from the AVR to the brush set.
Using electrical tape covers both the red and black leads to prevent them from touching or getting into contact with the housing.
Get a 12-Volt DC power source such as your car’s battery and some alligator clips.
Connect the clips to the generator’s brush set. Note: you are hooking them to where you removed the leads.
Connect the positive line you just attached to the brush set to your battery. Do not connect the negative line yet.
Turn on the generator, and after it has run for 10 seconds, connect the negative line you that you attached to the brush set to your car’s battery.
Place your multimeter leads on the generator leads that you disconnected the automatic voltage regulator from to test it.
The reading on your multimeter should be at least 60V. If this method didn’t work, the chances are that your automatic voltage regulator is the problem. Alternatively, the generator may be unable to produce electricity because of other failing parts. Take it for repairs and servicing.
