
Do you know that you can test a temperature sensor at home? Well, this is all possible thanks to A digital multimeter. Consequently, you will be able to resolve any issues with the engine coolant temperature sensor is very easy and straightforward since it assists you in fixing your car faster than you would have expected.
Steps for testing the sensor
There are numerous ways that a damaged engine temperature sensor can affect the performance of your engine. Some of the most common methods include;
- Depending on the model of your vehicle, a poor temperature sensor can cause the failure of the cooling fan, the transmission as well as the temperature gauge.
- It interferes with the ignition timing
- It is prone to causing constant fuel mixture hence causing damage to your engine and also excessive consumption of fuel.
Therefore, in case you are experiencing any of these issues, you need to take the necessary actions and test the temperature sensor. To do this, you will need to get yourself some essential equipment to be in a position to diagnose what the issue is corrected, and these are;
- A digital multimeter
- Paper and pencil
- Wrench
Step 1 – Locate the temperature sensor
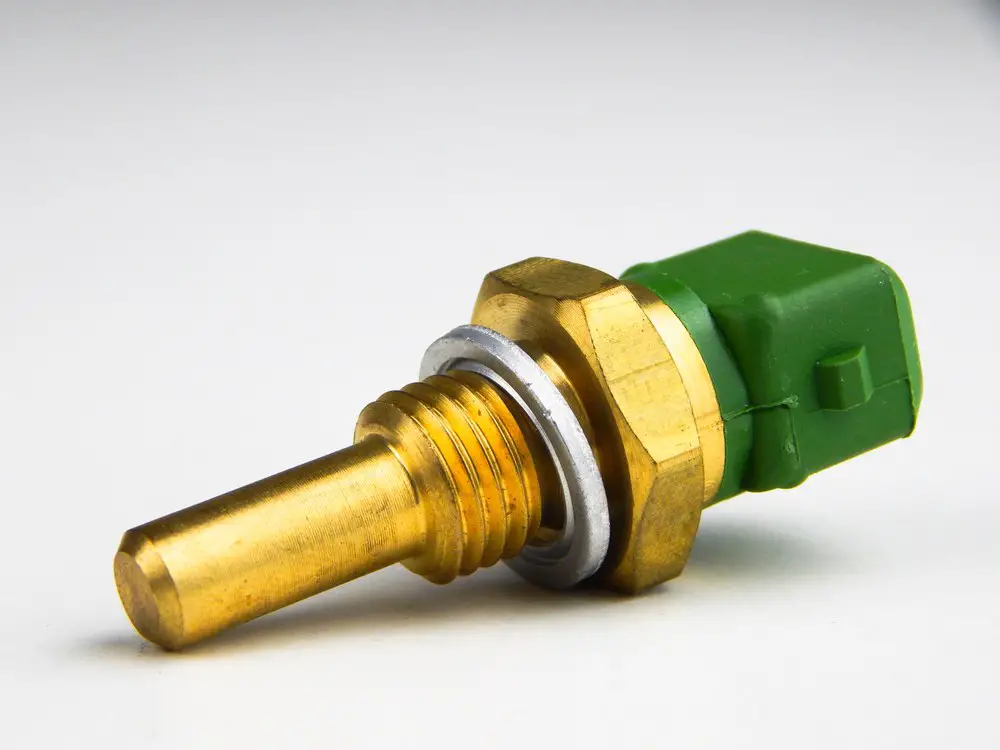
For you to locate the temperature sensor, you have to open your vehicle. Most of the temperature sensors are usually located close to the thermostat housing. However, depending on the model of your car, you might also find the temperature sensor attached to a cylinder head.
Moreover, you can also locate the thermostat housing by tracking the hose’s upper radiator hose found on the side of the engine side. Consequently, search for a huge nut that has an electrical connector over it as well as two electrical wires which are coming out of the connector, with this usually the design found in modern vehicles while older models have one wire from the connector. Furthermore, when it comes to larger trucks, sensors are typically buried below the intake plenum, thereby meaning you should take off the intake to access it.
In case you have a problem locating the sensor, you should refer to your manufacturer guidebook. You can also buy another manual of your car if you cannot find your manual so that you can get the right to testing the temperature sensor.
Step 2 – Temperature sensor test
After you have successfully found the temperature sensor, you can now comfortably run the tests. To do this, use your multimeter to measure the coolant temperature sensor’s resistance value, and then follow that up by connecting your multimeter’s leads on one of the sensors of the electrical connector terminal and consequently the other lead on a different terminal on the electrical connector’s sensor.
Nevertheless, on the old vehicles with single-wire sensors, put your multimeter leads to connector’s terminal as well as on the sensor’s body. After that, take the readings displayed on your multimeter and make sure you check out on your manual script for the appropriate value of the temperature sensor. You should, however, know that not all user manuals contain these details.
Most temperature sensors display a resistance value of 3000 ohms or more that is around 55F (13C). However, you can also research online to find out the resistance value for your temperature sensor since this usually depends on the brand of the sensor.
Additionally, even after finding the resistance value of your temperature sensor, you should continue running the tests because how the sensor behaves and the temperature reading value displayed on the multimeter may give you an idea on it the state of its operation. Make sure you note down these resistance readings as shown since you will continue doing more tests, so these readings are essential.
Moreover, start your engine and allow it to idle for some time. Subsequently, set the transmission at neutral and then use the parking brakes, and then wait for approximately 1-2 minutes. After that, measure your engine’s temperature as well as the sensor’s similar to the previous test, and then note down its reading value.
Without switch off your car’s engine and wait for around a minute or two, before repeating this process. Additionally, you should also note down other pair of reading value down in 1 to 2 minutes again then switch off your engine.
Step 3 – Check the reading values
After running your test and recording the reading values displayed, you should now go ahead and compare these figures temperature and resistance ratings of the specific sensor on your car’s service manual script.
However, if you do not know your ECT sensor’s reference values, you should confirm that the sensor resistance value declined uniformly with the increase of engine temperature. This is a clear indication that the coolant sensor is being affected by the temperature of your engine.
Additionally, make sure your engine reaches the operating temperature of about 200F (93) before dropping. Nevertheless, if you noticed your engine not changing throughout your reading, your thermostat might most probably be defective and needs replacement.
So, when is it you need to have the temperature sensor replaced?
It would be best if you replaced your car’s temperature sensor immediately when you notice any of these signs;
- If the internal contacts are shorted, and the sensor only registers zero resistance, and in such cases, the replacement of sensor temperature is needed.
- If the temperature sensor does not change with the rise in engine temperature.
- If one or more wires are damaged, you also need to fix them to have your temperature sensor working effectively.
- If the internal temperature sensor has a damaged internal contact, it needs to be replaced.
Conclusion
Having read through this article, you now know the steps you need to follow when testing a temperature sensor with a multimeter. Furthermore, these steps are easy to follow, and it will only take you a short duration for you to take out the temperature sensor from your vehicle’s engine once you have verified that it is faulty.
Therefore, thanks to the information provided above, you now never have to worry about how to test whether your temperature sensors are working or not. Additionally, you also do not need to spend your hard-earned money on hiring a skilled professional to do the test on your behalf.