
Is your speedometer not working correctly? There is a list of problems that would cause such a problem and a broken-down speed sensor in on the list. The technology behind the wheel speed sensor was replaced by the mechanical connection between the load wheel and speedometer. On vehicles, wheel speed sensors are found in the antilock braking system. They are mostly mounted on the wheels and the rear differential for the older tracks and vehicles.
Importance of a well functioning speed sensor
A faulty speedometer will not affect the normal functioning of your vehicle, but it serves crucial purposes that should not be overlooked. Below are the purposes on a wheel speed sensor;
- It aids the Antilock braking system.
- It assists operators by providing wheel data.
- It’s used to achieve proper shifting of gears, i.e., up and down.
A digital multimeter is an electronic device that displays its measurements readings on LCD or LED screen. They are highly preferable over the analogue multimeter due to their high accuracy, high digital resistance, and the fact that they are easy to read. They are used to measure electric quantities such as resistance, voltage, and current. The following article will guide you on how to conduct tests on the wheel speed sensor using a digital multimeter.
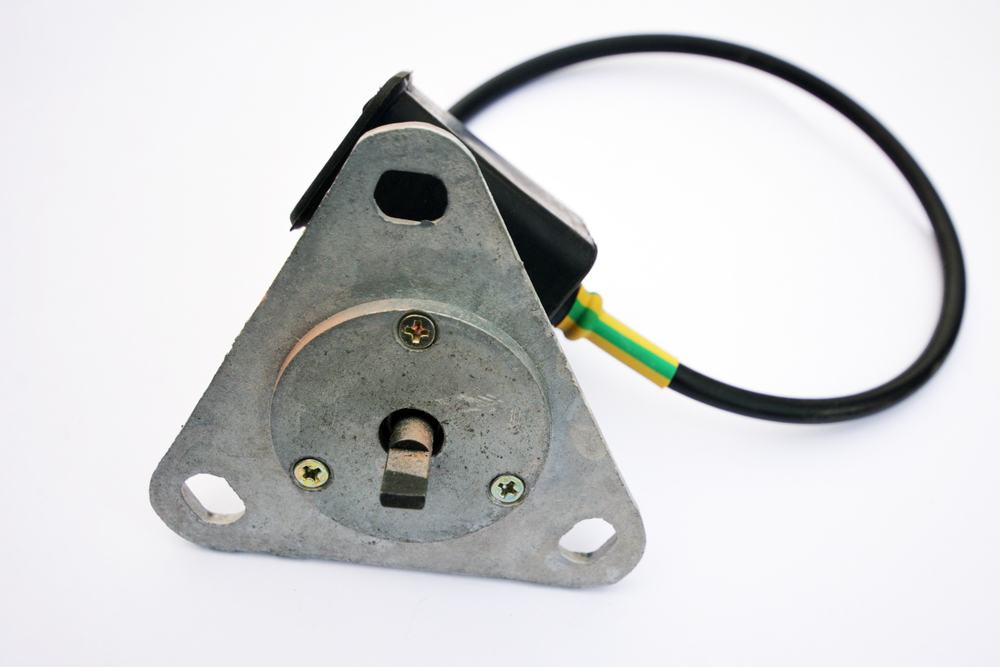
Locating and removing the wheel speed sensor
Like I had stated above, a wheel speed sensor is located mostly at the CV joint or the wheel hub. You can’t conduct the test when the speed sensor is already installed. It would help if you disconnected it connection to examine it. All the wheels on a vehicle have a speed wheel sensor installed, and you need to conduct a test on each.
Why you will need to perform a test on each is because you can’t determine the faulty one directly. Every speed sensor gives feedback to the ECU and is now the work of ECU to moderate and then feed the speedometer. To make smooth the job, you will have to jack up all the wheel of the vehicle. Follow the procedure below,
- Loosen all the wheel nut that attaches the car wheel to the hub
- Jack up the front wheel using a floor jack
- Fix stands on both sides of the axle close to the wheel
- Release the jack slowly so that the car can rest on the position with the front wheel suspending
- Repeat the procedure to raise the rear axle and the vehicle will know be suspending on the stands
- Loosen out all the wheel nut on all the wheel and keep the wheel aside
- Release the vehicle’s handbrake.
For the front wheels, you can steer them in the extreme in one direction. The wire that drops to the speed sensor will be easily visible. You can also sleep beneath the car to locate the cable. There some vehicle models that will have other wire to the wheel hub, so make sure you have the ABS one. Follow the wire to where it’s connected on the wheel.
Pull off the wire to unclip the connector using your fingers to expose the two pins on the speed sensor. Inspect for breakages on the pin in case one pin or both are broken. You will have to replace that specific speed sensor. They should be intact.
Resistance test
Conduct a resistance test of the two pins using a digital multimeter. Below is how to set a digital multimeter to test for resistance,
- Set your digital multimeter to measure resistance. Ω is a visible sign on the multimeter where the dial should be.
- Select the highest possible range of the multimeter
- Connect the black (negative) lead to the common socket (COM).
- Insert the positive lead in the voltage socket labelled (VΩ). After you are finished, you can turn on the multimeter and check if it is working by connecting the black and the red probes. The reading on the screen should be than 0.5Ω for a proper functioning multimeter.
Having confirmed that, you can now go ahead and test wheel speed sensor resistance by attaching the red and the black probes to the pins of the speed sensor.
- Take note of the readings on the multimeter’s screen
- With the probes, contact to the pins, ask the assistance to turn the wheel hub as fast as he can.
- Note the reading on the multimeter’s screen as the hub rotates.
Any change of resistance on the screen indicates that the multimeter is functioning well. If there were no changes in resistance, then the speed sensor is broken down.
Voltage test
After testing the resistance of the speed sensor, the next thing to check is the amount of voltage running in the circuit when the system is turned on. Set the multimeter to measure volts by turning the knob to the direct voltage mark. It’s denoted by V¯. The rest of the setting should remain as it was, but the range should be 10v maximum. Below is a procedure that will guide you,
- Locate the vehicle’s fuse box and check that the fuse connecting the wheel speed sensor is not burnt.
- Complete the circuits using flying leads, i.e., both female ports on the socket should be connected to the males on the speed sensor by the fly leads.
- Attach one of the multimeter’s probes on one flying lead and the other probe on the next lead.
- Note the reading on the screen.
- Let your assistance switch on the car without running the engine.
- With the vehicle on and the intact probes note the reading on the screen
- Compare the data
The speed sensor is okay if there is a voltage change between the data recorded. If no change is recorded, then the sensor is faulty.
Repeat the resistance and voltage test on all the wheels on board.
Conclusion
Some of the models of vehicles are installed with an unplugged connection. For such cases, back probe, the sensor. For proper functioning of the ABS, all the vehicle’s wheels should be of the same profile and diameter.
