
Electricity is known to be useful in making our everyday lives better. However, if the flow of current is not well checked, it can cause tragedies. Therefore, earthing is one of the essential processes related to electricity.
Earthing is the process of transferring the instant discharge of electricity directly to the ground using wires or cables with low resistance. In some cases, you may find you have a short circuit that is causing an excess flow of current; the earthing process allows either Direct or Alternating current to stream through the ground.
Earthing is done by connecting electronic equipment to some electrodes or electrical conductors placed under the ground or near the soil. The electrodes below the ground are mostly made of galvanized iron, which connects to non-current-carrying metallic components of the equipment.
Types of earthing
There are two main types of earthing:
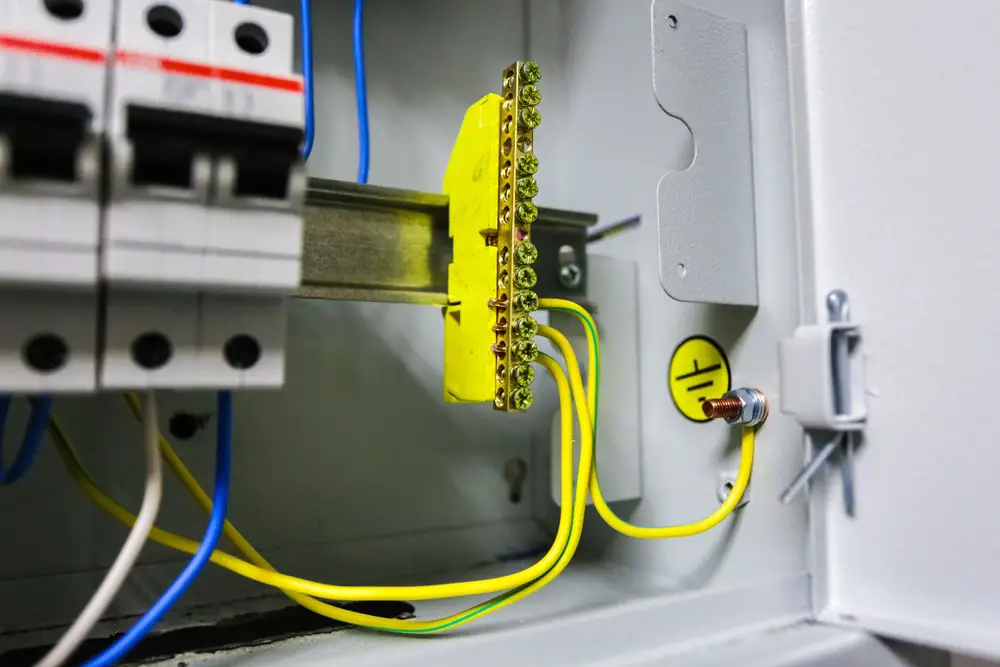
- Equipment earthing: This is the process where you use a conducting wire to connect the non-current carrying component of equipment to the earth. In the case of a short circuit, the current flows to the ground, thus, preventing damage.
- Neutral earthing: It is also known as system earthing. It is whereby you use a GI wire to connect the neutral of the system to the ground.
Earthing is crucial in that it will protect you from short circuit current as well as protect you and the gadgets from lightning discharge and high voltage. It also offers an easy path to the flow of current from a short circuit that can occur after insulation failure.
Nevertheless, if there is any leakage, the current will flow via other parts, for example, the human body, which can be very dangerous. So, you need to keep checking if there are any leakages in the earthing. Though there are various ways to measure or test leakage, a multimeter is a preferable device.
A multimeter is a device used to measure resistance, voltage, current, and other values in an electronic device. There are two different kinds of multimeters, digital and analogue multimeters.
Digital multimeter
This electronic multimeter displays the readings on an LCD screen. Digital meters are preferred mainly due to their high accuracy, high digital resistance, and the fact that they are easy to read.
Analog multimeter
This is a kind of a multimeter that uses analogue techniques to display the measurement readings. It has a graduated scale and a needle that moves over it. Though it can be a little hard to be accurate, you can use it to detect slow changes in readings. Analogue multimeters have high sensitivity and low resistance; thus, making them exceptional.
Once you get your multimeter, using it is quite easy. If you are unable to use it, check the instructions manual that comes with the meter or consult a professional. Here are the few steps you need to follow when testing for earthing leakage.
Testing leakage using an analogue multimeter
- Connect the probes in the right socket since there could be various connections for either high or low current ranges.
- Set the switch to read current measurement and the set the range. Always ensure you set the maximum range because it will prevent overloading your meter or cause any other damages.
- Optimize your meter range to get the most accurate reading.
- Take the measurement reading and record it.
- Turn the range back to voltage and place the probes in the sockets labelled voltage. This protects your meter from being damaged in a case where it is accidentally connected.
Testing earthing leakage using a digital multimeter
- Turn on your multimeter.
- Use the buttons in your meter to set it to AC voltage. Select the highest range value on your meter. This will ensure you get the accurate reading.
- Plug the black and red leads into the correct ports on your multimeter. Your meter will have black and red leads connecting to the sockets on the bottom of the device. Attach the black lead in the socket labelled ‘COM’ and in the portlabelled ‘V’ plug in the red lead. It is essential not to swap the leads to prevent your meter from getting faulty. When dealing with leads, avoid those damaged, with cracks or open wires, which could lead to electrocution.
- Do your reading when the leads are still in the neutral and live ports. To avoid getting shocked while working, hold the leads on the insulated covering around them. Plug the tip of the red lead into the smaller port, which is the neutral socket on the outlet. Then plug in the black lead into the larger port, which is the live socket on the outlet. Make the voltage reading on your meter and record it as your first reading.Before checking the faulty outlet, test an outlet you are sure is working well to have an estimate of the standard reading.
- Unplug the red lead from the neutral port and plug it into the earthing port. The earthing port is usually U-shaped or circular and can either be located on the bottom or top of the opening. Check the screen of your multimeter to get the reading record as the second reading. Compare it with the first reading. If the reading ranges within 5 volts of your first reading or is the same, it means that your earthing leak is right.
- Unplug the red lead from the earthing port and insert it into the neutral port. Take the black lead and plug it into the earthing port. This is to examine the voltage between the earthing and the neutral port. Take the reading and record it as the third reading.
- To determine if your earthing is faulty, calculate the total volts transmitted from the earthing socket to the outlet. Take your second reading and subtract the first reading. Then add your third reading. If you get less than 2 volts, then your earthing leak is right. If it is greater than 2 volts, then it means that your earthing is faulty.
