
Power hand planers are suitable for a range of woodworking projects. They smooth out edges, level out framing lumber, chamfer handrails, bevel door edges, among other uses.
The planer is similar to a jointer only that it is available in two different types: a stationary type of machine and a handheld planer. For this project, we will use the handheld power planer as the workpiece may be too wide for a stationary power planer.
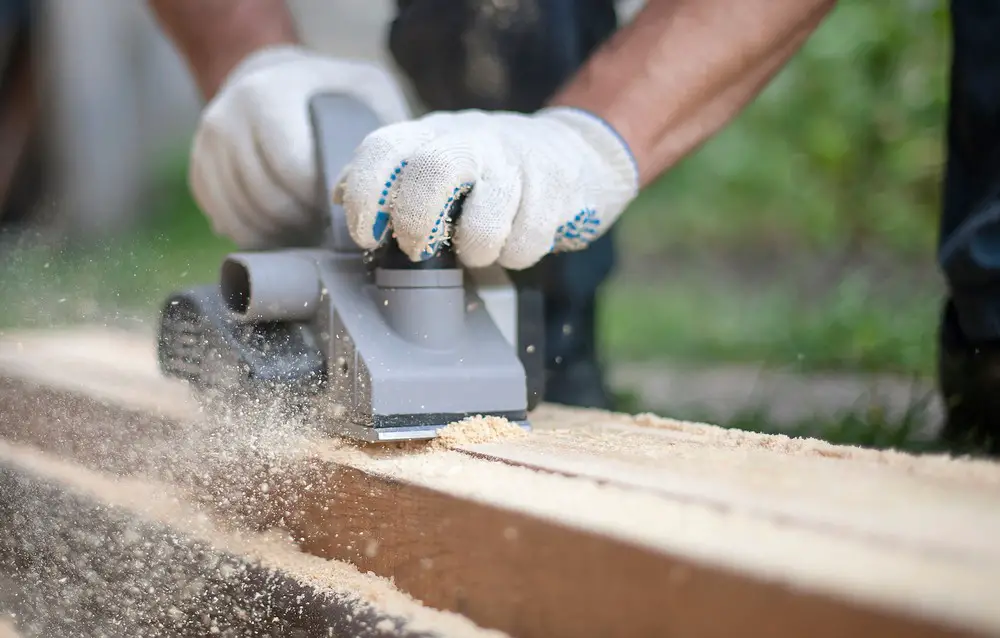
How a Hand Power Planer Works
It operates on a sole plate, like other hand planers but its blade is attached to the cutter head just like the jointer. Also, its hand grip acts as a depth-adjustment as you can turn it forward or backward to move the front sole plate up and down. A hand power planer is fitted with a cutter head that rotates 20,000 rpm, which allows it to shave off wood pretty fast.
Procedure
Setting Up the Board
You need to set up the board correctly to achieve the desired results. Find a flat surface wider than the board you are working on. Also, to ensure the wood remains stable when cutting into it, place the board on an elevated surface.
If the board is cupped, set it to a convex shape or in a way that allows the bend to remain facing upwards to prevent any wobble. Be sure to mark of the four edges using a marking gauge. The high spots should be visible to ensure the board is sanded evenly between both ends.
Planing the Board
The process of flattening wide boards is done in stages to eliminate any tension within the wood and to ensure it changes its shape slightly. Begin by planing the board down following the marks made in the previous steps. The board should be fine-tuned to the required flatness using the winding sticks. Aim at shaving off 75% of the wood on each side.
Allow the Board to Settle
Allow the board to settle for a day or two before proceeding to the next step. The period could be longer, depending on the type of wood you are working on.
It allows the board to settle into its new shape. Working on the board before the one-day or two-day rest period hastens the process and causes the board not to settle into its shape. Also, it gives you the much-needed break from the workshop to recover the energy lost, shaving off wood from the board all day.
Sand the Board Down
For an extra-fine finish, sand down the board. Some woodworkers may skip this step, but it is just as important as the previous steps. A wide-belt sanding machine should provide a near-perfect finish. The machine is also ideal for sanding a full board as it eliminates the grueling process of sanding the surface manually.
Additionally, the machine is recommended for smoothing out flat surfaces slashed throughout the grain, just like this project. A sanding device has two tube-shaped drums designed as a closed-loop of coarse paper working uninterruptedly. One drum has an electric motor, and the other has spring fitted to sustain the pressure on the belt.
The belt sander works just as well as a regular sanding machine and is specially designed to sand thick layers of wood smoothing out the surfaces at a fast rate. You should be careful when using it as it sands the surface at high speed. If the board is left immobile even for a minute, it could damage its shape.
Tips for the Best Results
- Keep your feet steady when working on the board to ensure it remains stable
- When working on the wood, start the device fast also allow the motor to attain its full speed before relieving the plane into the wood
- Apply the same hand pressure on the tool throughout the process. It keeps the machine and the workpiece steady, and it allows you to cut the board evenly
- Move the board along with the device gradually to ensure the entire surface is worked on correctly
- Do not let the blade to go through the other side of the wood. It ensures the machine takes on the shape of the wood
- The
speed and depth of the plane impact the final results. How fast you
push the device along the device, and the depth of the setting affects
the smoothness of the board. As such, you should move the board slowly
instead of making more passes quickly
Safety Tips
- Allow the front sole plate to rest on the wood
- Wear safety goggles to keep your eyes safe from flying shavings
- Wear a dust mask to ensure you don’t inhale the dangerous chemicals in the wood
- Secure the screws locking the blade
- Disconnect the tool from the power before changing the blades
- Operate the machine using both hands
- Ensure the screws fastening the blade are secure
- Avoid putting down the planer when the blades are still running