
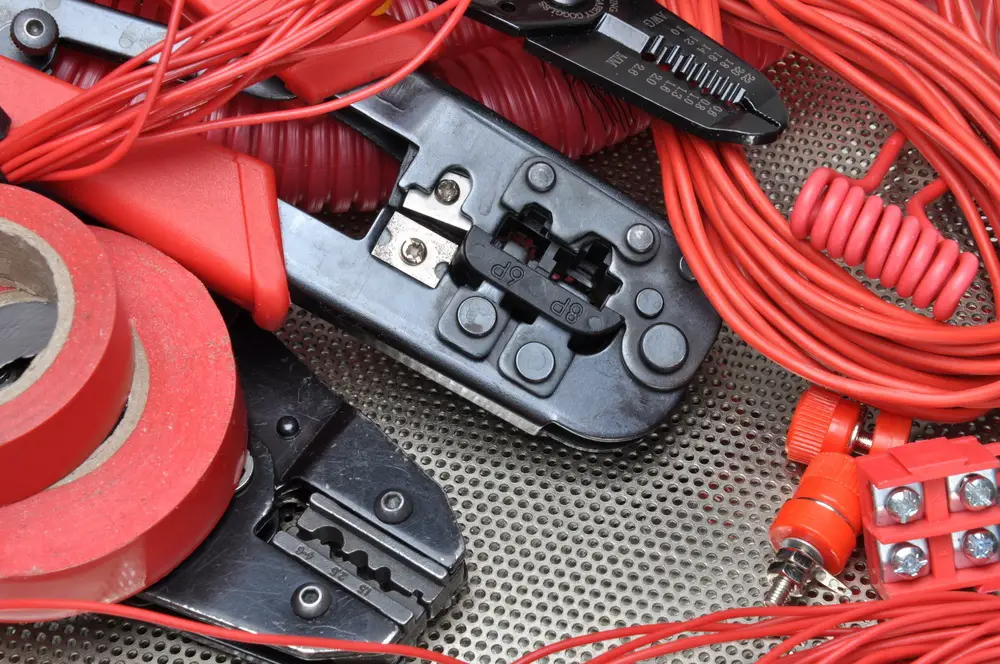
A wire crimping tool is required for numerous situations where it is necessary to fuse wires together. The beauty of a wire crimping tool is that you don’t need more complex tools like soldering irons, because it gets the job done on its own. Most of the time crimping tools are used to terminate the end of stranded wires, but they are a practical tool to have for any DIY or electronics project.
Getting Started
When you use a crimping tool, you are guaranteed to have a secure and permanent connection or safe wire ending that will last for the long-term. To achieve this, you need to know how to properly use the wire crimping tool. Below are the steps you should follow.
Our Recommendation: Top 5 Wire/Cable Crimpers
1. Choosing your wire
You may or may not always have a choice in the wire you use. It will depend on the project. Never use solid coiled wire. The best wire to use will be stranded because solid wire is not malleable or ductile enough to make reliable connections. When you crimp a connector onto the end of a wire you want to form a continuous electrical union between them. To achieve this, both the connector sleeve and the wire need to be malleable enough to be manipulated easily under a compression.
Getting the right wire size is easy. Most new wires reels or packets will have the size listed. When you are making modification to existing installations, it can be more of a challenge. Newer insulation has the sizing information molded into it and is repeated along the length so you can find it. If your wiring does not have this, you need to use measurements and calculation.
Strip the insulation back and count the number of individual wires in the strand. Measure one of them with a Vernier caliper or micrometer. Multiply the number of strands by the area of one strand.
2. Select the correct terminal for the project
The terminal is the bulky plastic component at the end of a cord that you’ll find right before the plug. You need to have the right terminal in order for the crimp to work properly. While there are many variations of crimp, there are a handful of very common ones used so it is not too difficult to get the right match.
Getting the right terminal is essential to getting a long-lasting joint, so there are a few key points to remember when choosing the terminal.
Plating: Terminals come with different plating options for corrosion protection. If the wiring is in any damp environment, you want to make sure you have corrosion protection so avoid any terminal that does not have this. Tin plating is the most common and highly recommended although silver and gold plating can be used where minimum resistance is needed.
Pre-insulated crimps: You will have a higher quality connector using pre-insulated terminals. The better quality parts will have metal almost to the end of the crimp whereas lower-quality parts will not. All terminals are sold with a pre-defined range of wire sizes which will be listed on the packaging. When you use pre-insulated parts, the color of the sleeve will help you with wire selection.
Design: Terminals can be open-barrel or closed barrel. Open barrel terminals are U-shaped which allows for the wire to be moved downwards from the top into the crimp barrel. Close barrel terminals have a crimp portion shaped like a fully-closed cylinder. Open barrels are easier to use since they do not require funnel guides and applicators to guide the wire strands through.
3. Strip the insulation
Make sure you do not expose more wire than the length of the terminal. For example, if your terminal measures ¼ inch then only remove ¼ inch of the insulation. Some crimping tools have a place for scoring insulation so you can remove it. If your tool can do this, place the wire in the appropriate nesting and gently move the tool backwards and forwards to perforate the insulation.
If your tool does not have this, you can buy a scoring tool which is designed to perforate electrical wires from any hardware store.
Read More: The Best Hydraulic Crimpers
If you are using an un-insulated crimp, you will need to add a sleeve to the wire. A 3:1 shrink ratio, adhesive-lined heat shrink sleeve will work but other sleeves like neoprene will work well too. If using sleeves, use a suitable heat source to shrink it down. Ideally you want to use a hot-air gun. Make sure the sleeve in in the right position and not obstructing the terminal end before shrinking. Take care not to damage the conductors when stripping insulation.
4. Twist the wires together
Twist the wires together with your fingers to make it easier to slip them into the terminal. This also creates a stronger crimp. Carefully insert the wire into the crimp, making sure it is properly situated.
5. Use the correct nest
There are several crimping tools that come with color-coded nests to match common connector colors and others come with wire gauges imprinted on them. Once you have chosen the correct nest, and the wires have been inserted, squeeze the crimp tool as hard as possible and release. In some cases, you may need to use a ratchet crimping tool where the tool will release the crimp automatically once complete. You do not need to squeeze as hard with these tools. Your end result will be a tight and long-lasting fuse.
6. Making the crimp
If using a ratchet-tool, cycle it until the tool releases. If you are using cheaper or non-ratchet tools, you may need to crimp the terminal twice, and possibly use different settings. Always crimp the conductor end first and then the insulation. It is advised to always do a test crimp first to make sure you have all the right settings.
Quality Control of Crimped Joints
It is possible to under-crimp and over-crimp. Crimping is designed to prevent water and oxygen from entering or causing corrosion.
Under-crimping occurs when the wrong tool is used or when tools are not fully cycled to closed. These lave the space between crimp and wire open, which allows moisture or air to get in which can lead to electrical failure. An under-crimped wire will have reduced strength and can pull out with very little force applied.
Over-crimping can be equally as dangerous. Stress on an over-crimped wire can cause failure. Just as with a paperclip that is constantly flexed, eventually the crimp will become fatigued and fail. It is more difficult to detect an over-crimped wire as simple pull tests will not reveal this.
Quality control of your crimp is essential and a good method for testing this is by measuring crimp height. Measuring the height of the terminated wire can identify both under-crimping and over-crimping. Micro-sectioning is an additional test that can be done to validate the quality of your crimp, but you need to exercise caution with this test. The reason being that this test is destructive so should only be done when you have samples to use.
Getting the right crimp tool is fundamental in getting a long-lasting crimp so you should expect to pay for a higher quality, calibrated hand tool to achieve this. You should avoid any tool that does not have a ratchet feature. The best tool to select will match the terminal and manufacturers always offer a recommended too for every type of crimp and terminal, so be sure to follow these guides.
For You: Hands Tired? Try a Hydraulic Crimper
Final Tip
To get the best and most reliable crimped wire make sure you buy top-quality crimp terminals and crimping tools, match the crimp to the wire size, be cautious when stripping insulation, and do not solder the crimp.