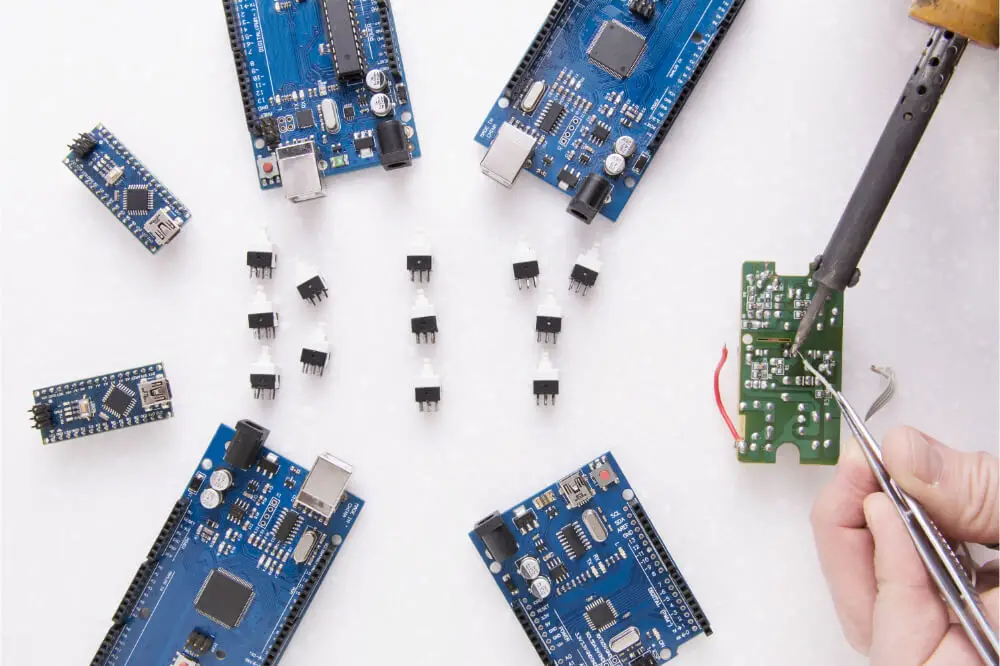
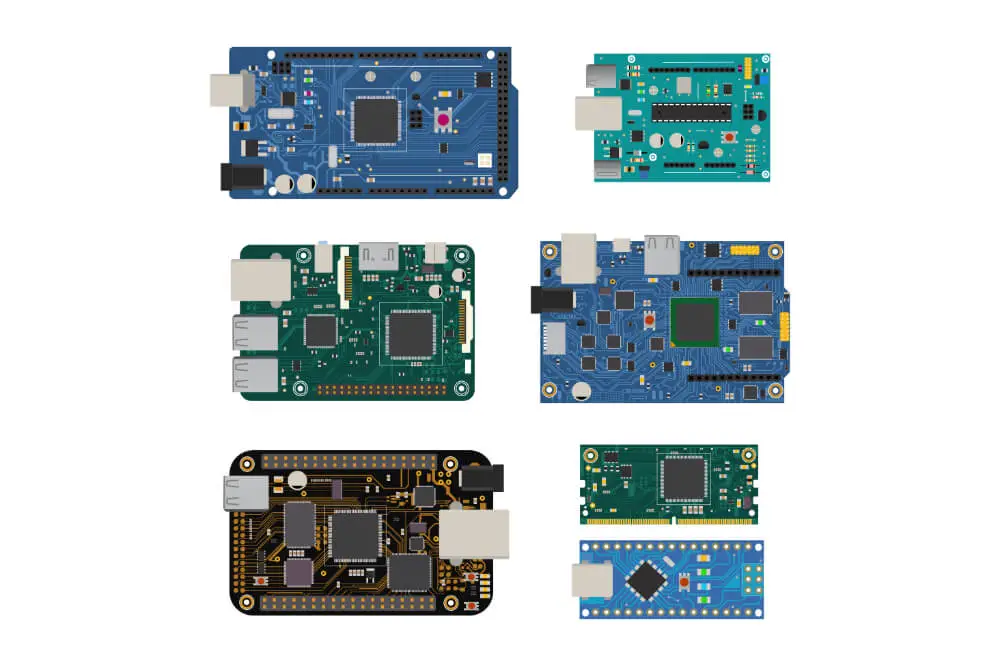
As a newbie, you might be wondering what Arduino is and why it is used. Well, in this article, we shall help you answer that question. Arduino is an open-source platform which is used in creating various electronic projects.
This open-source platform is made up of microcontroller or physical programmable circuit board and software commonly known as IDE or integrated development environment which is designed to run the computer, upload and write computer codes, to your physical Arduino board.
Understanding what an Arduino board is and its uses are vital for all DIY enthusiasts out there. Furthermore, nowadays, the Arduino board has grown significantly in popularity among electricians.
Compared to the previous programmable circuit boards, Arduino boards don’t require a separate programmer, which is a piece of hardware for it to load the code onto the board. You might consider doing so with the use of USB cables. In addition to that, Arduino offers standard form factors which break out a function of a micro-controller into an accessible package.

What does an Arduino do?
Both Arduino software and hardware were designed for designers, artists, hackers, hobbyists as well as novices and any other individual who is interested in designing interactive projects. An Arduino is capable of interacting with LEDs, buttons, speakers, motors, GPS units, internet, cameras as well as smart-phones and TVs.
In addition to its flexibility, Arduino software or IDE is free while the Arduino board is very much affordable. Learning Arduino IDE and Arduino board are relatively straightforward, which makes it ideal for use among newbies out there.
Since it’s relatively easy to learn, Arduino has contributed to a large community of individuals who contribute code as well as released instructions for different Arduino-based objectives.
You can use Arduino in almost anything from robots to heating pad hand warm blanket as well as honest fortune telling machines. You can use Arduino as a brain for all your electrical projects.
What are the specs of an Arduino board?
There are different types of Arduino boards which are used for different applications. Generally speaking, Arduino boards feature the following specs:
Power
Each Arduino board requires a way in which it can be connected to a source of power. For instance, Arduino Uno is powered using a USB cable that will come from your computer or a wall supply which is terminated in a barrel jack. In addition to that, the USB cable will also be used when loading your code onto an Arduino board.
However, you should note that using a power supply that is more than 20 volts is not recommended since it will overpower the Arduino which might end up destroying it in the process. 6 to 12 volts is often the recommended voltage when it comes to powering your Arduino.
Pins
Some of the pins featured in an Arduino board include 3.3V, 5V, Analog, GND, Digital, AREF and PWM. Pins are places where you will connect wires to your Arduino board when constructing a circuit. Usually, they are equipped with plastic headers which are black; the headers allow you to plug-in the recommended wire on your Arduino board for use in different functions.
- GND. This is the short form of Ground. The GND pin on your Arduino is often used as a ground in a circuit.
- 3.3V and 5V. The 3.3V pin has been designed to supply 3.3 volts of power while 5V pin supplies 5 volts of power. This is essential since most of the components used in an Arduino tends to run correctly with 3.3 or 5 volts.
- Analog. Analog pins in an Arduino are labeled as AO all the way to A5 in an Arduino Uno. These pins have been designed to read signals that come from an analog sensor such as a temperature sensor; it then converts it into a readable digital value.
- Digital. Digital pins are located across analog pins from 0 through 13 on an Arduino Uno. When it comes to digital pins, they are often used as digital input such as telling whether or not a button has been pushed as well as the digital output such as powering your LED.
- PWM. You might have come across a tilde sign (~) near digital pins in an Arduino. These pins have been designed to serve as normal digital pins; however, they might as well be used for something different known as PWM or pulse-width modulation.
- AREF. This means Analog Reference. In most cases, you will be leaving the pin alone; however, sometimes, you can use it in setting external reference voltage which is between 0 and 5 volts in accordance with the upper limit for the analogue input pin.
The reset button
The Arduino board comes equipped with a reset button. When you push, it will temporarily connect your reset pin to ground and then restart all the codes loaded in your Arduino. The reset button can be beneficial, especially when your code does not repeat; however, you should consider testing it several times.
LED indicator
Underneath towards the right side of the word Uno in the circuit board of your Arduino, you will come across a relatively small LED indicator that is next to ON. When you turn on your Arduino, this particular LED should light up; failure to do so, there are high chances that your Arduino is having some problem. Therefore, you should consider re-checking the circuit.
Main IC
An integrated circuit or IC is the black thing which is equipped with metal legs. Think of the IC as a brain of the Arduino. However, the main IC on an Arduino tends to be slightly different compared to the board to board type. Nonetheless, it is often from the ATmega line of an IC from ATMEL Company.
Well, this is vital since you might be required to know your IC type and the board type as well before you load a new program from your Arduino IDE. Since this is a piece of vital information, you will always find it written on the top side of your IC.
Final word
As we conclude, we hope that you find this article helpful as you learn more about what is Arduino and why it is used. For newbies, this article will get you started in the world, Arduino.

