
Soldering stainless steels is relatively challenging; however, with the correct tools, this process can be achieved. Compared to other metals, soldering stainless steels are complicated, and it can be difficult for a newbie. The process tends to be challenging due to a thick oxidized layer that hinders a solder from creating a reliable bind on the joint of two metal surfaces.
While the process can be relatively more challenging than a regular soldering process, you can still solder your stainless steel successfully. You will need the right tools and follow the right steps to achieve that. In this article, we shall help you answer the question; can you solder stainless steel with a soldering iron?
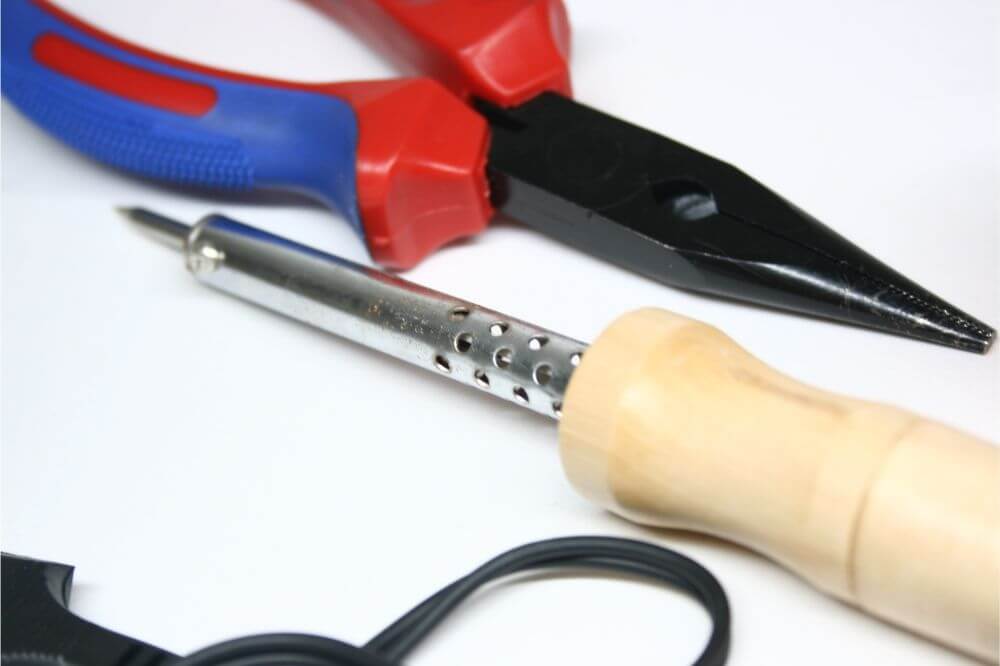
Soldering stainless steel
Before you start soldering stainless steel, you will have to pre-treat it by thoroughly cleaning it and applying acidic flux on the metal pieces. By doing so, your solder will melt and bind two pieces of stainless steel with the utmost ease.
Vital steps when pre-treating stainless steel
Ventilated room
You will need to operate in a ventilated room and put on protective equipment. This is vital since soldering steel will need solvents along with chemicals that tend to evaporate in a heating process. This means you will need to operate in a room with good ventilation to protect yourself from inhaling toxic fumes. It would be best if you considered wearing protective glasses as well as gloves while soldering.
Wipe your stainless steel
Ensure that your stainless steel is wiped using a solvent, this helps in removing any grease and oil present. Any contaminant available on the surface of your stainless steel will prevent the melted solder from binding the two pieces together.
Therefore, you should consider removing all grease and oil contaminants using a solvent. Pour some of the solvents in a dry cloth and then use it to wipe the two areas you need to solder. Usually, isopropyl alcohol is considered the best. Acetone, on the other hand, is often used with oil or grease; however, it is highly corrosive, flammable and irritating. Therefore, you need to take extreme caution while working with it.
Get rid of solid contaminants
Solvent clearing might not get rid of solid contaminants such as dirt and dust. As a result, you will need to brush both stainless steel pieces on the area to be soldered and prepare it for soldering.
Add flux
Apply an acidic flux on to your stainless steel metal surface, this aid in boosting the binding process of stainless steel. An acidic flux helps in cleaning the surface of your stainless steel, allowing them to bind better. It achieves this by removing the oxidized layer on the surface of your stainless steel, allowing them to stick together.

How to bind stainless steel with a soldering iron
When it comes to soldering two stainless steels, you will need to adhere to these steps;
50% tin solder
When soldering two stainless steel pieces, you should consider using a 50% tin solder. Despite there being different types of solders available in the market, a 50% tin solder tends to bind the best on stainless steel. In addition to that, a 50% tin solder tends to match with a color of stainless steel, allowing it to make the best visible seal.
Clamp the two pieces of stainless steel
When soldering stainless steel, you will need both hands; therefore, you should secure both pieces down. Position the two pieces at an angle you would want to bind them. Once that is done, you can use a vise or clip to help clamp your stainless steel pieces together.
Pre-heating
You should then pre-heat both pieces of your stainless steel. Soldering iron or a soldering torch can be used for this particular task. It would be best if you considered applying the source of heat to the two pieces of stainless steel on the line you will be connecting them to. Ensure that the source of heat is left running until the two pieces of stainless steel get hot allowing it to melt your solder.
Melting the solder
When soldering stainless steel on another metal such as tin or copper, you should consider pre-heating the surface while melting some amount of solder on it. By doing so, you will be giving the stainless steel the perfect surface for binding to; you should consider heating the metal using a soldering torch or iron.
Allow the metal to become hot in order to melt your solder. Once that is done, you can press the solder onto a metal, allowing some to flow onto the area you will be connecting the two pieces of metal.
Applying solder
Once the two stainless steel metals are well treated, you will apply your solder on the joint to help bind them together. It would be best if you touched your solder on the metal being heated, allowing it to melt. Once that is done, you will spread your solder properly until the entire joint is covered with the solder. If your metal has cooled off, you will need to add heat to help increase the surface temperature.
Cleaning the joint
When done with soldering, you should consider cleaning the joint using warm water to help in removing the remaining flux. Usually, flux is corrosive; this means that when it is left on the surface of your metal for an extended period, it will damage it. It would be best if you allowed the solder to cool off for approximately two to three minutes before you touch it.
Once it has cooled down, you will rinse the remaining flux. Take your metal piece to tap and turn on warm water then let it run over it for a while. Take a toothbrush or sponge and rub against the new joined pieces of stainless steel to get rid of any remaining flux.
Final Verdict
When soldering stainless steel, you might consider working outside or in a garage with the windows open or next to a window. This helps in improving ventilation significantly. In addition to that, you should consider wearing a dust mask for an extra layer of protection against the toxic fume being produced during the soldering process.
