
An Arduino buzzer is also called a piezo buzzer. It’s a tiny speaker that you can connect to an Arduino board and make it sound the tone you set. The buzzer generates sound based on the reverse of the piezoelectric effect.
Buzzers are used to make beep alarms and tones. They were designed to help technicians integrate their alarm systems or other automated systems for sound feedback.
A piezo buzzer is mostly used in a beep or a tone for a single signal. Technicians widely use it to make their home gadgets or design embedded systems to produce some warning or alert.
By designing a circuit, learners can interface it easily with Arduino. Hardware engineers have found it easy to create a short transistorized circuit and provide a high signal and a tone from the buzzer. Whatever your audible requisite, you are likely to find the quickest and easiest way to create several tone variations using Arduino.
In this guide, you will understand what a buzzer is, how to integrate with Arduino boards, and how it applies to DIY and IoT projects. It covers the necessary hardware and programming for a developer to play an audio alert with Arduino once a particular threshold output is met.
What Happens Inside a Buzzer?
Buzzers are useful and bring fun to electric circuits. You will use them a lot to develop systems, so let’s look at what goes on inside a buzzer to cause a sound.
Arduino buzzer comprises an outer case with two pins to attach it to power and ground. Inside is a piezo element, there is a ceramic disc covered with a metal (usually bronze) vibration disc. Once the current is supplied, the ceramic disk is made to contract or expand.
This then makes the surrounding disk to vibrate. That’s the output and creates the sound you hear. The vibration rate varies by regular changes of the buzzer frequency, and the pitch of the resulting sound also changes.

Setting Up a Buzzer Circuit in Arduino
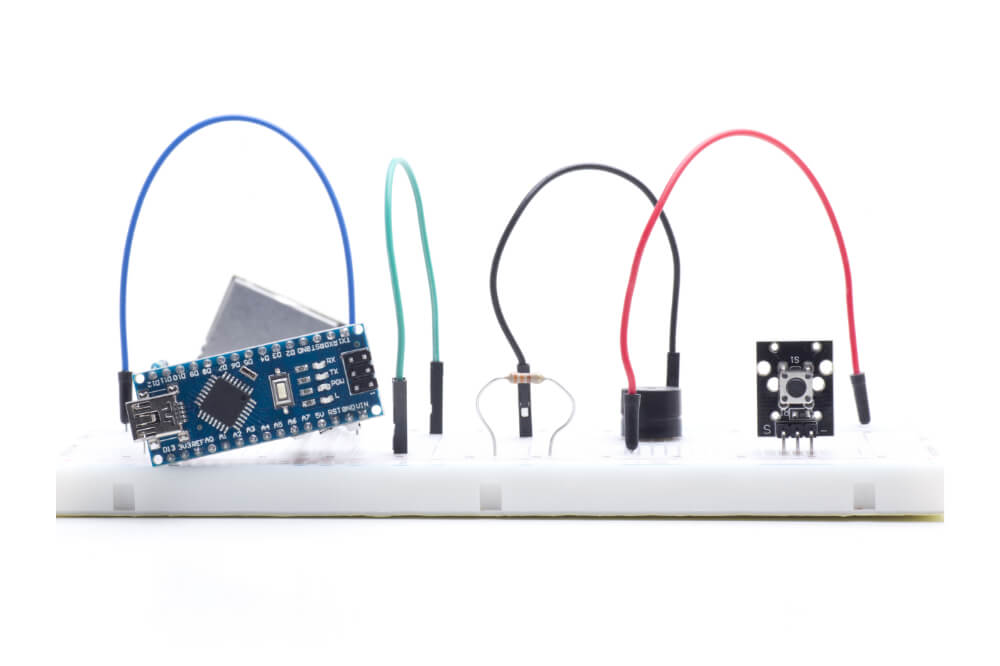
It’s pretty easy to design an Arduino circuit for a piezo speaker. For this guide, you will require:
- Arduino Uno
- Breadboard
- Buzzer/ Piezo speaker
- 100 Ohm resistor (Optional)
Buzzer-Arduino Connection Circuit
The following steps will give a successful connection.
- Use the breadboard to fit your buzzer. Make sure both leads lie on two individual rows in the breadboard.
- Use jumper wires to join the positive lead with Arduino digital pins, Say pin 8. Observe the buzzer casing to check the plus sign (+) label to show a positive charge.
- The other remaining lead to be connected with the resistor before joining it to the ground pin on the board.
- The circuit is complete, and you can now proceed to the Arduino sketch.
Complete the circuit! 🙂

Programming a Buzzer Sketch using Arduino
Arduino uses a combination of C/C++ to make its codes. Try to use the tone () function to produce buzzer sounds. This function involves two arguments, but it is possible to use three arguments. Let’s talk about the two prominent essential items first.
tone (buzzer pin number, frequency);
- The digital positive pin number used to attach the buzzer on the Arduino board.
- The specified number of oscillations per second (Frequency).
The unsigned integer is the occurrence, which may use a maximal value of 65,535. When you want to generate a tone for the human ear, take values from 2,000 to 5,000 as ears become tuned within this range. Look the sample code below:
int BuzzerPin = 8;
void setup ()
{
}
Void loop () {
tone (BuzzerPin, 1000, 500);
}
For experimentation, try to change your second argument of the function to 300, 2500, 12000, 600000, and listen to its effect on the Arduino audio signal. You realize that as the number increases, the pitch becomes higher.
How to make Buzzer Beats in Arduino?
What if you want to postpone the sound for a while so that you can have a beat? Try to add some delay (1000) below the function tone (), but you will detect no added change when you test. It fails since the tone buzzer function uses a built-in timer of microcontroller. The tone function works freely, similar to the delay function.
But, how can buzzer noise be separated in Arduino? There is always a third parameter to pass through the tone function. It’s the length of the tone.
tone (Buzzerpin, frequency, duration);
To create distinct beats, apply the function delay (). Thus, a developer can use 500 in the third argument section in the function tone and declare an approximate delay of a thousand milliseconds to produce 500 milliseconds discrete time. For example, the following code produces 800 milliseconds postponement of the tone:
tone (8, 3000, 800);
delay (2000);
Instead of adding the time together, 500 milliseconds for noise and 1000 for the delay, both will begin about the same time for the buzzer to get 500 milliseconds of the tone separated duration.
Buzzer Sample projects with Arduino
There are several options to transfer information between a system and the user. One of the standard options for audio communication is the buzzer; for you to understand how buzzer works with Arduino, it’s useful to get sample ideas of projects implemented using this technology. To stay tuned with more DIY concepts, check the following systems.
- Automated Alarm Systems
- Car/truck reversing indicator
- Automatic gas leakage indicator
- Intruder detection systems
- Garbage control system
- Plants moisture content monitoring system
- Smart home system
Conclusion
The use of buzzers in Arduino projects has been revolutionary ever since it struck in the market. Students designing their first hardware projects chose to combine buzzer with other components as an alert output. This increase in interest has made many developers tinker with technology. You can create an automated system with input devices, a microcontroller, and a buzzer as one of the output devices.
An Arduino microcontroller completes the whole operation through a sketch code written in C/C++ language. When a certain threshold is reached, the Arduino microcontroller will send a command, and the buzzer will start to ring. Developers can implement a piezo buzzer with Arduino in several ways to come up with a dynamic solution.