
Blades get dull or nicked after prolonged or heavy-duty use. Working on surfaces with a dull blade is not only ineffective, but it also affects the motor. They can smoke up the room, cause wood debris to develop sawdust instead of shavings, and make it difficult to push the planer.
Nicked blades, on the other hand, develop grooves on smooth wood surfaces. Sharpening the blade only provides a temporary solution, especially if it is worn out. You need to replace the blade as soon as it exhibits such signs.
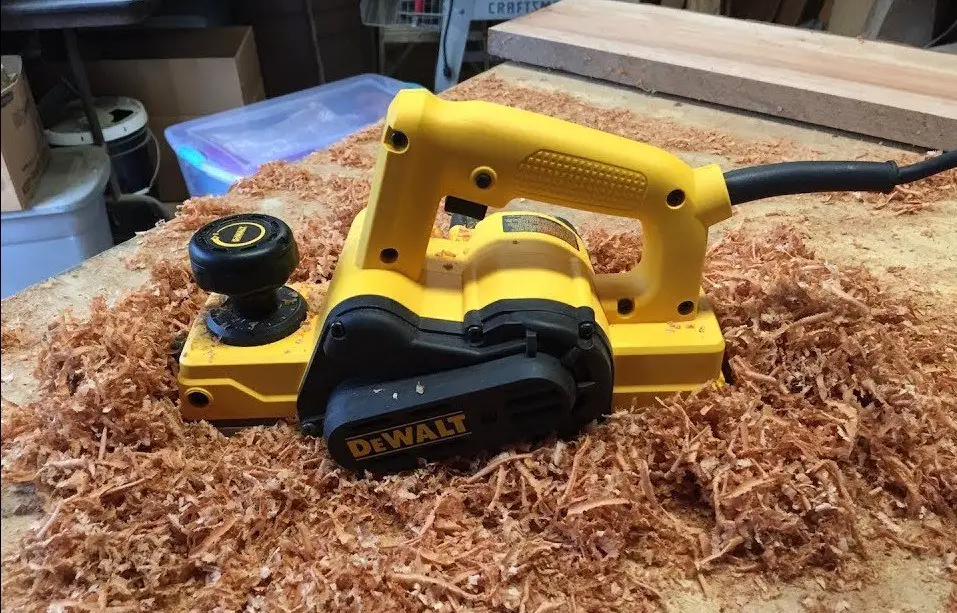
Most experts recommend changing the blades before they get too dull. You get to work with the blade in premium condition as it will be made of durable modern steel. Here’s a guide to help you change blades on a Dewalt hand planer:
Finding the Right Blade
Most manufacturers offer replacement blades, including Dewalt. The blades come in different widths and are 25% thicker than the original blade.
Thicker blades reduce the risk of vibration and provide greater stability. However, you may need to make more adjustments on the frog to accommodate the additional thickness. Blades with a thickness of 0.95 inches or less are ideal on older Dewalt hand planes.
Replacing the Blade
The steps are similar to changing blades, on the other hand, planers only that the fasteners may be placed differently or have a unique construction. As such, you need an assortment of ratchets and screwdrivers to loosen the bolts quickly.
Note that Dewalt planers use two types of blades: carbide and high-speed blades. You should check the planer to identify the correct blade for the equipment. Dewalt’s manufacturer manual should come in handy.
What You Need
- Screwdriver
- New blades
- Blade carrier (if the planer has carbide blades)
Procedure
Remove the Blade from the Planer
Unscrew the three hex head screws using a 9 mm hex wrench or another screwdriver that fits this category. Proceed to disconnect the drum cover from the drum and carefully remove the blade assembly.
If using a gauge plate to adjust the blade place the blade assembly on it.
The cutting edge should sit flush against the inside wall of the gauge plate, and its heel should overlap the end of the plate. Then, unscrew the two screws using the wrench.
Install the New Blade
To install the new blade, remove the adjusted high-speed steel blade from the assembly of the gauge plate and insert the heel of the guide bar into the groove of the drum. Then, place the drum cover on the blade assembly and tighten the screws firmly on the drum.
Check the notch on the blade to ensure it is aligned to the slot on the drum. Once you have aligned them, slide the blade in place and tighten the outer two nuts loosely.
Aligning the Blade
Ensure the blade is centered, so it doesn’t rub against the side of the planer. Next, fasten the bolts firmly. Repeat the process on the other blade. If the planer has carbide blades, you will need to use a blade carrier. If you don’t have one check, the local Dewalt authorized service center.
Additional Tips
Unplug the planer before changing blades or making other adjustments
Replace the blades at the same time. It keeps cutter head balanced and ensures quality cuts
Check the mounting bolts to ensure they are tight before turning the equipment on
Ensure the drum plate is fitted tightly on the cutter head
To Bend or Not to Bend the New Blade
Users camber plane blades based on their skill level. Most new users are tempted to work with the blade as is (straight), but it is beginners who are likely to benefit from a cambered blade. This is because a cambered blade is more forgiving when not set at the same depth on both edges.
Planing using a blade that has not been balanced will dig into the surface more deeply into the wood, creating grooves. To camber the blade divide it into fifths using your index finger. Then, make a few strokes on the blade using a whetstone working away from the middle.
Be sure to count the number of strokes made to avoid curving one edge more than the other. You should create a slight curvature on both sides. Blades used for heavy-duty applications could benefit from a slightly deeper bend.
