
Fuse is an electrical safety device which aids in preventing overcurrent. Operating equipment with a blown-up fuse can lead to overcurrent hence destroying the functionality of your equipment. Testing a blown fuse often requires a multimeter; however, you can still carry out the test without a multimeter. Some of the standard tools used for testing faulty fuses over a multimeter includes; a voltage tester and ohmmeter.
It is always essential to assess the condition of your fuse and determine whether it is faulty or it is in good condition in order to prevent overpowering your device. Therefore, in this article, we shall go through how to test a fuse without a multimeter.
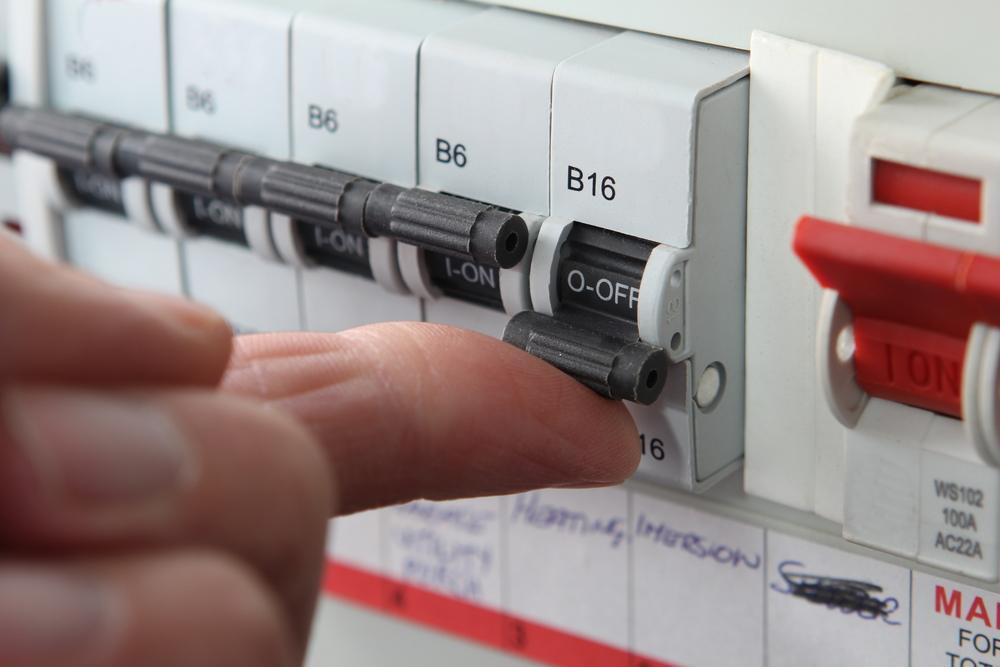
Testing a fuse with a voltage tester
Whenever you don’t have a multimeter with you, or you don’t own one, you can consider checking the status of a fuse using a test lamp. This process is also known as test light, voltage tester as well as mains tester. Here are the critical steps you should follow while performing this test;
- You should have the essential tools required to carry out this test. In this case, you will need a test lamp.
- Unlike the digital multimeter test, the voltage test requires the ignition switch to be ON this is because some fuses are only powered while the power is in the ON position.
- The first thing you should do is; connecting the gator from your test lamp into the negative side of the battery
- Once this is set, try turning on the test lamp. This should be done by tapping the positive side of your battery and then test the fuses.
- When there is no light during the lamp test while using a specific fuse, you should remove it and check if it is faulty.
Testing a fuse using an Ohmmeter
An ohmmeter is an essential tool which will help you in determining whether a fuse is in good condition or not. You will be able to test the fuse and check whether electricity is flowing through it as it should. You will require having an ohmmeter and a screwdriver before commencing on the test. Here are the critical steps you should follow while testing a fuse using an ohmmeter;
- Before you begin troubleshooting, it is best to remove all the appliances from the power outlet. Furthermore, ensure the electricity is disconnected across all the appliances before you proceed
- Check out if the faulty fuse is among your home appliances. The location to which the fuse is often varies depending on the device or brand you are using. At times the fuse is located behind the rear panel in a device; whereas at times, it is located behind the lower base panel.
- You should remove all of the appropriate apparatus plates so that you can access the fuse.
- Using your screw, loosen the back of your device to access a fuse that is located at the rear panel.
- Once this is done, set the rear panel and your screw aside till you are ready to replace them.
- Access a fuse located on the front panel of your device; using your screwdriver in applying pressure to two metal clips responsible for holding the foot panel into place. These clips are approximately four inches from one side of the panel to the other. It would help if you left the panel aside once it comes free before completing the repair.
- Check for two cables connected to a white plastic strip. This is the fuse. Once you locate it, disconnect the two wires from the fuse.
- You should then set your Ohmmeter to Rx1 configuration.
- At the end of the fuse, touch the probes of your Ohmmeter
- Check on the readings on your Ohmmeter and determine whether the fuse is faulty or in a good state. When the needle of your Ohmmeter moves to O, then your fuse is working accordingly; otherwise, you will have to replace it with a new one.
- You should consider replacing your fuse if your Ohmmeter needle fails to move.
How to repair a fuse in a dryer
Having a fuse in a dryer is a safety mechanism that helps in preventing overpowering your device. A dryer fuse is designed to explode in case of an increase in thermal temperature hence creating a fire hazard. Once the fuse blows up, your dryer will stop working almost immediately.
Dryer’s fuse is located at the rear panel where the exhaust outlet is. Changing a dryer’s fuse is relatively easy since it will only require you to remove the back cover to access the fuse. However, there are different dyers manufacturers in today’s market; therefore, it is best to locate the location of the fuse depending on your design.
You will require a Philip screwdriver to help with opening the back of the dryer and a brand new fuse to the replace the faulty one. Ensure to unplug the dryer from the electrical outlet before commencing on the work. Disconnect the back of your dryer to access the fuse. Once this is done, you should slide your dryer off the wall in order to create ample working space.
Take out the rare panel in your dryer in order to access the blown-up fuse. Get it out and then look for the white piece of plastic and attach your new fuse side to side. Once done, reassemble your dryer back together and connect it to an electrical outlet. Turn it on, and it should work as usual.
Conclusion
You should note that when a fuse becomes faulty, it has to be replaced since it cannot be repaired. Furthermore, when your fuse blows up once again, it can be due to various issues which will require assessment in order to figure out. You should never operate any device when its fuse is faulty to avoid accidents from occurring.
When the problem persists, you should consider contacting an electrician for further assistance. Moreover, you should consider contacting the manufacturer for a replacement since your device might be faulty if the problem persists. As we conclude this article, we hope that you will be able to test a fuse without a multimeter.
