
You enjoy listening to music on your vintage record player, but when there is no sound coming from the device when you attempt to play it, you apply the typical solution – check and clean the turntable’s parts.
Unfortunately, there’s still no sound. Now, you panic and plan to return the turntable to the shop where you bought it… Don’t do that yet… Perhaps, it’s best to test the phono cartridge of the record player with a multimeter. That’s a good idea.
Before we go to that – what’s a phono cartridge?
Phono Cartridge Explained
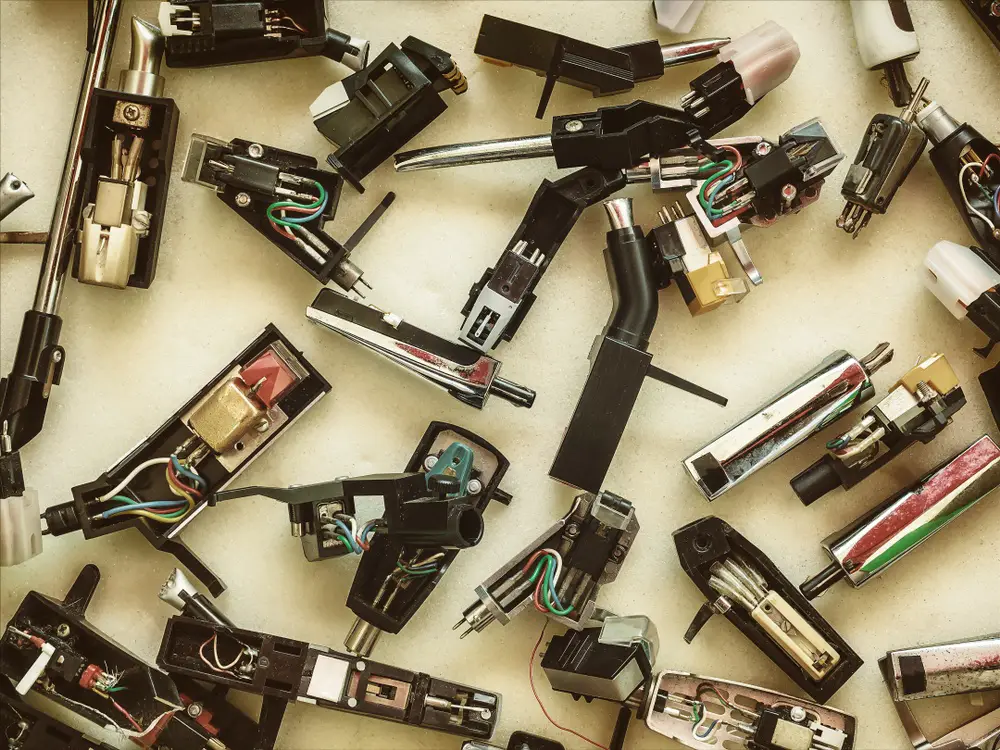
The small electro-mechanical part at the front of a record player’s tonearm is the phono cartridge. You would see two main sections of phono cartridges namely:
Cartridge Body –
Here, you would see the wire coils that generate electrical signals that are transferred through the tone arm.
Stylus –
This component has plastic molding that has a tube or cantilever and the needle or stylus. (The needle-shaped diamond at the cantilever’s end is the stylus.)
Take note: When you buy a phono cartridge, you would also get a stylus assembly. But most cartridges have a stylus assembly designed and are replaceable.
The performance of your record playing system depends on the phono cartridge. The system’s tonal balance, clarity, range, clarity, and so on are the result of an excellent phono cartridge. Cartridges during the 70s and 80s are basic models that could have better sound quality by installing quality stylus.
The Cartridge Mount
Phono cartridges are designed to be placed on the player’s tonearm. Some tonearms have a universal headshell while others have a P-mount. Lesser models have a proprietary mount that means users are restricted to the player’s design.
The most common mount you’ll find on the turntable is the half-inch mount. In this mount, there are two screws at the half-inch part that are threaded on the headshell and the cartridge body. Four-wire having different colors are at the male plugs of the cartridge body. Meanwhile, the other end of the wires you’ll find at the headshell plugs.
Turntable users would see a different approach on a P-mount or T4P. Here, the phono cartridge is plugged to the tonearm and secured by a screw. But a universal cartridge is suited for a P-mount or a half-inch mount for the tonearm. A standard adapter is used in P-mount cartridges.
Now that you have an idea what phono cartridge is all about, then let’s answer the question: how to test phono cartridge with a multimeter?
Well, if you are not familiar with a multimeter, here’s a quick definition:
A multimeter is a handy tool that enables you to measure the voltage, resistance, and continuity of electrical circuits and components. A digital multimeter or DMM gives you precise results if you want to check or troubleshoot your components at home. In this article, our focus is on the phono cartridge.
What if your record player suddenly stops playing? What solution can you do? Yes, you’re correct if you’re thinking of testing the phono cartridge with a multimeter. But how?
Testing the Phono Cartridge with a Multimeter
Follow the easy and simple steps below to know how to test phono cartridge with multimeter successfully:
- Remove the wires you connected to the phono cartridge. Your test starts at the pins of the cartridge, so it’s best to remove the wires. If not, the test or check wouldn’t be successful. Also, accidents or injuries might happen because of electric shock.
- Next, you set the multimeter to 10,000 ohms. (In this test, you’ll check the continuity of the phono cartridge to determine what’s the problem.)
- Connect the multimeter to the blue (LG) and white (L) pin. Take note: the multimeter should measure above 100 ohms and 10,000 ohms.
- Connect the multimeter leads to the green pin (RG) and the red pin (R). Again, the test meter’s reading should be above 100 ohms and under 10,000 ohms. The reading you’ll get in this step should match the reading you have in step 3.
- In this step, you connect the multimeter’s leads to the red and white pin. You’ll see a reading that says “open” and “infinity.”
- Now, connect the multimeter’s leads on the green and blue pin. Again, you should have the same reading that reads “open” or “infinity.”
If you get a different result, there’s a defect on the phono cartridge of your turntable. One of the most common causes of the problem lies in the cartridge output. You replace the cartridge immediately or ask an expert to repair it. (In most cases, you tend to replace the phono cartridge. Why? It’s quite expensive if you hire a professional.)
The common cause of a low output is connecting the phono cartridge to an output NOT designed for it. The right cartridge output should have a PHONO label. If you see the input is CD, TAPE, VCR, AUX, and DVD, the phono cartridge won’t work effectively.
Why?
The input labels wouldn’t give the required frequency equalization and amplification that a phono cartridge should have. But don’t worry, there’s a solution for that. You can add a phono preamp between the phono cartridge and hi-fi system output.
Other causes as to why a phono cartridge doesn’t work are the oxidation of the connectors and cartridge pins. Make sure that the connectors are pins are clean all the time. Thus, you wouldn’t experience any problems with your turntable at all.
If you’re a beginner in using a multimeter, read the tool’s manual carefully. Familiarize the multimeter parts and its functions so that you wouldn’t experience hassles using the test meter. Make sure to observe and follow WARNINGS and PRECAUTIONS before using the test meter. Also, an expert’s advice is also helpful if you want the multimeter often. Pros would give you useful and effective tips in using a multimeter well.
Remember: Follow the steps in testing a cartridge with a multimeter for success and safe test meter usage. Be careful when you’re doing a test or troubleshooting. Safety comes first when you’re handling electronic devices or circuits.
Now you know how to test phono cartridge with a multimeter, it’s time to check if the phono cartridge of your record player!
