
Anytime you suspect the pickup coil in your car has spoiled, it is wise to make use of a multimeter to test it. The process is usually straightforward, and all you need to do is following these seven simple steps, and you will good to go.
An ignition coil is an essential component every modern engine management system; hence nearly every car that is made nowadays incorporates an ignition coil as part of the secondary ignition system. The ignition coils typically make use of electromagnetic induction to transform the twelve volts in the car to thousands of volts needed to produce a spark that has enough power to jump across the gap in the spark plug.
- When things go wrong…
- Testing a pickup coil with a multimeter
- Step 1: Test the ignition coil’s primary ignition circuit
- Step 2: Research the provisions of your ignition coil
- Step 3: Disconnecting the wiring harness for the pickup coil
- Step 4: Find the pickup coil on your car
- Step 5: Test the secondary circuit of the pickup coil
- Step 6: Clean rusty connectors
- Step 7: Reinstall the ignition coil immediately after replacing properly
- Step 8: Repeat the procedure severally to ensure it is done correctly.
- Conclusion
The number of pickup coils into a vehicle varies, and this is usually dependent on the manufacturer’s design. Therefore, some cars feature two ignition coils whereas others only have one, with the role being to fire of several spark plugs, and this it does occasionally using low resistance ignition cables. Moreover, some designs opt for one pickup coil for every spark plug, and it is then fixed right above the spark plugs.
Therefore, it is clear that the purpose, as well as the operation of pickup coils somewhat straightforward and passive. Nevertheless, they still are an essential component for the efficient functioning of your car’s engine, and in case they malfunction, this results in several problems.
When things go wrong…
Typically, you can detect a malfunctioned pickup coil in different ways, and this ranges from a fall in fuel and power mileage to severe engine misfires which occasionally can make it impossible to drive your car. Furthermore, as ignition coils are located on the right side of the vehicle’s engine, they often are susceptible to harsh conditions such as intense vibrations and extreme heat as a result of the running engine.
Consequently, as time passes, they can the ignition plugs can start developing heightened electrical resistance or burnout, thereby resulting in misfires or a less powerful and efficient spark that thwarts effective performance of the car engine.
Thus, in this article, you will be taken through the steps you need to follow to test your car’s pickup coil using a multimeter. Subsequently, you will be in a better position to avert any serious car trouble that may be in the imminent.
Testing a pickup coil with a multimeter
Step 1: Test the ignition coil’s primary ignition circuit
Your ignition coil has two circuits that require you to check out, and these are; the primary as well the secondary ignition circuit. After checking these out, connect your multimeter to the negative and the positive side of the ignition coil.
Fortunately, some coils have your work simplified since the terminals have already been marked positive and negative. Typically, an ignition coil has a primary resistance ranging between 0.4 and 2 ohms, but you should always make a point of confirming this from the manufacturer’s manual. If it reads zero, you should then know that the ignition coil is damaged due to an internal short and needs to be replaced.
Step 2: Research the provisions of your ignition coil
Find out the appropriate readings of the ignition coil and all these details you can find on the manufacturer’s manual. So, all you need to do is to be keen on finding the specifications.
Step 3: Disconnecting the wiring harness for the pickup coil
Make use of your hand tools to carefully disconnect the wire harness from the ignition coil. These should not be much of a hassle because it does not require much energy.
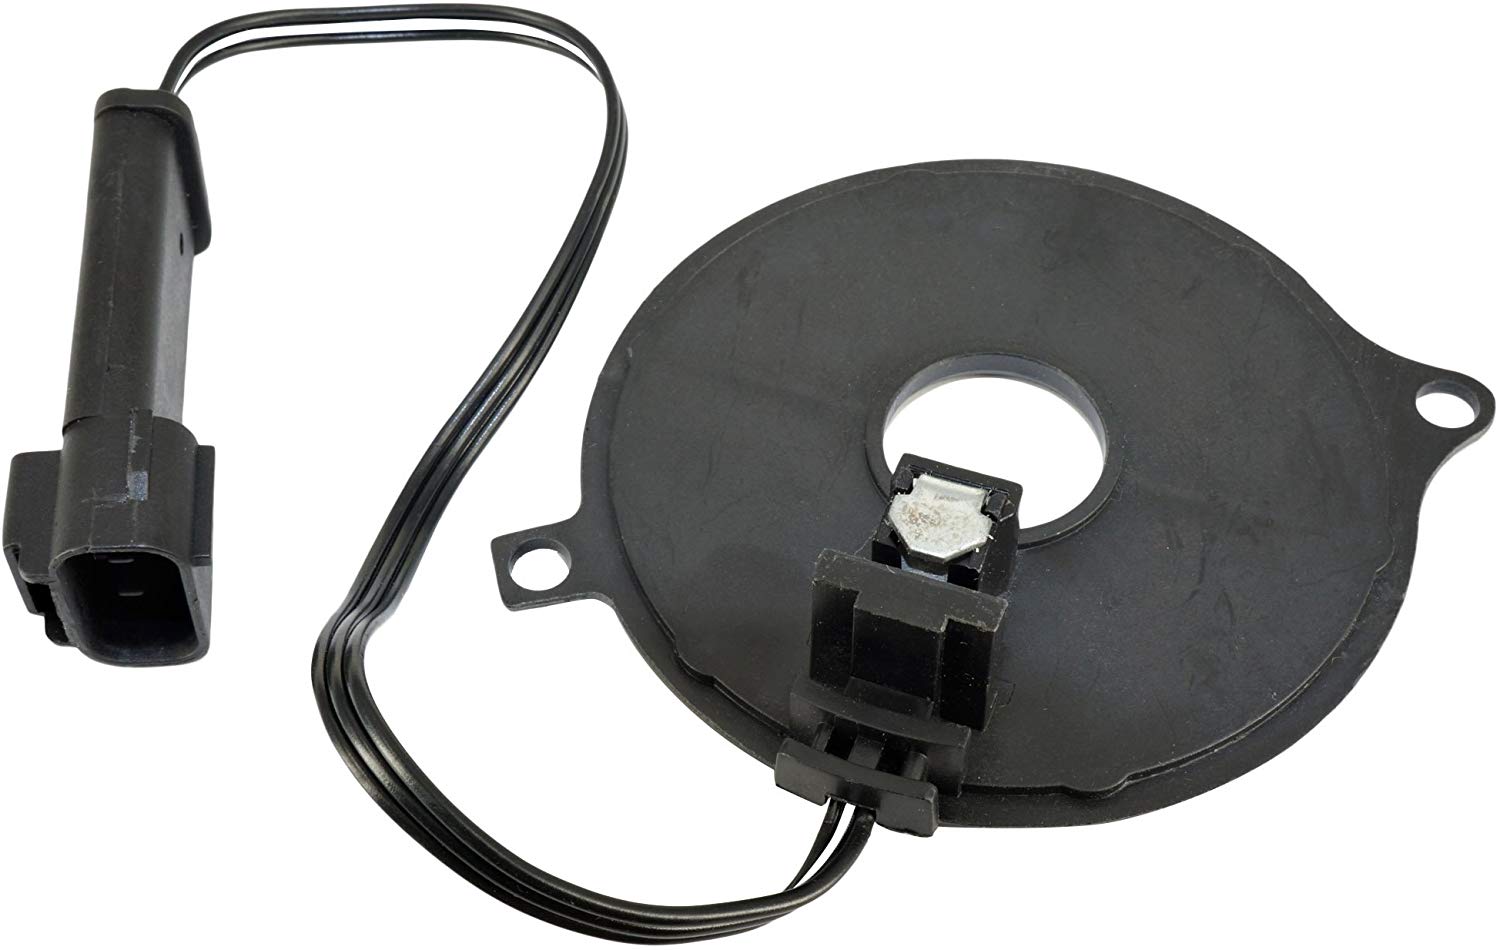
Step 4: Find the pickup coil on your car
The pickup coil is usually located on the right side of the engine. It often is bolted using hand tools to the spark plug or mounted up using a remote on top of your machine’s engine.
Step 5: Test the secondary circuit of the pickup coil
As mentioned earlier ignition coil contains two circuits, that is, the primary and secondary circuit. Therefore, connect your multimeter to the positive side of your coil and to the high output side, which is directed to the spark plug.
Furthermore, the ignition coil resistance of your pickup should range between 6,000 to 10,000 ohms, and it is advisable you confirm this from the manufacturer’s manual in case you are uncertain on the right range. If the multimeter displays a reading of zero; this means that the ignition coil has short-circuited and needs to be replaced to function correctly. Nevertheless, it would be best if you were keen while reading the multimeter to avoid unnecessary mistakes.
Step 6: Clean rusty connectors
If your connectors are crusty, this is a perfect opportunity for you to clean them up, using a small wire or brush carefully clean your connectors, leaving them thoroughly clean. Additionally, if your connectors are crusty, there is a high likelihood they would give you a false reading. Connectors are very crucial elements when it comes to checking whether your ignition coils are in good shape.
Step 7: Reinstall the ignition coil immediately after replacing properly
After testing all the ignition coils, you now have an excellent chance to remove all each of them that has malfunctioned and subsequently replace then with ones that are working. Once you are done, make sure you reconnect all the electrical sources that you first removed while checking out the ignition coil.
Step 8: Repeat the procedure severally to ensure it is done correctly.
You should recheck if you have done correction appropriately to avoid simple mistakes. This is basically for your own good, so doing this is vital for your personal safety as well as peace of mind.
Conclusion
Based on the above information, it is crucial that you note that the pickup coil is a crucial component for the useful function of your car’s ignition system. Fortunately, having bread through this article, you now have an idea of how to make use of a multimeter to test your pickup coil.
Consequently, you will be in a better position to know whether or not it does need replacement hence safeguard you from any possible accident while you were on the road.
