
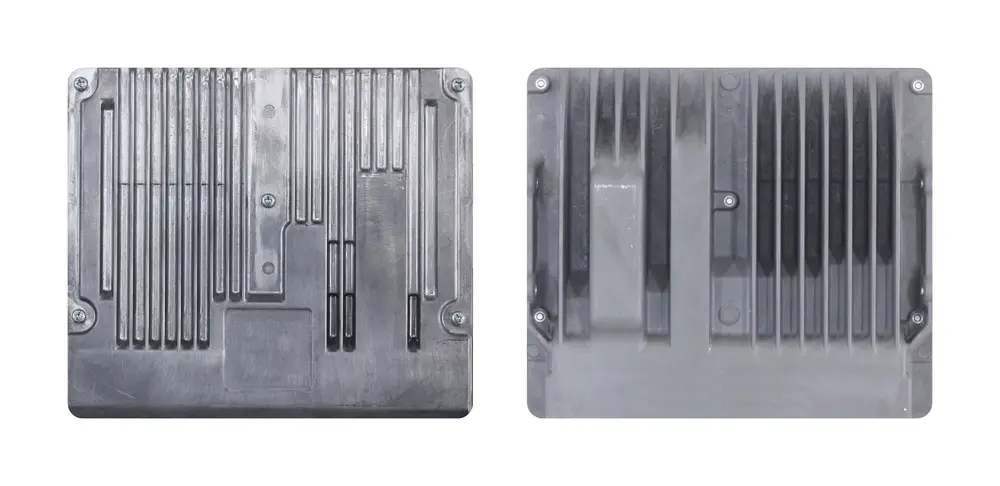
Powertrain control module (PCM) has a variety of names, such as the ignition control module (ICM) as well as an engine control module (ECM). This module refers to the switch that usually turns on the ignition system on or off. Inside the distributor is an element known as the sensor which performs the role of transmitting signals to the PCM to boost the ignition coil that generates enough power for your spark plugs.
However, for the spark to work, t needs to be considerably stronger to be able to fill the gaps that are in between the spark plugs. Subsequently, this will result in the generation of sufficient current to fuel the ignition process. Therefore, the PCM plays a vital role in controlling the effectiveness of your spark, thereby enabling it to emerge precisely at the appropriate cylinder and ideal time.
So, what are the signs of a faulty PCM? This is a question many individuals seek to know in a bid to resolve what might be wrong with their vehicles. The function of the PCM along the transmission control module (TCM) is to properly regulate the fuel to air ratio and the timing of the engine. Some of the signs of a defective PCM include;
- Skipping of gears
- Improper functioning
- Your lights being on when not needed
- Much fuel consumption
- Worn out tires
- Dying or weak battery
If you experience any of these signs, you must test the PCM with a multimeter to diagnose what the possible issue might be.
Step 1 – Get the appropriate tools
Before you even commence the work you are planning to do, you need first to make sure you have the necessary equipment to be able to test the PCM. Some of the vital tools you will require during this test are;
- Multimeter
- Philips screwdriver
- A new PCM
- Flashlight
After confirming you have all these tools, go ahead and commence the test on your PCM using the multimeter by following the procedures as mentioned below:
Step 2 – Visual inspection
Before you even start working on your car, you first need to check whether the wires are working correctly or if they are corroded. This is important despite this not being a common cause of your PCM failing to work effectively, but it is the easiest way to identify if it has any problem.
Disconnect your PCM from the battery and then go ahead and confirm that it does not have rust too. Additionally, in case you notice any loose wires, you should take the necessary steps and replace them.
Step 3 – Examine your battery
Using your multimeter, verify that your battery is fully charged. After that, you should then inspect whether the reading being displayed is around 13.7 volts when the engine is running and 12.6 when the engine has been switched off.
If the figure the multimeter displays is below the above-mentioned figures, you should then consider recharging your battery and then repeating this test once more since minimal voltage occasionally causes some sensors to stop functioning correctly. Because of this, your PCM ends up providing you with false results.
Step 4 – Code scanning
If you are sure there is no rust, either on your wires or PCM, and your battery is fully charged, you can now go ahead and make use of the code scammer. To do this, plug in the OBD II or OBD code scanner to your car and examine whether your PCM is generating any OBD error codes.
Doing this vital as it helps you solve both electrical as well as mechanical issues because you can use these provided codes to find out which specific systems are causing the failure. Moreover, you should have a codebook for noting down the code and find out what they mean and what adjustments you need to do.
Step 5 – Inspection of sensor and wiring
You need to examine which kind of wire and sensors are attached to your PCM. However, if you can identify PCM codes either three or two, then there is a likelihood that these particular codes will guide and enable you to find out which wires or sensors are not working correctly and require fixing.
To do this, make use of either a multimeter or do a visual inspection. Additionally, remember to examine ground wires and their connection section to be on the safer side because these are the many places that are likely to cause trouble.
After you have identified where the problem might be, make sure you fix the faulty components. Furthermore, your car codes also need to be fixed correctly and then test your car to ensure that the problem is fixed accordingly.
Step 6 – Get a replacement
After fixing everything and your car still fails to respond as required, then there is a need for you to replace the PCM. Nevertheless, you need to confirm you choose the right version of the PCM rather than just assuming it is based on the model, make or year of manufacture. In case your PCM had a problem, after replacement, you will notice an immediate improvement in how your car functions.
So, how do you go about replacing your PCM? When it reaches this point, it is better you seek professional help or choose to do a replacement by yourself with specialized tools, which you might only use once and store for future use.
Conclusion
Based on the above information, you must have the necessary skills and knowledge on how to handle electrical devices such as the multimeter. This is because using these electrical devices can occasionally be somewhat challenging if you are not keen enough, especially when it comes to reading the values displayed on your multimeter.
However, by following the above-mentioned procedures, you can successfully run a test on the PCM using a multimeter. If you encounter any difficulty, you can always refer to your manual script to understand what is needed whenever you are testing the PCM. Therefore, going forward, you will be in a much better position to detect any issues in your vehicle that you suspect is being caused by a defective PCM.
