
Ground fault circuit interrupter, also known as GFCI outlet, is a safety device that aids in protecting an individual from electrocution. GFCI works reliably for over an extended period of time; however, at times they fail and lose their primary function due to various reasons.
Furthermore, they can be wired improperly, leading to disabling of safety feature of the outlet. This is the reason why GFCI outlets feature buttons used for assessing their functionality. Testing the GFCI outlet is relatively easy, and it takes a few seconds, and it does not entail turning off the circuit power. Whenever GFCI fails this basic test, you should consider replacing it as soon as possible.
Testing a GFCI outlet with a multimeter
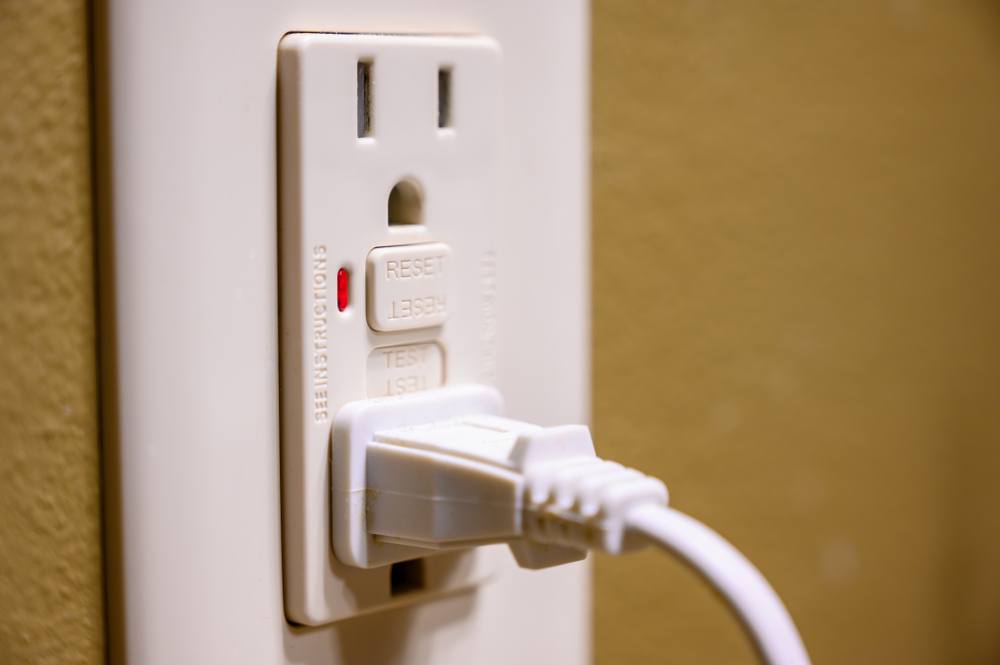
In the face of a quality GFCI outlet, between two sets of slots, there are two buttons that are rectangular, they are labeled TEST and RESET. In order to test the state of your GFCI outlet, use your finger and press the TEST button. You will then hear a snap sound which will trip the outlet and turn the power off to the two plug connection.
In order to confirm whether the power has been turned off or not, plug in a radio or a lamp into the outlet, and they should not turn on. Furthermore, you can assess for power presence by testing for volts using a digital multimeter. The multimeter should indicate no presence of voltage. Once you confirm the absence of power and that the safety function if working correctly, press the RESET button and restore the power to the GFCI outlet.
When using a multimeter to test GFCI outlet, the readings will help you determine the following;
- If there is any power reaching the GFCI outlet
- If the GFCI outlet is well-grounded
- If the wiring within the GFCI outlet is reversed.
Before commencing on the test, it is recommended to learn about the essential safeties required when dealing with a GFCI outlet. Since you will be working on a live GFCI outlet, ensure you hold both probes of your multimeter on the same hand for maximum safety. By doing this, you will be preventing any shock from passing through your body. Furthermore, it would help if you did not allow the portion of your probes to come into contact with each other since it can lead to a dangerous short circuit.
Ensure, you understand the outlet geography before commencing on the test. Usually, an outlet features three different slots one is hit, the other one is neutral, and the last one if ground. The one featuring a round half circle is the ground slot, while the more extended slot often at the left is the neutral one. The hot slot is short and is located on the right side.
Set your multimeter to test for voltage by selecting the AC function on your multimeter. It is often depicted using a wavy line. On the other hand, DC function features a solid and dashed line. Once your multimeter is set to AC functions, connect the leads accordingly. Push the short and thick connector known as a banana plug of a black lead to your connector on the part labeled as COM or Common; at times, it is indicated with a negative- sign. The red connector marked with a positive+ sign should be plugged as well.
Check for power on the GFCI outlet by using one hand to insert each probe into a vertical slot on your GFCI outlet. If your GFCI outlet is functioning accordingly, it should display 110 to 120 volts reading in your multimeter. Whenever the reading is absent, you should consider checking on the wiring on your GFCI outlet.
Once that is done, you should check if your GFCI outlet is properly grounded. In order to perform this test, remove the black lead and then place it in a u-shaped GFCI outlet slot, which is meant for ground. Your readings should be the same. If otherwise, your GFCI outlet is grounded improperly, or maybe the wiring is reversed.
You should consider checking if the wiring is reversed. In the left-hand slot, place the red lead and then place the black lead into the ground slot. If there is no reading being displayed, then probably your GFCI outlet is not well grounded. Nevertheless, if the reading is available, then your GFCI outlet wiring is reversed. This will not have any effect on simple devices such as radio or lamps; however, they may result in a problem when using more sophisticated equipment.
Things you should consider when testing GFCI outlet
First and foremost, you will have to understand the location of a GFCI outlet before commencing on the test. GFCI outlets are often located within kitchens, bathrooms, garages, unfinished basements, countertops, outdoor areas, and utility sink. This is a requirement per the National Electrical Code. They are essential since they will prevent you from electrocution.
When testing a GFCI outlet, you should:
- Plug a lamp or a radio into the GFCI outlet and turn it on to check if power is present in the outlet.
- If it present, touch the TEST button with your finger. This will cause the GFCI outlet to trip, and the flow of electricity will be cut.
- Push the RESET button to turn on the power, and the lamp or your radio should turn on. This indicates that your GFCI outlet is a safety function working correctly.
- However, if the GFCI outlet fails to trip upon touching the TEST button using your finger, then this shows it’s faulty, and it is best if you replace it with a new one.
Conclusion
Most electrical safety experts and the device manufacturers commend checking on your GFCI outlet at least once per month. This might seem unnecessary; however, the safety function of the GFCI outlet often trip without you noticing. This is because there is no any indication showing faulty with the outlet.
In most cases, the GFCI outlet will continue providing power to all devices that are plugged in even when your GFCI outlet safety device has tripped. As we conclude, we hope that you have understood how to test for the GFCI outlet with a multimeter and the safety measures you need to consider during the process.
