
The term “define” in Arduino to most people sounds complex and something that needs lots of technical knowhow to understand. However, this isn’t the case, and it’s acceptable to have slight reservations on whether this is the case.
It’s for this reason that in this article, we’ll be taking you through a detailed guide on how best to use “define” with Arduino. But before doing that, it’s essential to understand what #define is in Arduino. “Define” is a C Programming language that enables you to define macros within the source code.

With these macro definitions, constant values can be announced for use in your entire code. Moreover, macro definitions can’t be changed by the program code, such as variables and aren’t variables. Usually, this is the syntax you’ll use while making constants, which are a representation of expressions, numbers, or strings.
Should You Use “define” or const in Arduino?
Using #define in Arduino is necessary because the boards incorporate microcontrollers that have small spaces of RAM. Therefore, if you want to keep the non-changing variables, is #define or const the ideal option? For this to be understood, you’ll need first to know the definition of these terms.
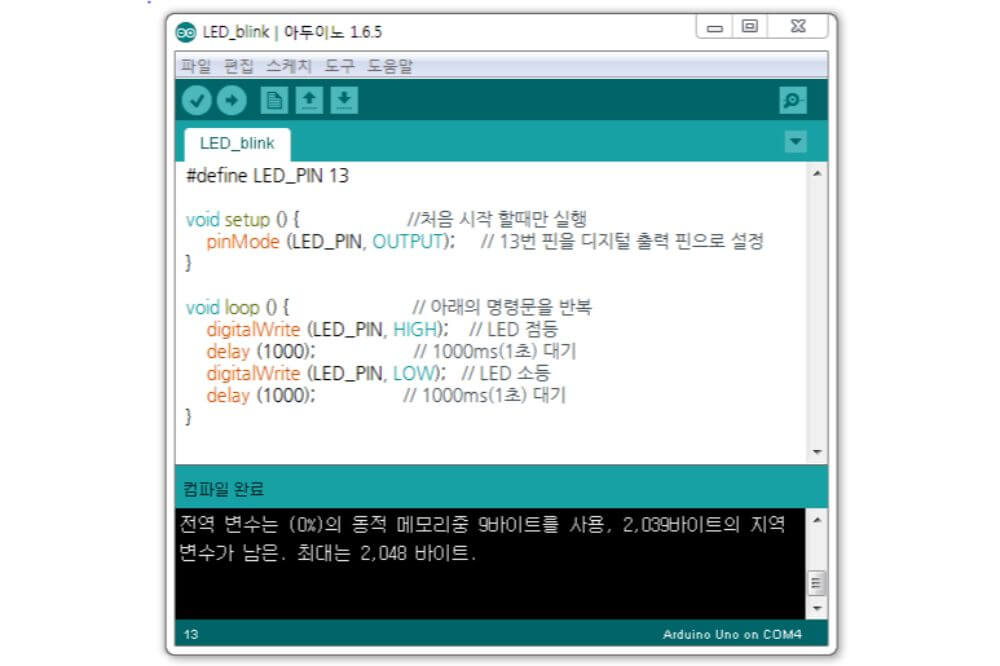
Whereas #define is often confused as a programming statement by many, this isn’t the case. It instead sets up a macro that causes a text replacement to happen before the code’s compilation. Here’s an example:
#define pin 12
void setup() {
pinMode (pin, OUTPUT)
}
void loop () {
digitalWrite (pin, HIGH);
delay (400);
digitalWrite (pin, LOW);
delay (400);
}
The pre-processor will go through this code before it’s sent by the IDE to the compiler and a simple text-replace of every instance of the macro “pin” with an integer 12. As a result, the subsequent code will be:
#define pin 12
void setup() {
pinMode (12, OUTPUT)
}
void loop () {
digitalWrite (12, HIGH);
delay (400);
digitalWrite (pin, LOW);
delay (500);
}
This handy and powered feature ensures no RAM is used by any variable referred to as “pin”, which won’t even exist in the first place.
What’s const
The term “const” informs the compiler a pointer or variable can’t be changed. Nonetheless, it remains a variable and may or may not use RAM with this dependent on how this code is used. In fact, the compiler which avr-gcc IDE uses is smart enough to establish a variable that has a constant modifier can’t be altered in an active program. It will instead attempt to omit it from the RAM.
This code will look something like this:
const int pin = 12
void setup () {
pinMode (pin, OUTPUT);
}
void loop () {
digitalWrite (pin, HIGH);
delay (500);
digitalWrite (pin, LOW)
delay (400)
}
With this code set, no RAM will be used since the compiler sees no need to make a variable in the RAM, and therefore it doesn’t use it.
Why You Should Understand Syntax
After understanding how to use #define in Arduino, the next thing to do is having a good grasp of syntax. This is very important because even the slightest mistake might lead to a huge error as you attempt to write the program. Therefore, it’s advised to write a huge program by pressing the Compile button after completing a part of the code.
If any syntax error appears, you should proceed by locating the issue within the code. In this section, you’ll be taken through the core of the syntax of the Arduino language.
Void setup ( ) { }
This is a function created at the top of every program. Within the coiled brackets, you should input the code you’re hoping to run one time immediately the program begins to run. It’s in this section that you add things such as pinMode.
Void loop ( ) { }
This is used by Arduino as a fragment of its structure. The code in this loop continues running over and over again so long as the Maker Board is switched on.
Semicolon (;)
Compliers usually don’t search for spaces in the code but instead for semicolons. These semicolons signify the end of a statement or command.
Parentheses ( )
This is a set of arguments either for a code statement, a method, or a function. The use of parentheses is recommended when grouping math in equations such as random (500-100). (10-7) with the subsequent math leading to a random (3,400).
#define button 2
You should use this command when trying to “find and replace it within the code. It’s almost like making a variable in place of the number, albeit not taking up any memory. However, #define has one shortcoming, as shown in the example above, with the variable referred to as buttonPress becoming 2Press after the code has been compiled.
Curly braces { }
It’s a set of code statements and should always close these curly braces to allow the matching of every opening curly brace.
// Single line comment
After typing these two forward slashes, any code after this point is ignored until the end by the comelier. It’s advised to use comments to explain what role the code plays, thereby assisting you to know how to remove specific code from the program without deleting it or remembering how the hardware gets hooked up.
Conclusion
Understanding the basics of Arduino is essential if you want to make the most of it. One of the most important things you need to learn about when using Arduino is how to use #define.
This is something you should perfect if you’re committed to having a great understanding of the microcontroller motherboard. If you struggle to understand how to best use #define in Arduino, this detailed guide has provided you with useful tips on everything you should know.
With this in mind, you can comfortably go ahead and use #define in Arduino to achieve your desired results.
