
Certainly, the art of soldering has brought different questions; will a soldering iron melt gold? What tools will you require? In this article, we shall be discussing how to solder gold and if it is possible to melt gold using a soldering iron.
As a newbie, you will discover how you can solder gold jewelry with the utmost ease and all the essential tools you will require for this particular task. However, you should note that the art of soldering precious metals can be challenging, and it is often required you practice on scrap metals before soldering any precious metal.

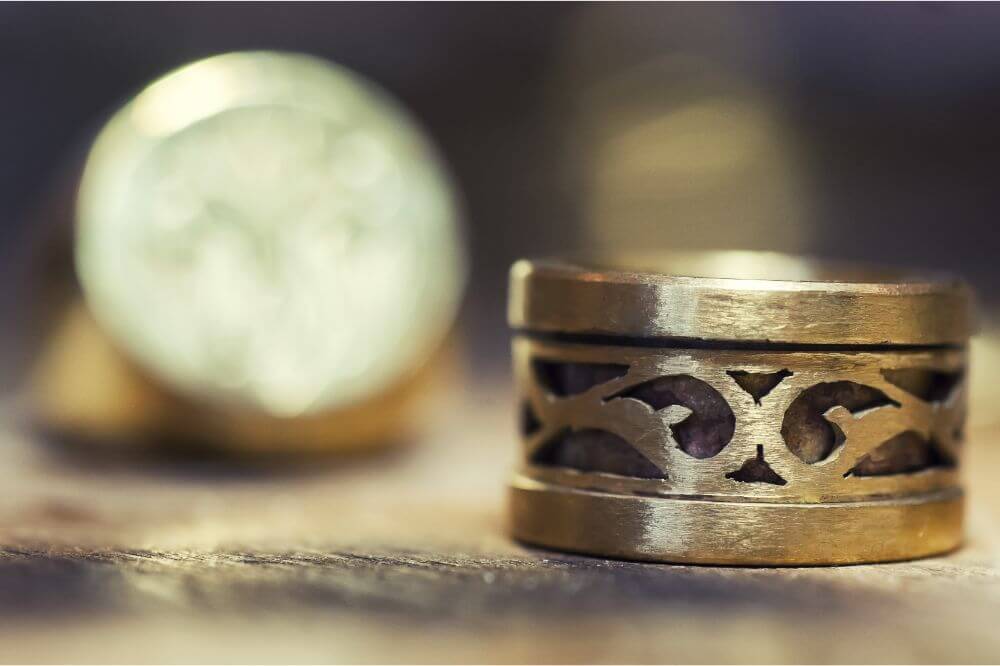
How To Solder Gold
When it comes to soldering gold, you will need to use a special solder. Usually, most gold solders are designed from different components, with the most essential factor to consider is solder with a low melting point. Some of the metals used to make a gold solder include indium, cadmium, zinc as well as tin. Nevertheless, they tend to whiten a soldering alloy; this means that it will require an addition of copper.
Soldering gold can be a bit challenging; however, with the following tools, the process will be relatively easy:
- Safety goggles
- Hand torch
- Soldering block
- Pickle solution
- Copper tongs
- Flux specially designed for soldering gold
- Gold solder
- Soldering tweezers
With these tools in place, the soldering process will be relatively easy. To solder gold, you will need to follow these steps;
Cleaning your gold
Cleaning is the first step you will need to consider. When cleaning your gold, you will be getting rid of dirt and grease that will affect the bonding process. This means that once the dirt and grease are removed, the metal will bond together correctly.
To clean your gold, you will have to soak it in a pickle solution. It would be best if you considered using your tweezers to maneuver. Once this is done, you will rinse it using tap water to get rid of the acid.
Securing your pieces of gold with clamp or tweezers
Take your gold pieces and place it on a soldering brick and then hold it in place using your clamp or tweezers. During this process, you should ensure that the pieces of gold fit together and are as tight as possible. When the pieces of gold have a too large gap between them, soldering will be a problem.
Adding flux for soldering the pieces of gold
The flux should only be applied to the area where the solder will be used to join the pieces of gold. By applying the flux, will help in ensuring that all the impurities have been removed. In addition to that, it helps prevent discoloration from occurring on the surface of the pieces of gold.
Heating the flux
Once the flux is applied accordingly, take your torch and start heating the flux gently until the water starts boiling off. When the water evaporates, you will be left with protective solids on your pieces of gold.
Applying the gold solder and heat
To join the two pieces, you will add a small chip of your gold solder and start heating the surrounding area using the hand torch. Consider moving the flame back and forth, slowly ensuring that the whole length of your joint is heated properly.
It would be best if you then stopped once the solder starts melting and flowing across the join. In the process, you will be able to see the seam joining and creating a strong bond between them.
Cool your new gold piece and then treat it
Allow your new gold piece to cool and then place it in a water bath. Afterward, take your copper tongs, use it to carry your piece of gold gently and then put it in a pickle solution. Once it is in there, let it soak for an extended period until the fire-scale is completely removed from its surface.
Finalizing
After removing the gold piece from the pickle solution, rinse it in a water bath, and then assess if there is any discoloration present. If needs be, you will polish the new gold piece off any stubborn fire-scale, and you will be good to go.
What Is The Best Solder To Using When Soldering Gold
The first thing you will need to consider when soldering gold in the type of solder you use. It is highly advisable that you use a cadmium-free paste solder; this is essential since it makes the whole process relatively easy. Since this paste is equipped with flux, you will not require adding more.
Furthermore, this solder tends to melt relatively easy and flows smoothly and should help you solve your issue almost instantly. The solder is also available in different karats as well as flow temperature.
Tips To Consider When Soldering Gold
When soldering gold, you should avoid the use of soldering iron. Usually, soldering iron is not considered the best for use when soldering any precious metal. It is well known for ruining jewelry made from precious metal. This means that it is best to torch any precious metal, including gold and silver.
A successful gold soldering involves heating the two pieces of metal and not just melting the gold solder. This means that, when working with pieces of gold that are relatively thick or large in size, torch soldering, it will be the best way to go.
Final thoughts
Since gold features a relatively high melting point, it will be challenging to melt it using a soldering iron. To successfully solder a gold product, you will need a source of heat that produces sufficient high-temperature levels. This means that a soldering torch is best for use over a soldering iron.
When working with a soldering torch, attaining the temperature levels required to solder gold will be relatively easy. As a newbie or a professional solderer, you should avoid the use of soldering iron when soldering gold if you are looking for effectiveness and perfect results. As we conclude, we hope that this article has been beneficial.
